A Handmade Birthday Card is a Gift in and of Itself
A handmade birthday card, no matter the level of difficulty, makes the receiver feel especially warm and fuzzy. There is just something special about receiving something that someone took their valuable time to make. This makes taking the time to create a card so worth the while. I’ve presented handmade cards that my friends have actually framed as little pieces of art- which is something that has made me feel particularly special. Now, I am not a greeting card expert by any means, so there’s no reason for you to hesitate trying this. I happen to have a few tools that makes it a little easier for me, but you can make a beautiful card with just a few supplies.
I used the following:
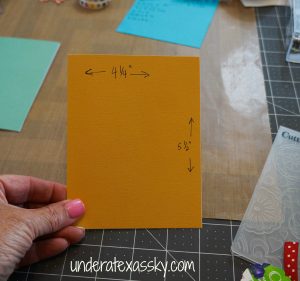
A premade greeting card blank. The one I used in this case is 51/2″ x 41/4.”
A variety of colors of cardstock. You can buy multi-color packages at all craft stores
A tape runner or glue stick
Self-adhesive gem stickers
A paper cutter. This makes this process so much easier. I use a guillotine cutter- for me it makes straighter cuts than the slide type- but which ever works best for you is fine.
Embossing folders and an embossing machine (if you have one). You can actually just buy pre-embossed cardstock in smaller sizes than regular 81/2″ x 11″ cardstock. If you intend to make lots of cards- investing in an embosser is a good idea. I bought my Big Kick with a 50% off coupon so it wasn’t terribly expensive.
Finally you need to have a rubber stamp that has the sentiment you want to convey. I purchase all of my stamps at hobby stores when they are on sale for 50 and 60% off. There are several companies that sell stamp kits that come complete with good quality paper and ink as well, but I make nice cards without going this route. Just buy good ink and either wooden stamps or cling stamps at hobby stores and you’ll be fine. If you use cling stamps, you’ll need to buy an acrylic block upon which it clings so you can ink it and stamp it.
Here’s the card blank I started with:
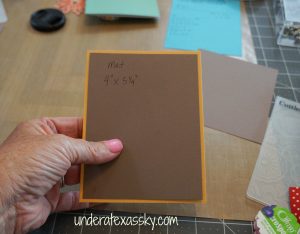
The first step is to add a mat. The first mat you add is generally 1/4″ smaller all the way around than your card base; in this case I made it 51/4″ x 4.”
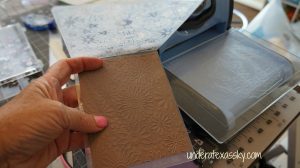
Next I place it in an embossing folder (I order these online from Hobby Lobby and have gotten them for as little as $2.50 each).
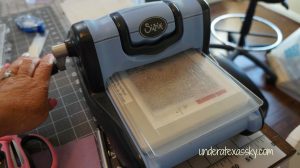
I next roll it through the Big Kick- which just lightly presses the folder onto the cardstock.
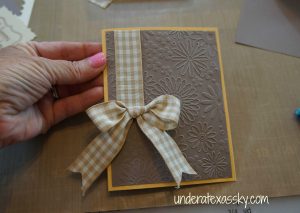
Here’s how it turned out:
As I said, you can purchase pre-embossed paper- it’s comes in a package with several pieces to make lots of cards.
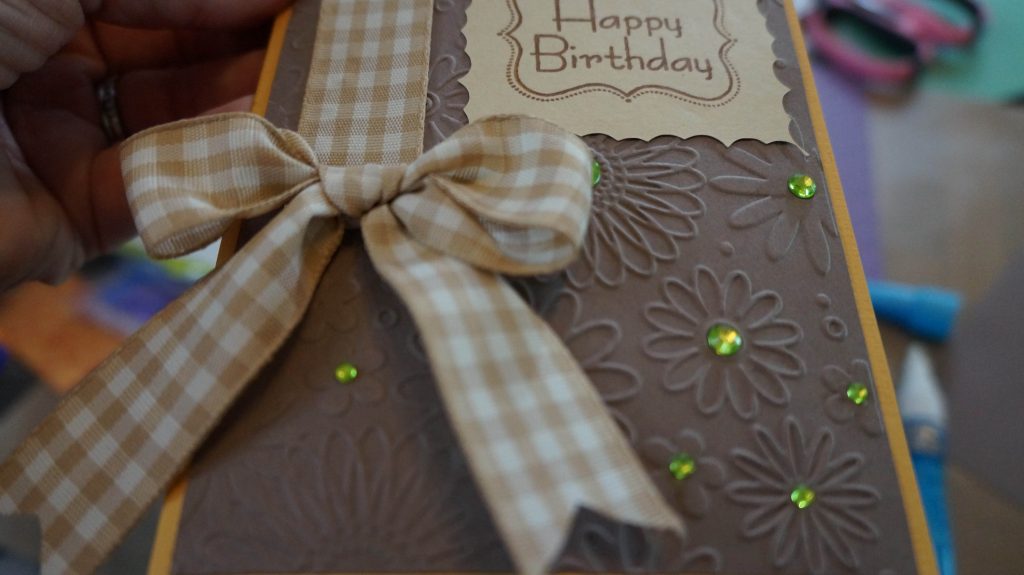
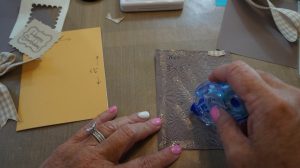
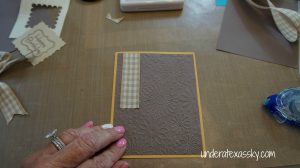
Next I decided to use some grosgrain ribbon as an accent. I cut a length of ribbon and used the glue runner to tape it to the mat before I applied it to the card.
[huge_it_gallery id=”22″]
I then used the glue runner to apply adhesive on the rest of the back of the mat.
For this card I’m only using one mat. Try to get it even on your card base.
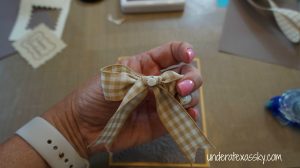
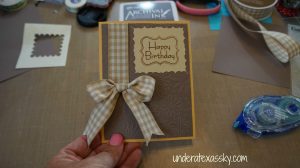
I decided to add a little bow to the bottom of the ribbon. I just tied a bow in the ribbon and trimmed the tails with a chevron. I added an adhesive dot to apply it to the ribbon on the mat.
At this point I’m ready to add the sentiment. I used a Happy Birthday cling stamp. I pressed it to the acrylic block then inked it.
[huge_it_gallery id=”23″]
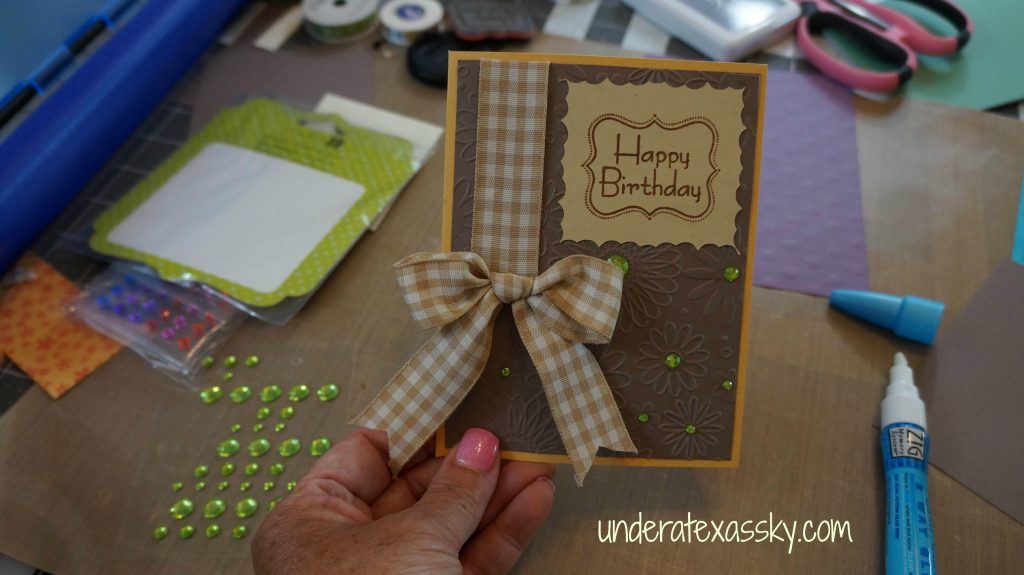
Ok, so I’ll be honest. I ended up using my Silhouette dye cutting machine to cut out a pretty scalloped tag. You can accomplish the same look with a pair of scalloped scissors. I applied the adhesive with the glue runner and pressed it to the mat.
I could have left the Happy Birthday tag as a rectangle and added another mat to go behind it. I would have used a mat in a color that contrasted the embossed mat and the sentiment tag. I’d have made it 1/4″ bigger than the sentiment tag. It makes a really pretty extra dimension to do this.
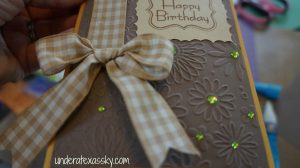
I decided the card needed a little extra sparkle so I added some little green gem stickers.
My friend thoroughly enjoyed receiving this little card and I was happy to give it to her. I’ve got several other examples of cards that I’ve made so check them out!

