Distressed Pantry Door

Seriously, I don’t just sit around and try to think of projects. Sometimes inspiration just strikes (The Mean Man would say like a hard slap upside your head). Thus, we, and when I say “we” I mean “me” (or I in this case) got the crazy idea to paint and distress the pantry door. First step, as always: consult Pinterest. I saw lots of totes cool re-done pantry doors. The kitchen is a great place to add charm, whether it be with a shelf or artwork, or, in this case- PANTRY DOOR RE-DO.
I knew I wanted to go with red paint but was not quite sure how to accomplish the “distressed” look. I really didn’t want to stain, paint, sand, etc. so we just threw caution to the wind and, as we so often do, decided to “wing it.”
The Paint
I knew that I wanted to go with a chalk paint. This always seems to be the easiest and best paint of choice for any kind of sign or furniture painting. Valspar (Lowe’s) makes a great chalky finish paint. Like most chalk paint, it’s pretty pricey. I think we paid almost $25 for a pint.

We didn’t do any kid of prep on the door except to be sure it was clean. Luckily my pantry isn’t near the cooking area (haha like I cook) so it was just a matter of being sure the door was dust free. There is no need to pre-sand. The Mean Man simply painted the door. The beauty part of this technique is that it doesn’t have to be perfect. He used irregular strokes over the entire door. This is great for a distressed look. I recommend starting on the side of the door that will face inside the pantry. This way you can sort of practice to be sure you have a feel for how to apply the paint without worrying about it being seen. We literally only applied one coat of paint. When the inside was painted and dry (we gave it a good 6 hours) we flipped it over and painted the other side. Give this 24 hours to dry before wax.

Step 2- The Wax
The next step is applying a coat of sealing wax (after paint has dried for 24 hours). This seals the paint and gives a nice smooth surface. Again we used Valspar brand. The wax is applied with a stiff round brush.


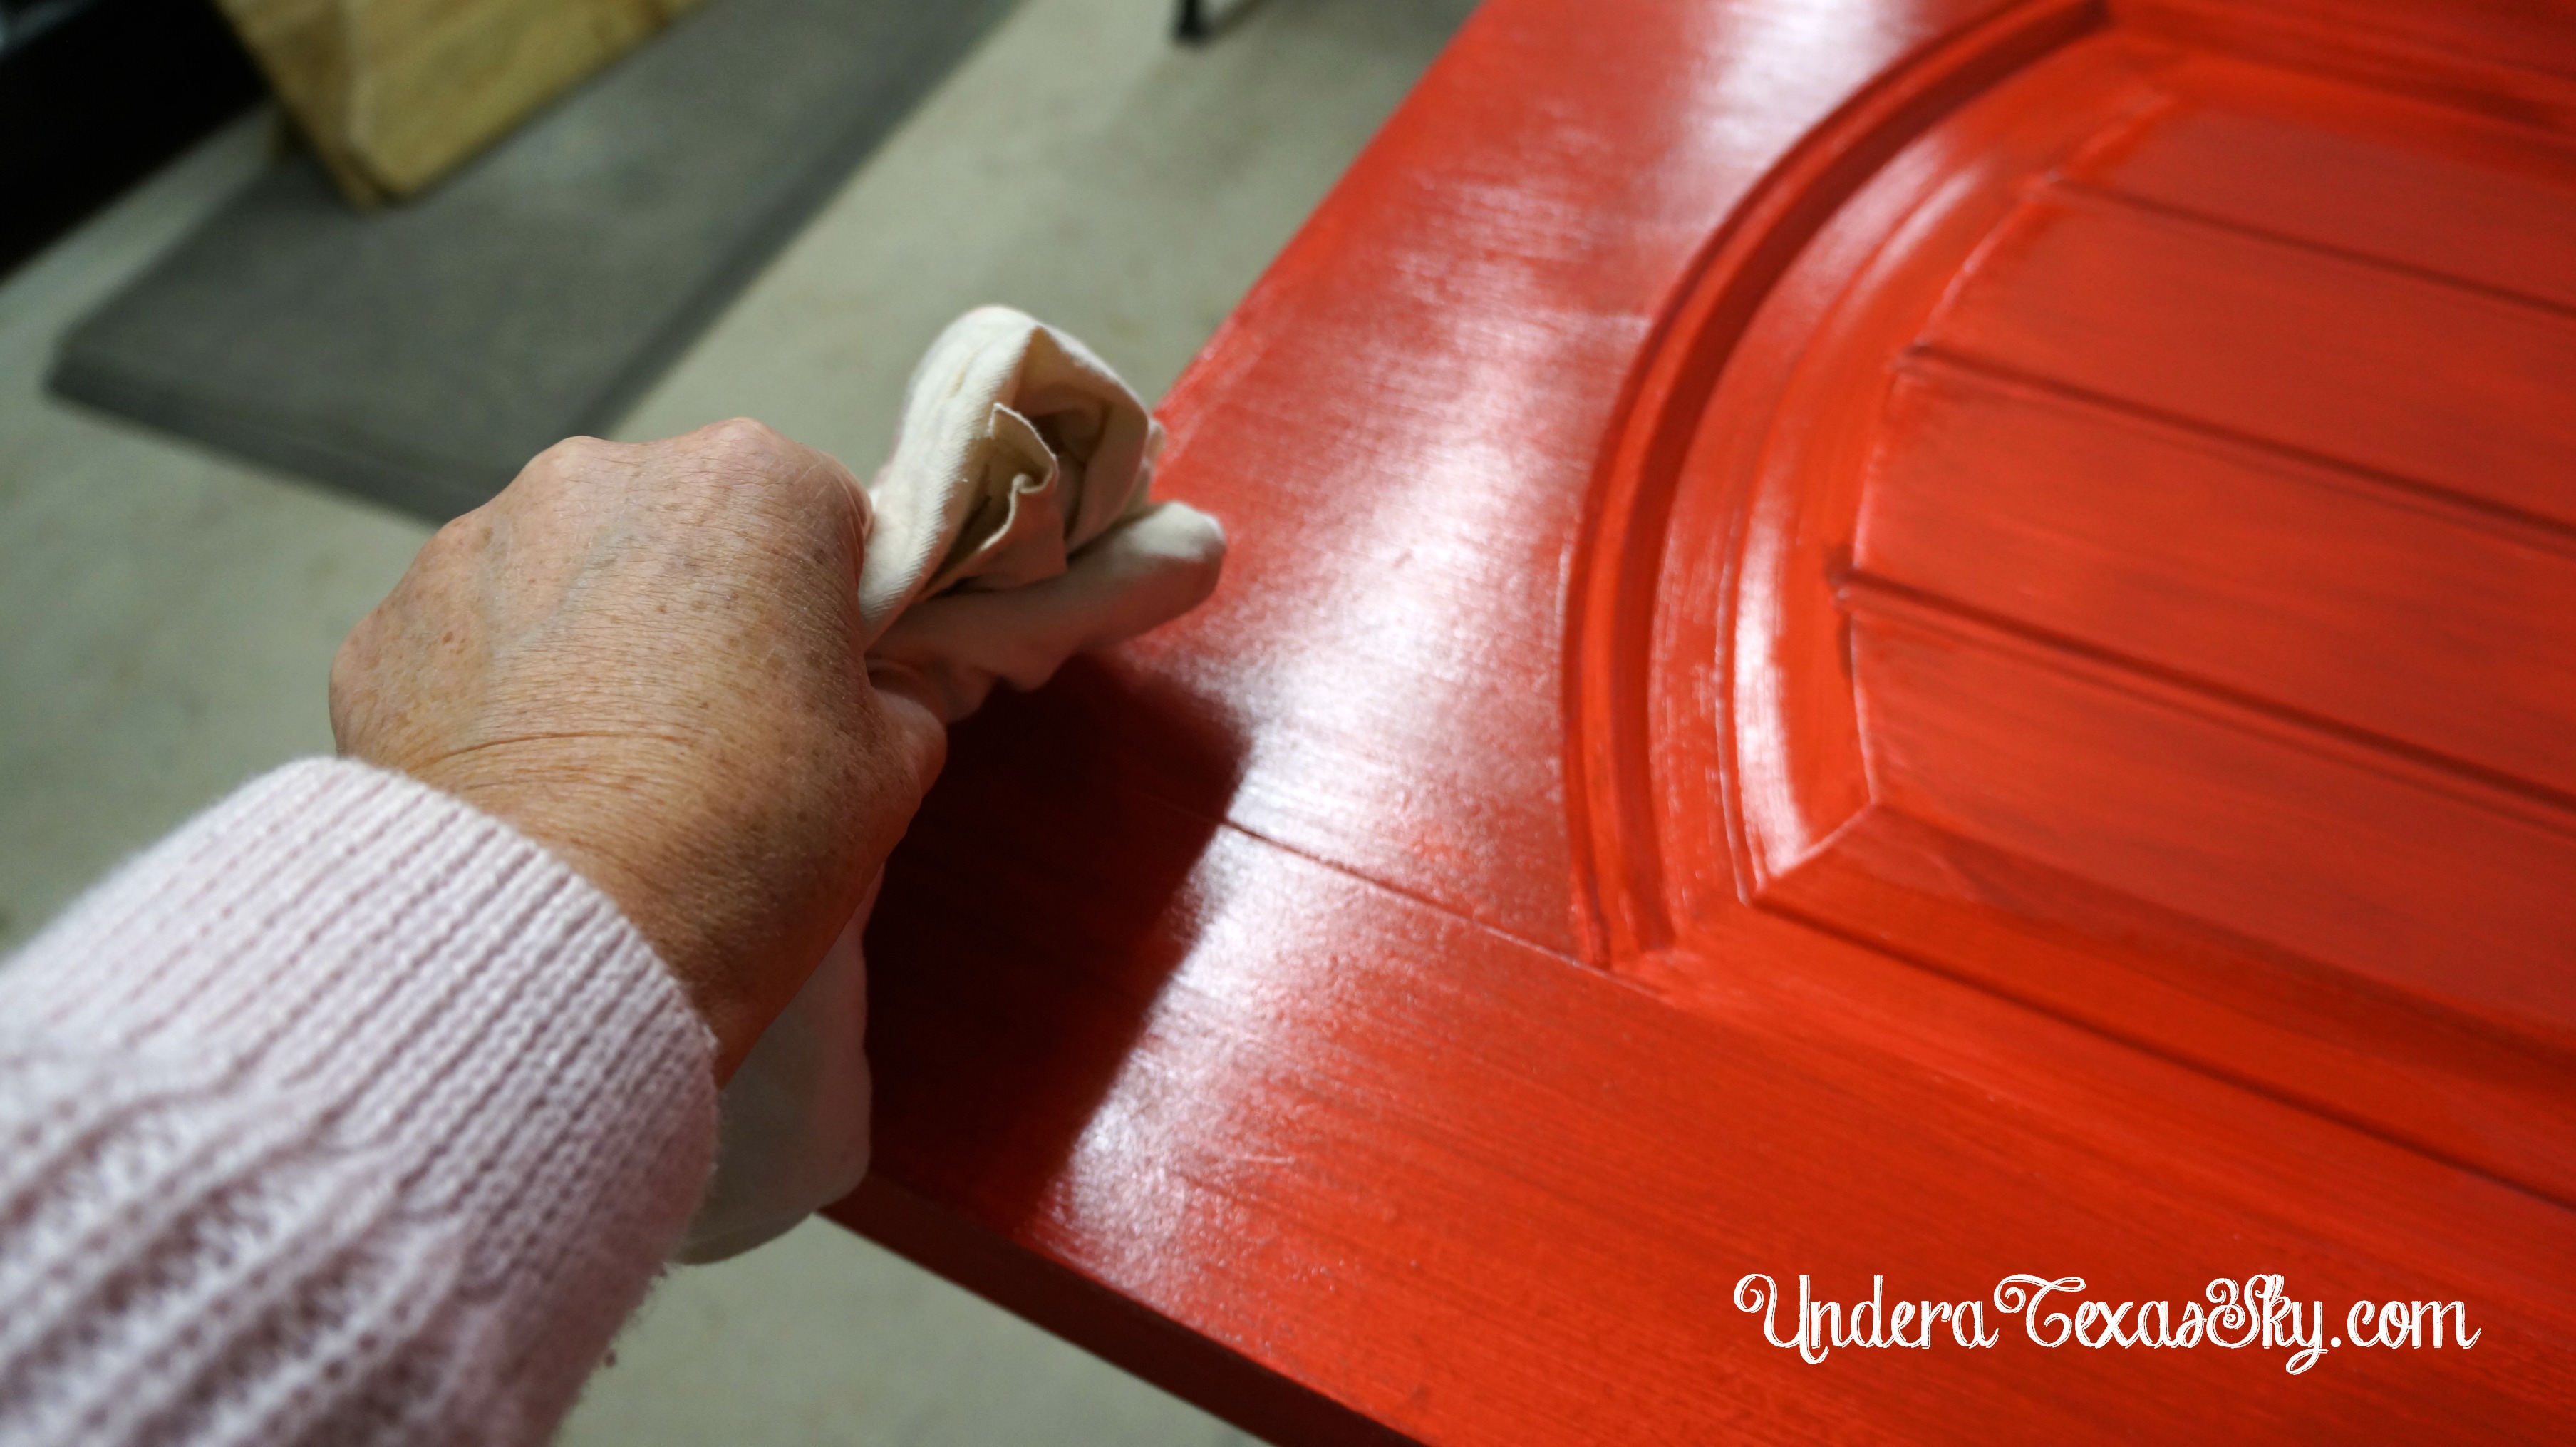
Wait about two minutes and then wipe the excess with a lint free cloth. Don’t dig into the finish, just wipe with a sooth even touch. Some of the paint will lift off- this is why a nice light touch is best. This step adds a richness to the color of the dry paint. Let this step dry for 24 hours.

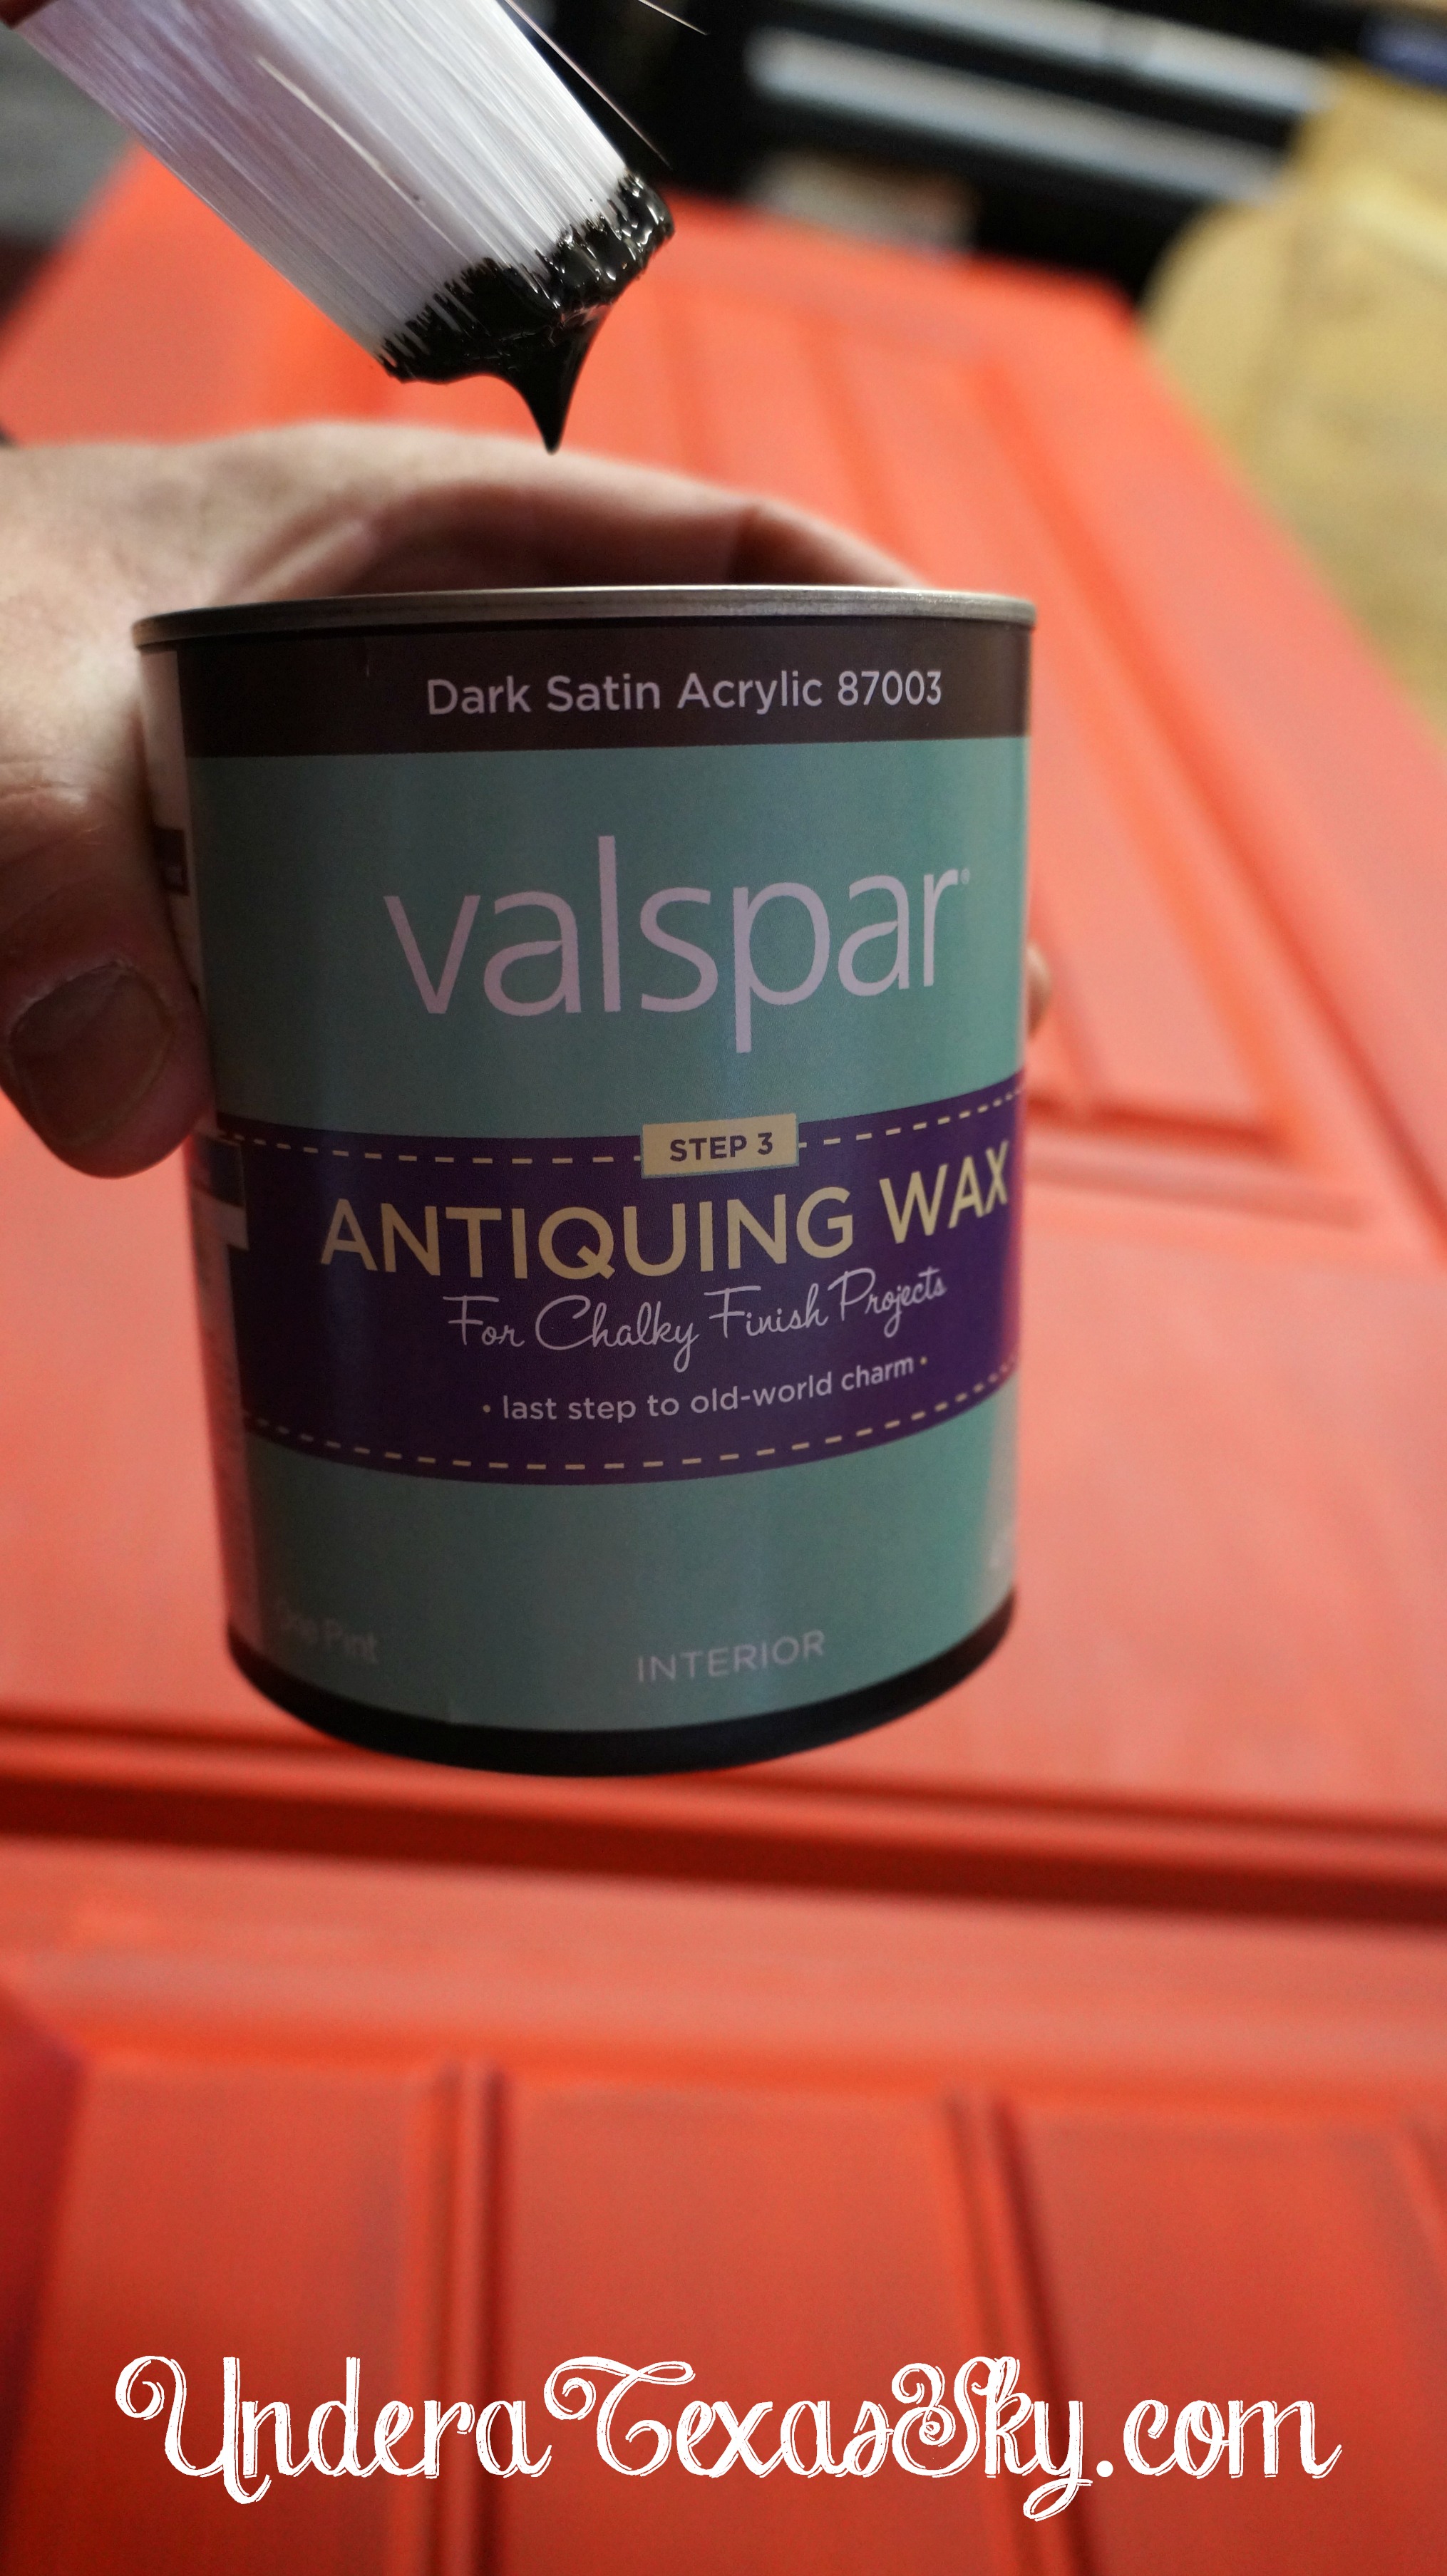
Finally, the Antiquing
The last step in our process is adding an atiquing wax. This is gives the dark aged look we wanted. Again, we used the Valspar brand. Using a square stiff brush this time, we applied a coat of the wax just as we did the sealing wax. I was not as careful with wiping off the excess this time. Letting it settle a bit in the crevices added to the aged look I wanted.


Finish with a Vinyl Decal
Finally I finished with vinyl lettering spelling “Pantry” that I cut out on my Silhouette. I actually waited several days before applying. It just seemed safest to be sure the paint and wax were good and dry before I added the lettering to be sure no paint could be removed with the transfer tape.


We changed out the hinges to oil rubbed bronze to match the door knob hardware. I had never noticed that our hinges are painted the white of the trim. I hate that! Now I’m asking The Mean Man to change all of the hinges all over the house! That’s just like so many projects, one thing leads to another.


Check out Pinterest to see lots of other colored doors and ideas. I love them all!
July 21, 2022 @ 2:54 am
Girl you really outdid yourself!I couldn’t stop watching all the great details of everything. So very beautiful.Thank you for sharing.
July 26, 2022 @ 10:18 am
Thanks so much! I love how it turned out!! Nothing like a pop of red to jazz up a space. Blessings- Kelly
March 8, 2021 @ 12:29 pm
where did you get the word pantry desine from
March 9, 2021 @ 2:58 pm
Ryan- I created the word in my Silhouette Cameo. I think you can find them on Amazon as well. Blessings! Kelly
December 23, 2019 @ 10:00 pm
Is that a real wood door or just one you pick up from Home Depot or Lowe’s
January 1, 2020 @ 5:46 pm
Bridgett- Sorry it’s taken so long to get back to you. It’s just a plain core door like you get at Home Depot. The paint still covered so well. Thanks for stopping by. Blessings- Kelly
September 13, 2019 @ 12:40 pm
what color red chalk paint did you use
September 13, 2019 @ 1:27 pm
The Valspar paint was tinted to “Ruby Earbobs.” Thanks for stopping by. Blessings- Kelly
February 14, 2019 @ 11:43 pm
Hi Kelly, I have 80’s oak cabinets and have been looking for a way to ‘age’ them. Could I use Aging wax to darken them and create dark corners? Would I need to sand first?
February 15, 2019 @ 11:17 am
Sue- Hmmm… I’m not 100% sure. I usually following the process of painting, sealing, then antiquing. Yours have been stained I assume, and so they’re also sealed. I’d definitely not sand. I’d just try in a very non conspicuous spot and apply a dab of antiquing wax then wipe off the excess. Focus on the areas that are raised, where natural aging would occur. Again, I’m not certain this will work but in theory it should. Good luck! Blessings- Kelly
December 12, 2018 @ 9:06 am
Thank you so much Kelly!😍
December 13, 2018 @ 8:04 pm
My pleasure!
December 11, 2018 @ 3:27 pm
The door looks wonderful! Just finished one side of my pantry door and wondered if you added another coat of the sealing wax over the antiquing wax at the very end.
December 11, 2018 @ 8:08 pm
Cindy- Thanks so much! Yes- I’d put a final coat of sealer to be sure the door stands up to all the touching it will get over time. Be sure to let it all dry really well before that last coat. I hope it turns out beautifully. Blessings! -Kelly
September 4, 2018 @ 12:47 pm
Love your door. I watch Property Brothers all the time and I saw a kitchen they were remodeling and they incorporated a corner pantry. I thought this would be perfect in our unfinished cabin. It’s small so I was looking for storage ideas. The corner pantry will be perfect. So I started looking at Pinterest corner pantry ideas and came across your door. Beautiful. Thanks for the idea.
September 4, 2018 @ 1:08 pm
Linda- Thank you so much!! I just love this door too. As you may have seen, we sold our house just shortly after we did that door. Sadly our new (120 year old) house doesn’t have a true pantry; it’s incorporated into the cabinets. You really made my day with your nice comment. That’s always my hope; to give someone else some inspiration. I’m so happy you took a moment to let me know. Blessings- Kelly