
The downstairs master bedroom (which is the one we claimed) had some issues. The drywall was cracked and it had peeling wallpaper. We decided to pull it all down to expose the original shiplap. This process went fairly quickly, but once done, we discovered one wall was not in the best shape. This wall had originally been the entry to the side porch (now the kitchen). Consequently, there were lots of mismatched shiplap along the wall where they boarded up the doors. Instead of pulling down the old shiplap and trying to replace it with matching pieces, we decided to just create a board & batten accent wall.

Materials:
4’x8′ Primed plywood 5mm
12′ 1×3 MDF boards
8′ 1×3 MDF boards
Nail gun & nails
Primer
Attaching the Boards
Finding a way to cover the shiplap without adding bulk to the wall was important to us. We chose to go with a thin primed plywood board to skim the walls. The width of the boards would determine where our vertical beams would land. Measuring from the door to the room to the corner wall let us find center. Dividing the space evenly determined how wide our skim boards would be. The boards come in 4×8 sheets. We cut them down to about 38″ wide. This left about a gap at the top of the wood panels that was filled with board to fit and determined where our horizontal board would go.

After cutting the boards to the correct width, put a coat of Liquid Nails on the back before attaching to the wall. Be sure to make the cuts you’ll need to allow for light switches and electrical outlets.


We made the decision to not remove the original baseboards. Our wall is quite tall and we really only wanted to have one horizontal seam that we’d have to cover. Starting the board & batten wall trim on top of the existing baseboard was the best option.
Affix the board with using a nail gun. Continue placing boards in this manner leaving only a small space between boards.

Cut the smaller panels to fill in the space above the 8′ panels.

Add the trim boards
Frame the entire wall with 3″ primed MDF. 12′ boards were perfect for the long runs. 8′ boards were used for the smaller cuts.


Next, add the vertical boards where all of your seams run.

The horizontal boards go on last.

Caulk all of your seams and nail holes. Then add a coat of primer.

Finally, paint the wall in your chosen color. We chose Mediterranean Blue.
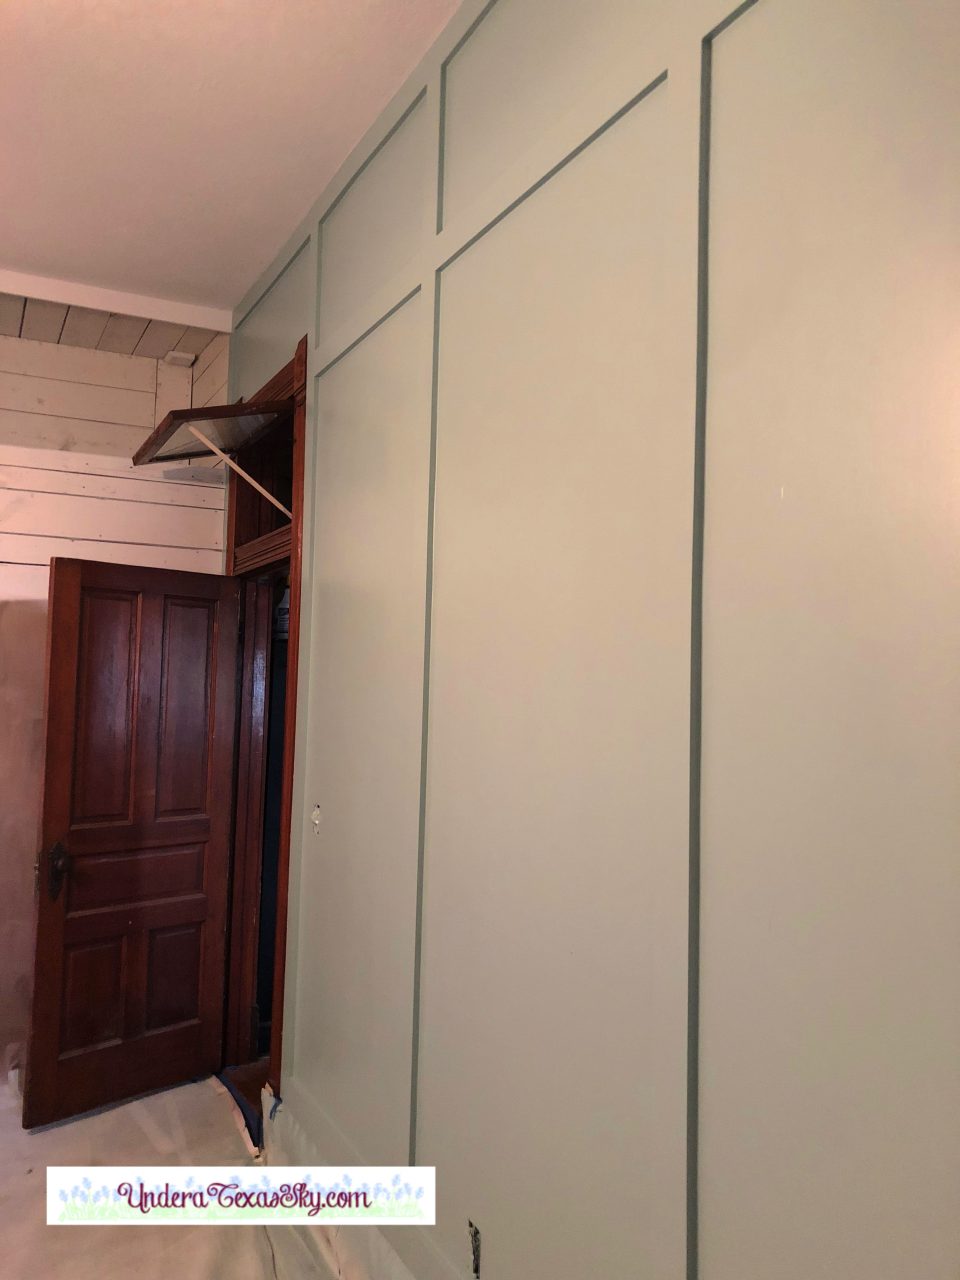

The results!
The wall turned out beautifully. We painted the ceiling and shiplap walls Bone White. The board & batten wall compliments the shiplap walls perfectly. It was a great way to cover up the flaws of the original wall plus it adds an amazing decorative element to the room.


