Master Bath- Mission Accomplished

When we started this process five months ago, I honestly couldn’t imagine ever getting to this point. We’ve been using the tiny upstairs bathroom with a shower barely big enough to turn around. You can really start to miss a nice master bath when you don’t have one. I was almost desperate enough for a nice long hot bath that I almost checked into a hotel. I’m a girl who loves her baths and bath salts and bath bombs and bath oils! It’s been a lesson in patience and learning to be like the Apostle Paul, and being content in all my circumstances. So I waited.
You can imagine that after assessing the situation, I thought any light at the end of the tunnel would have to be a train. Demo was just the beginning. All of the things that had been removed, had to be rebuilt. Our guys did a great job of making that happen. So I wound up with basically a blank slate.
The Tub Situation
I vacillated back and forth on whether or not to try to keep the existing tub and shower surround. It is a one piece unit. At this point, saving money was becoming more and more essential. But, I couldn’t imagine not having a great tub for soaking located right off of the master bedroom. So I told The Mean Man that I wanted to use the clawfoot tub that was located on the third floor. He was thrilled (that is dripping with sarcasm). Not only did that mean that huge, extremely heavy tub would have to be brought down two flights of stairs, but it would actually have to go outside first. So he could refinish it. Another job to add to the list.
I fully intend to create a post showing how we did this. But we only did the outside of the tub. The inside, while not perfect, is fine for now and I just couldn’t insist that The Mean Man take on yet another task. So here’s are a few pics (without commentary) of him refinishing the tub’s exterior. 


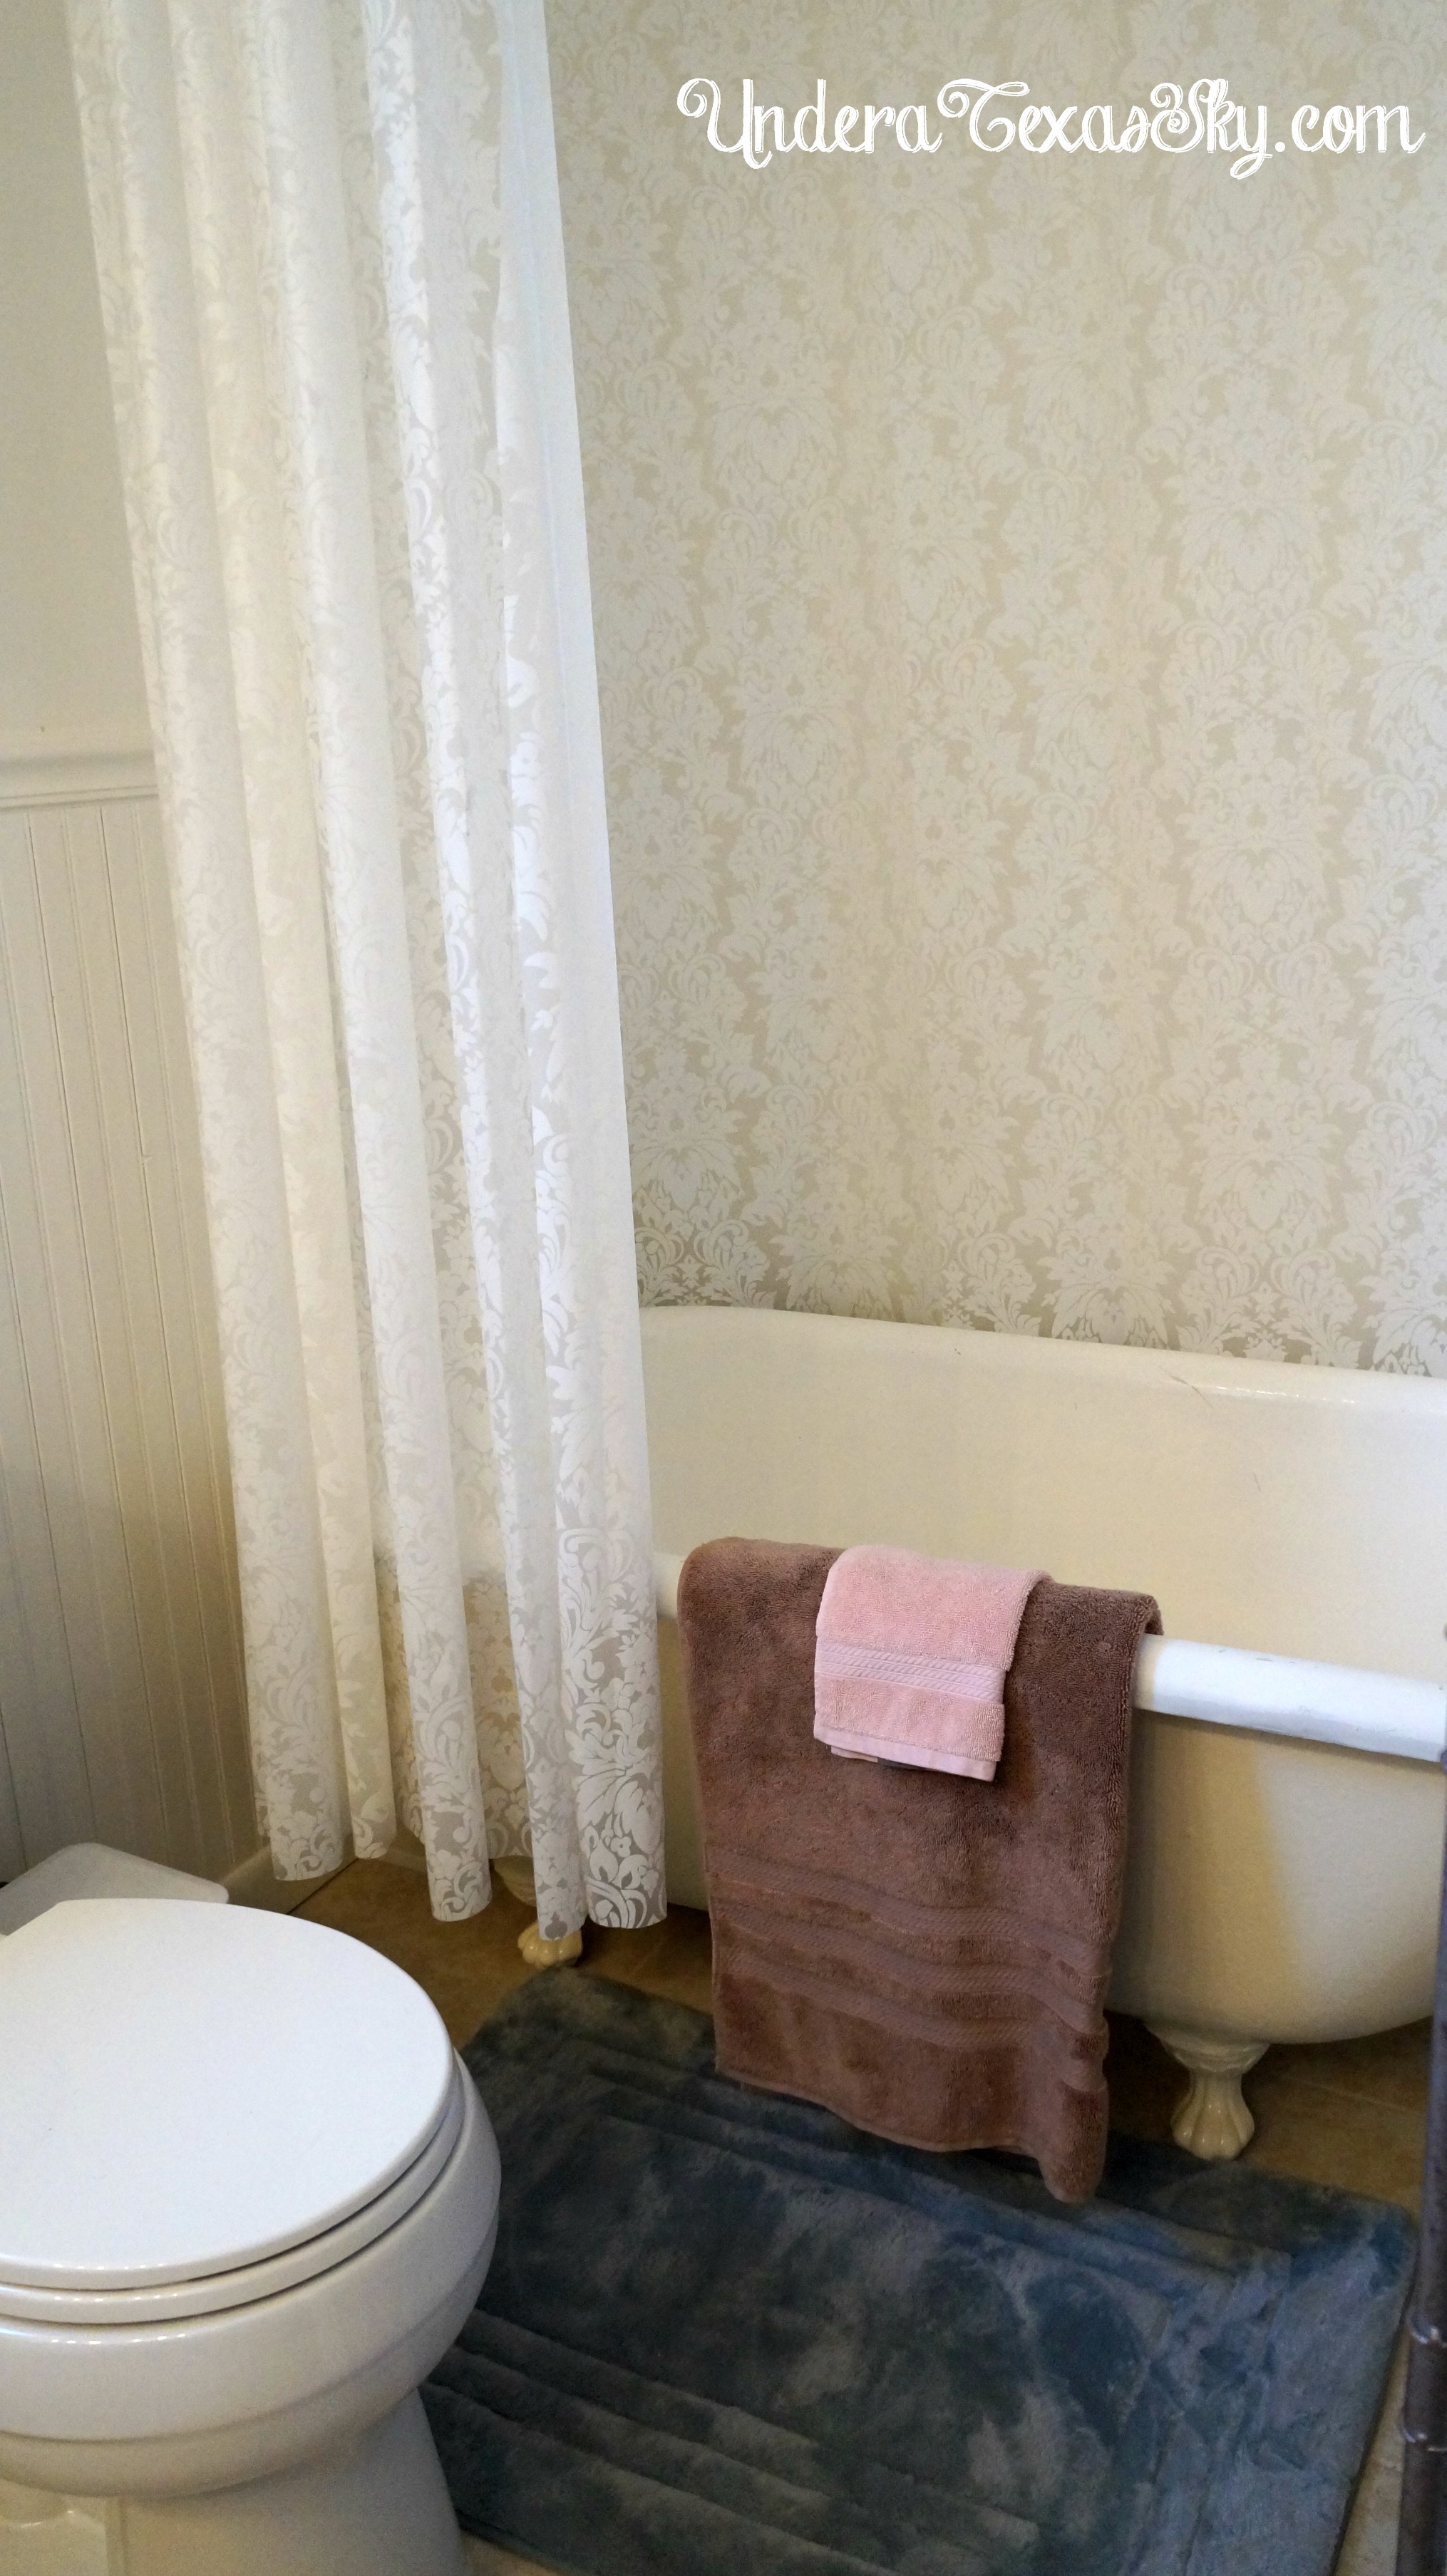
The interior has a few chips but it’s totally usable, and use it, I have! We do have the kit to finish the interior, and we will… eventually.
The Design
After much deliberation, one evening at the home improvement store, we settled on having a bead board wainscot. Wanting to keep everything with the same clean look as the rest of the house, we decided on white for the walls and trim. Even though our house is farmhouse Victorian, I decided I still wanted to install a more decorative vanity. We found a floor model at a local surplus store that we thought would look perfect. We bought it right off the floor and it looks beautiful installed on the new ceramic tile floor.

Accessories
The vanity came with an attached marble top with sinks so all we had to add were the faucets. In keeping with the overall design, we chose brass fixtures. Honestly, the faucets for the sink were about the cheapest the home improvement store carried. It was the ONLY brass faucet they had. I like the simplicity. A brass light fixture could not be found, so we went with two oil rubbed bronze light bars. These bars came without globes, so you can customize them the way you’d like. We chose decorative glass globes with gold flecks throughout.


I searched high and low for mirrors. It was super easy to find brushed nickel finishes, but gold/brass not so much. Luckily, it was 50% off mirrors time at Hobby Lobby and they had the perfect sized round mirrors! We hung them using those weird wire Gorilla Hooks as there weren’t studs where we needed them. These things are rated for 50 pounds, so we took the chance. And they worked!
Tub Fixtures
As cheap as the sink faucets were, the tub faucet was equally expensive. Wow, I couldn’t believe how much a brass clawfoot tub faucet with shower diverter could be. Let’s just say it was close to $1,000 after tax. I almost choked, but it was a must have. It did come with the faucet, shower diverter, rain shower head, and the oval shower curtain rod. We attached the faucet through the wall, because there is a huge concrete cistern underneath the floor of the bathroom that made moving the plumbing impossible.

Once it was all installed, it looked amazing!


Towel Bars and Such
Brass towel bars were much easier to come by. Not as prolific as brushed or satin nickel, or ORB, but still. The thing is, almost everything looks just the same to me. Marty had his eye out on one of our visits to Hobby Lobby, and lo and behold, they actually had a towel bar, toilet paper holder, and hand towel ring in brass. But theirs also had an added bit of flair. We snatched them up.


Having a place to store and access your shower essentials like shampoo, conditioner, face wash, etc. is a bit of a problem if you have a clawfoot tub. I looked all over Pinterest to see what other people use. Most of the time, people just use a small table next to the tub. The small table worked for me for a few weeks, but my hand would drip all over the table top and it was wood, so I knew this wouldn’t work for the long term. We finally picked up a little three tiered metal and glass shelf to set next to the tub. It works really well. It’s impossible to keep completely dry, but because the shelves are tall, gravity keeps my hands from dripping too much. And the fact that the shelves are glass and metal, a little water won’t hurt. A wood shadow box from HL works great to store my bath salts. I put them in cute Mason jars.


Amazing Transformation
The transformation of this bathroom is nothing short of amazing. We started with rotted walls, rotted floors, bizarre bulkheads, awful light fixtures, and the like. It’s hard to believe it’s come all this way!


April 3, 2019 @ 7:28 pm
Very Nice!
April 4, 2019 @ 8:40 pm
Pam!!! It’s so lovely to hear from you! I hope that life is treating you wonderfully. Thanks so much for popping in. If you’re ever in Waco visiting the Silos or whatever- you should drive 30 minutes east and see me. -Hugs, Kelly
April 2, 2019 @ 1:46 pm
Wow! It is beautiful.
April 3, 2019 @ 12:06 pm
Ginger- Thanks so much! Blessings- Kelly
August 14, 2018 @ 7:43 pm
Beautiful!
August 15, 2018 @ 1:45 pm
Barbara- Thanks so much!