
This post include affiliate links. See details on my disclosure page.
As y’all know I’ve been buying vintage furniture pieces for months now. I’m slowly getting them painted and bringing them back to life. As you also know, I am now a Dixie Belle Paint Premier Retailer so I’ve gone to those products almost exclusively. I’m not gonna lie, I love the results.
I picked up this side table at an auction. The table top was badly damaged with what looks like essential oil bottles rings. What’s up with that anyway? I’ve got damage to my dresser because I used a diffuser on the dresser top and kept the bottles of oil next to it. I have rings that ate the finish right off! Lesson learned there. Clearly this table was a victim as well.
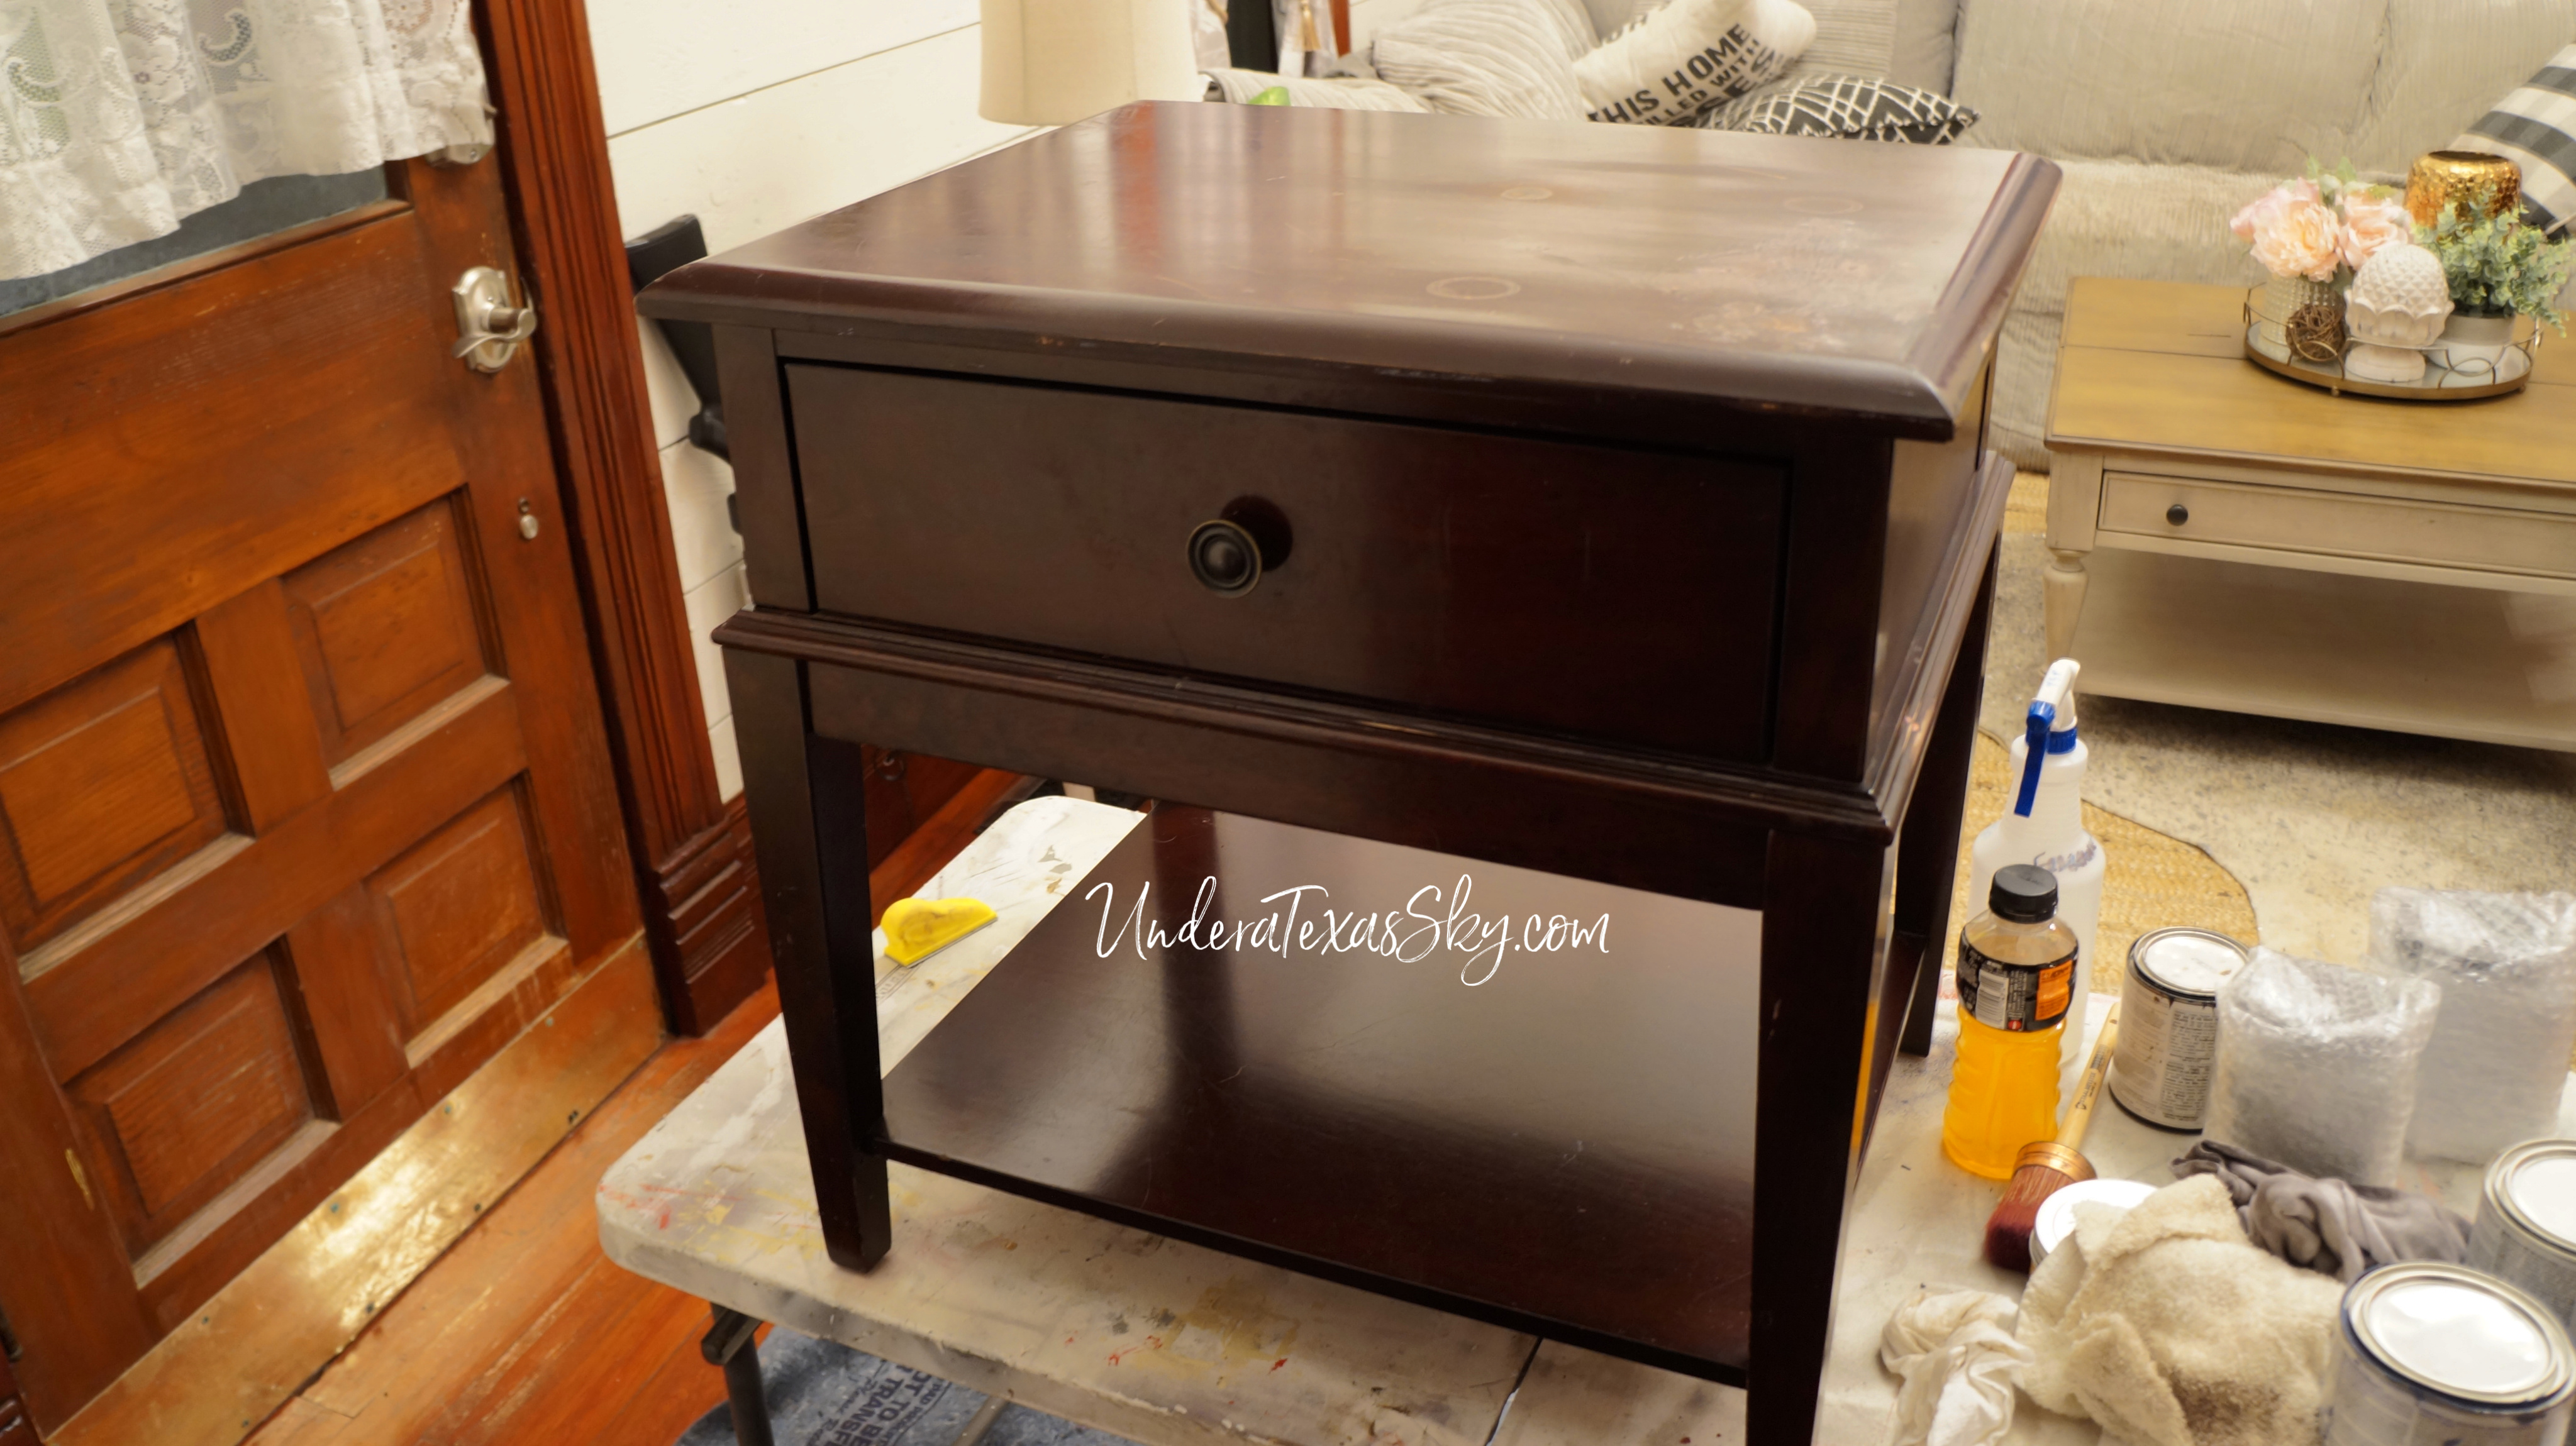

One corner of the table was especially bad. Here’s how I turned it into a pretty addition to any room.
Layering Chalk Paint for a Distressed Finish
The very first thing you need to do before you paint any piece of furniture is CLEAN IT! Dixie Belle’s White Lightning is a great cleaner for furniture you are painting. It removes all grime and grease and preps the piece to receive paint. Don’t skip this step. No matter what cleaner you use, get that piece as clean as possible. Your paint finish is only going to be a good as your prep. If you’re using White Lightning, you’ll just take two heaping tablespoons full and mix it with a gallon of water. Then spray and wipe clean. Follow with a clean damp rag.
The point of layering your paint is to give your finished piece a distressed look that doesn’t have to distressed with sanding. Start with a dark layer. In my case, I used Dixie Belle Caviar. It’s a nice black color. I dry brushed the entire piece. Dry brushing is where you don’t load your brush fully, and dab off any excess on a papertowel before applying it to your piece. I covered probably 80%. Let this coat dry thoroughly- at least a few hours.


Add a Layer of Another Color (if you want)
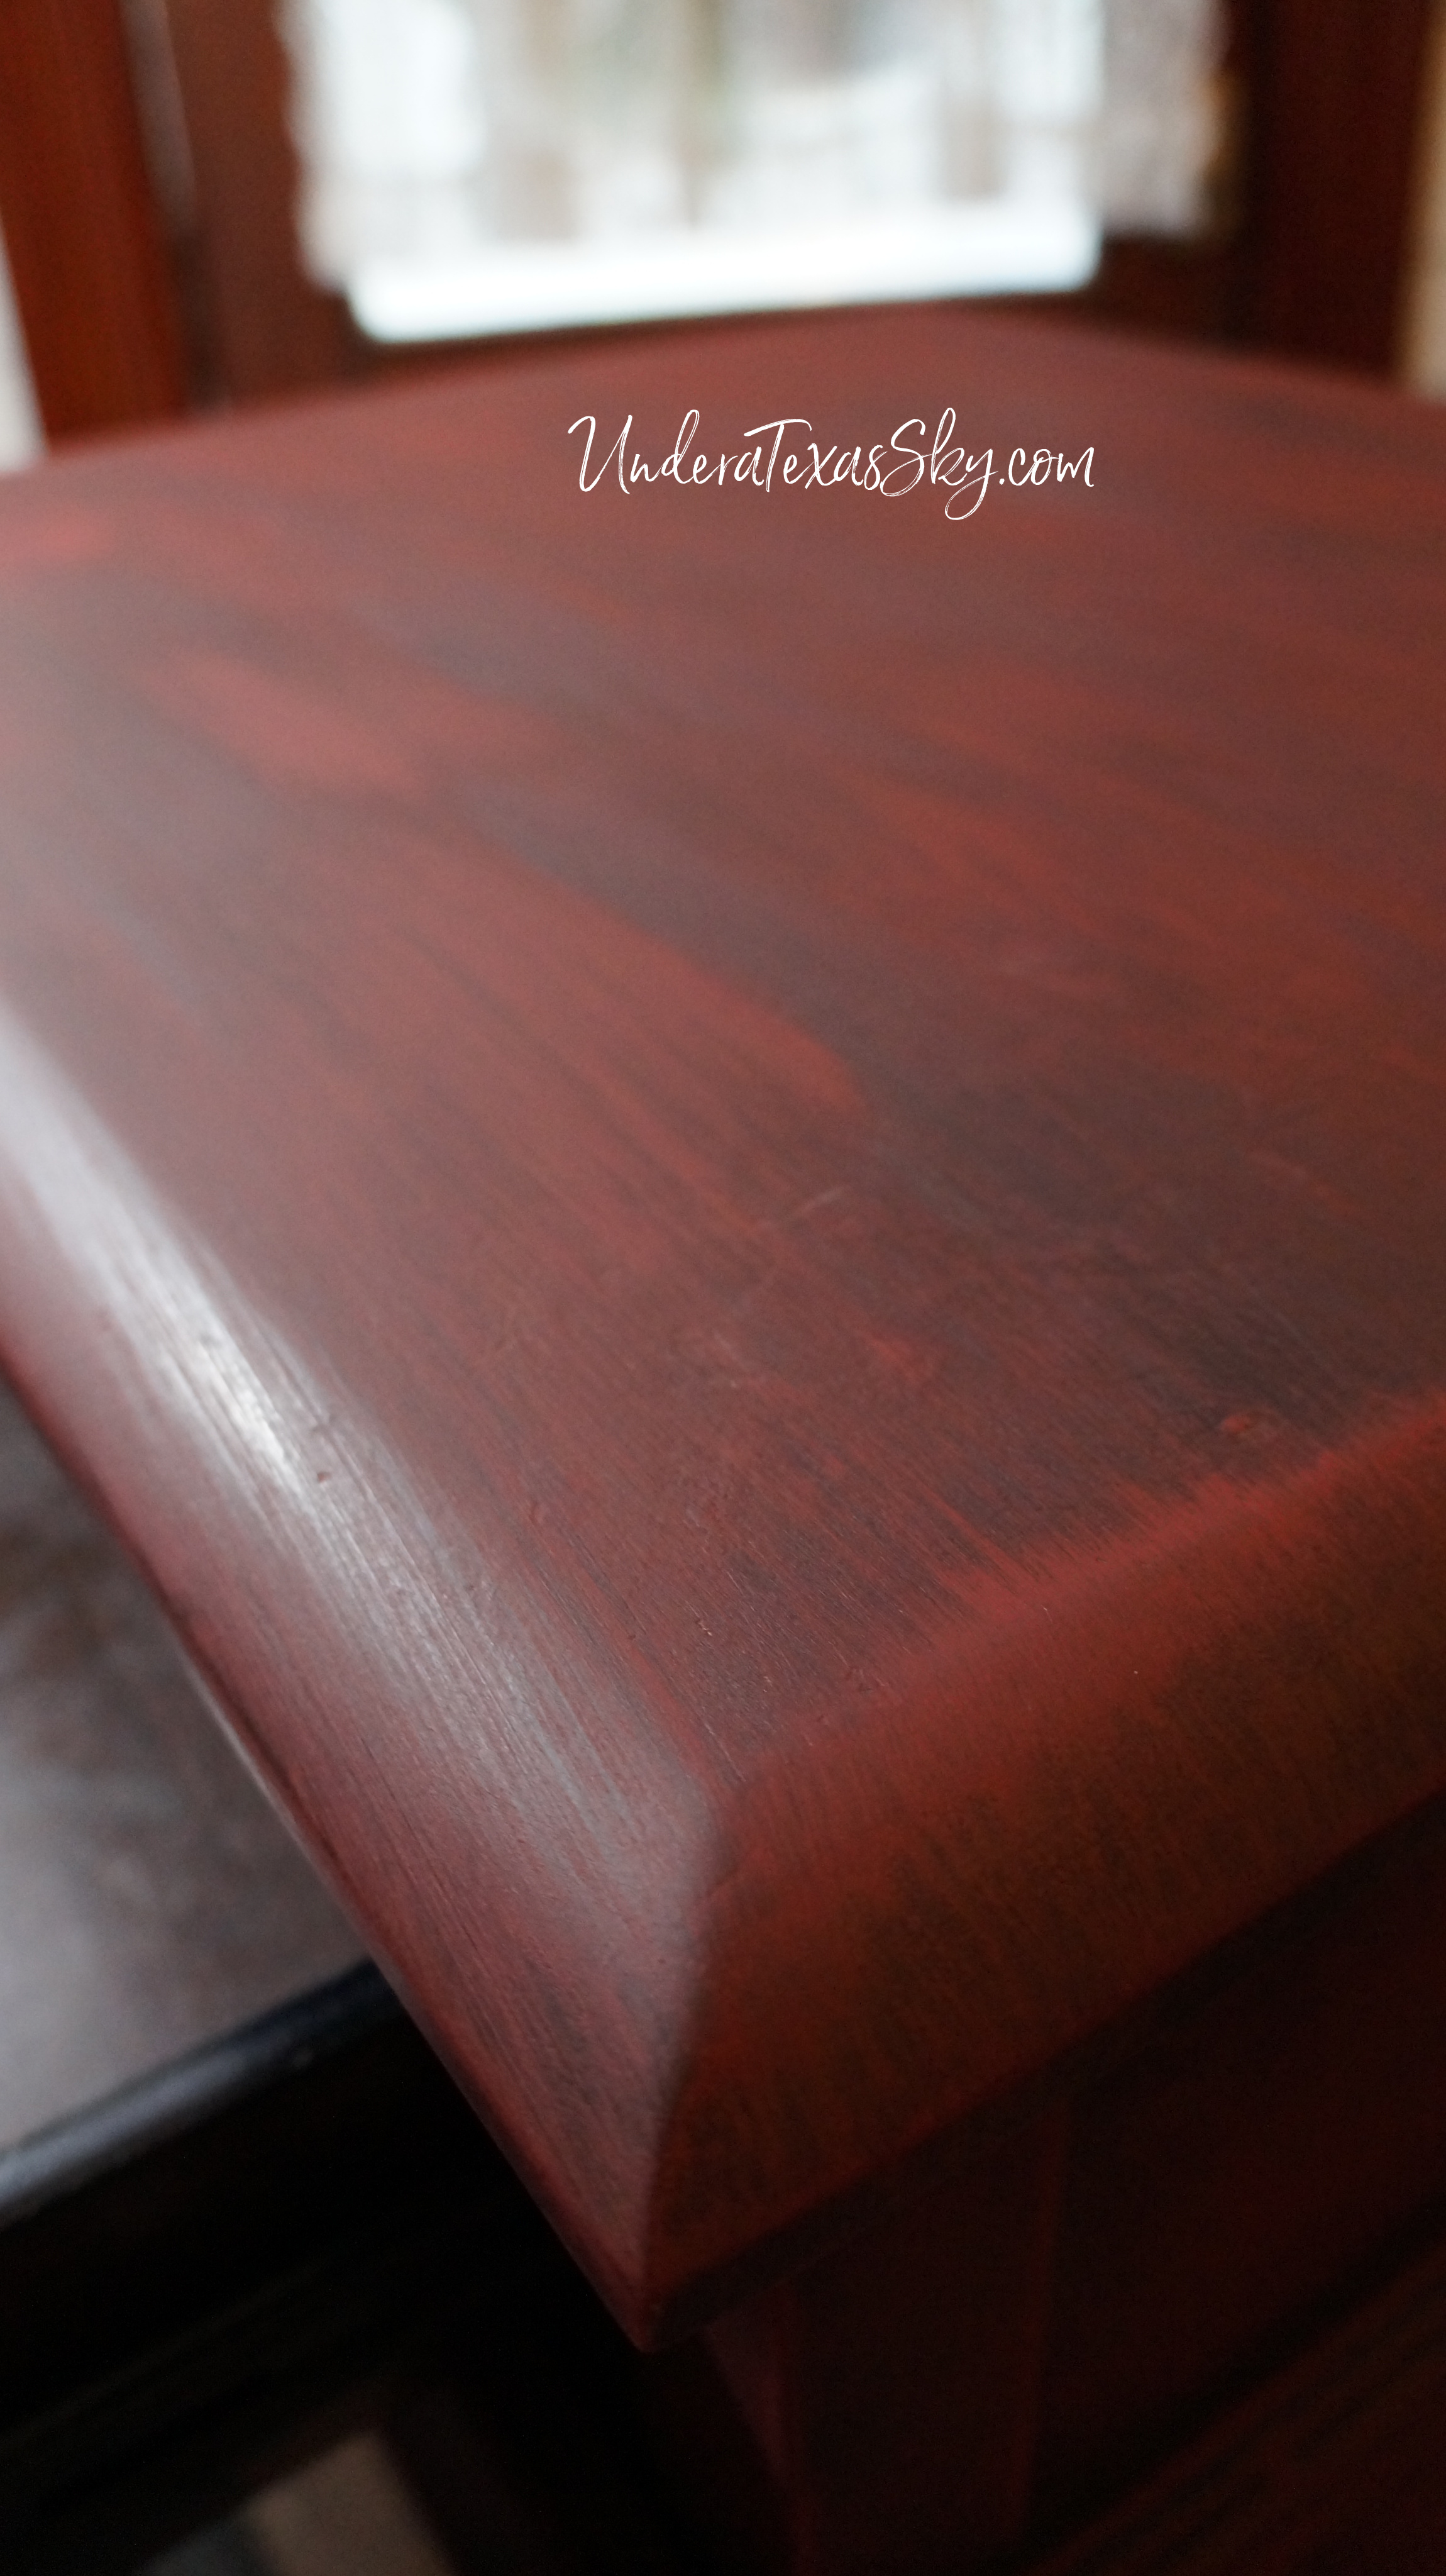
I added a second layer of color by dry brushing Dixie Belle Barn Red. You don’t have to do three layers. I just like have that extra color peaking through some of the final coat. Again, dry brush this coat over the entire piece. Notice how you can still see the black and even the original espresso finish peaking through. It’s really important to let this coat dry thoroughly also.
Finally Add the Top Coat
The last coat goes on like the first two, but give it more coverage than the first two. This, of course, depends on your preference. If you want it to look really rustic, do the same dry brushing you did on the first two coats. My last coat was heavier. I used my go-to color; Dixie Belle Drop Cloth. Just be sure you get things balanced. Take care to get the bottoms of the legs. Sometimes I miss some of that area. This is the very rough coat being applied.
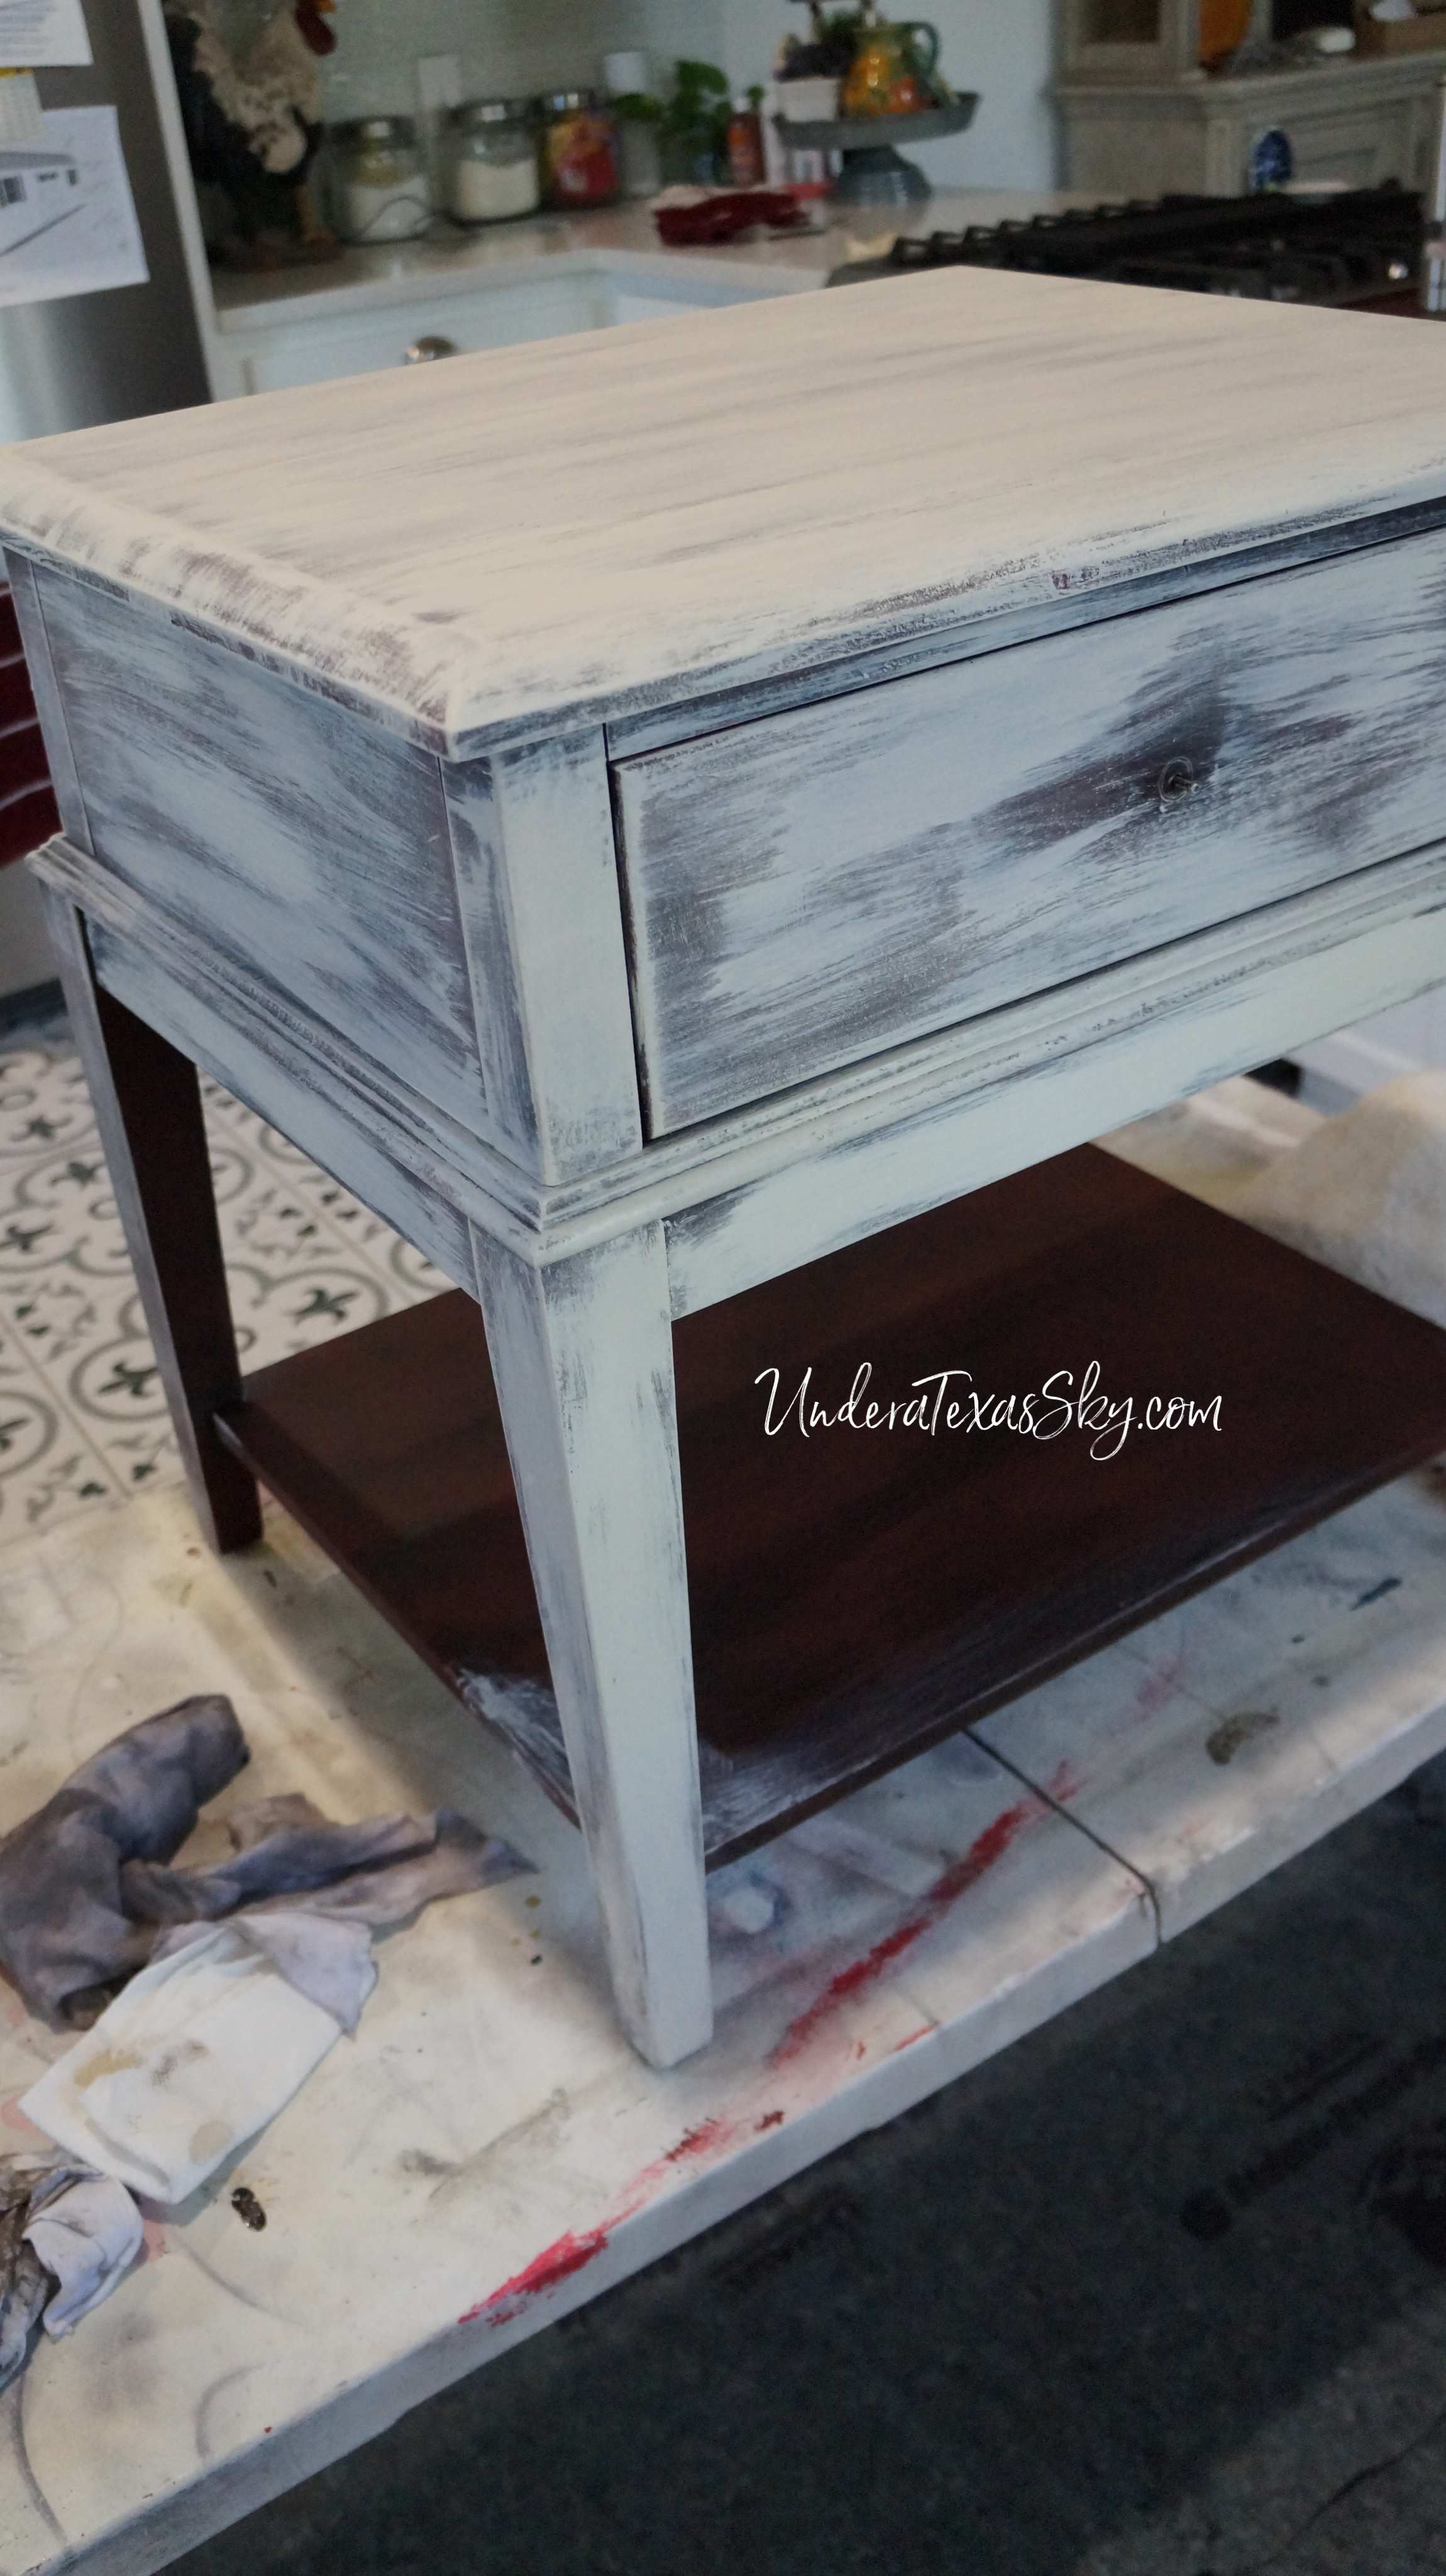
For some, this could be the look they would want. It was still a bit rough for what I wanted to accomplish. Let this coat dry. Then add just a bit more paint for a little more polished look.


I finished with a new crystal drawer pull. Adding a couple of transfer pieces that I had leftover from another rub on transfer that I used on another piece was the perfect touch. If you use rub on transfers; DON’T THROW ANYTHING THAT’S LEFT AWAY! I have little scraps all over my craft room They worked perfect to add a little some somethin’ to the table.
Add a Finish
Lightly sand your piece with 400 grit sandpaper to prepare for your finishing coat. If I’m adding extra depth, I’ll use Dixie Belle’s Best Dang Wax in a color like Grunge Gray. Dixie Belle Paint does not have to have a top coat. It cures in about 30 days and had a solid finish. I prefer a little more of a sheen to my pieces, especially table tops. If the surface is going to take a lot of use, I’d use a clear coat. Dixie Belle has a flat, satin, and gloss clear coat. Satin is my go to. I love that they are water based so I don’t have to worrying about the finish yellowing.


![]()

April 24, 2019 @ 3:01 pm
That looks amazing! I have an old dresser I’m dying to paint. This gives me a technique I just might try.
April 24, 2019 @ 9:05 pm
Penny- Thanks so much! It’s my favorite way to paint furniture. Try it! It’s fun. Blessings!