This is an all-time favorite!
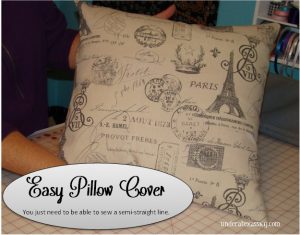
When you’ve got a pillow that no longer matches your decor- don’t sell it in a yard sale… just simply re-cover it! This is basically a pillow sham recipe.
Don’t be intimidated because this pillow cover requires sewing. If you can sew a semi-straight line- you can do this! I had six cute plaid covered pillows that just did not match our new decor. Now, pillows can be expensive so I decided since I already HAD the pillows, I would just recover them. Here’s an easy peasy way to accomplish this.
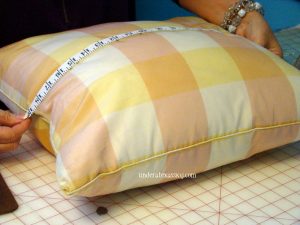
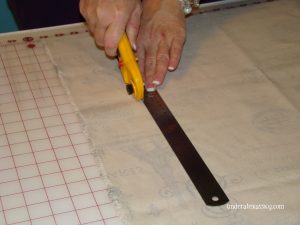
I started with a yard of fabric. The first thing you need to do is measure width of your pillow. That’s just side to side. Mine was about 19″. Write that down.
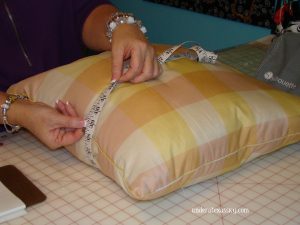
The next measurement is your length. You obtain this measurement by measuring all the way around the pillow. My pillow is a square so it was fairly easy- my measurement was 38.”
Now, this sounds confusing… but it should become clear as you go. Remember, you’re only using one piece of fabric to accomplish this pillow. Here’s the confusing formula:
So the size of your fabric will be 43″ x 20 1/4″. Where is says seam and hem just means that’s the size of the allowance for those seams.
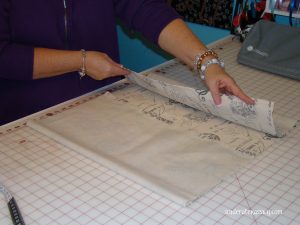
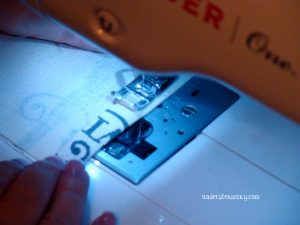
Now, lay your fabric out print side down. You’ll need to make your 1″ hems on each end (this will be the short sides). You need to fold your fabric in 1/2″ and iron it down. Then fold it over another 1/2″ and press it flat (thus 1″ hem). Ironing these edges is vital to be able to sew them easily. This double fold just makes it all stronger.
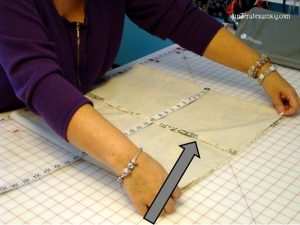
Now lay your length of fabric down print side up and fold the ends over to the middle.
You can see there is where I sewed those double folded ends.

The folded sides should overlap about three inches. Try to work it to where the opening is close to the middle. This is going to be your pocket to open in which you’ll stuff your pillow. Place a few pens along the rough unsewn sides just to hold it together as you take it to your sewing machine.
That’s it- the only sewing is the double flap on the short ends (folded 1/2″ then 1/2″ and sewn down) then the 5/8″ seam on each side.
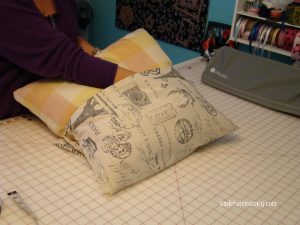
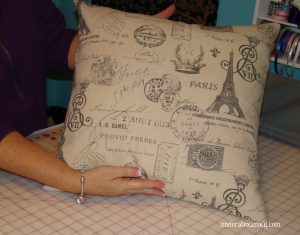
Next just turn the cover right-side out and stuff in your pillow!



July 30, 2018 @ 5:24 pm
HI. I LOVE the wood sign that says Love lives here. Where can i find the file that has that word LOVE in it.
Thank you
August 1, 2018 @ 9:41 am
Kristie- Please let me know if you didn’t get the reply to your email! I love that “LOVE” so much too!! Thanks for stopping by. Blessings- Kelly
January 10, 2017 @ 8:11 am
I didn’t connect the dots on the measurements until I looked at your design several times. The sham turned out great and I am going to try this myself. My one observation would be to explain that you will need to add 5 inches to the “long” side to accommodate the pocket and 5/8 to each of the “short side” for the seam allowance. I did the math and figured it out, but some may find it confusing. Again, I love the design and it will help me so much to update my decor and breath some new life into my pillows! Thank you so much for sharing.
January 10, 2017 @ 8:33 pm
Alonda- Thank you so much for stopping by and for the detailed and thoughtful information. I’m so happy you were able to work out the measurements for your pillows. It’s really such a savings over purchasing shams. I hope all of your decor projects turn out wonderfully! Blessings- Kelly