Here’s how to make my latest Christmas deco mesh wreath

I am so happy to be one of several bloggers invited to participate in the 12 Days of Handmade Christmas Tutorials . My latest Christmas wreath is the perfect choice for a written tutorial and I was happy to include it. October is a GREAT time to get your Christmas crafts going so there is no rush when the holidays roll around. Check out all of the tutorials!

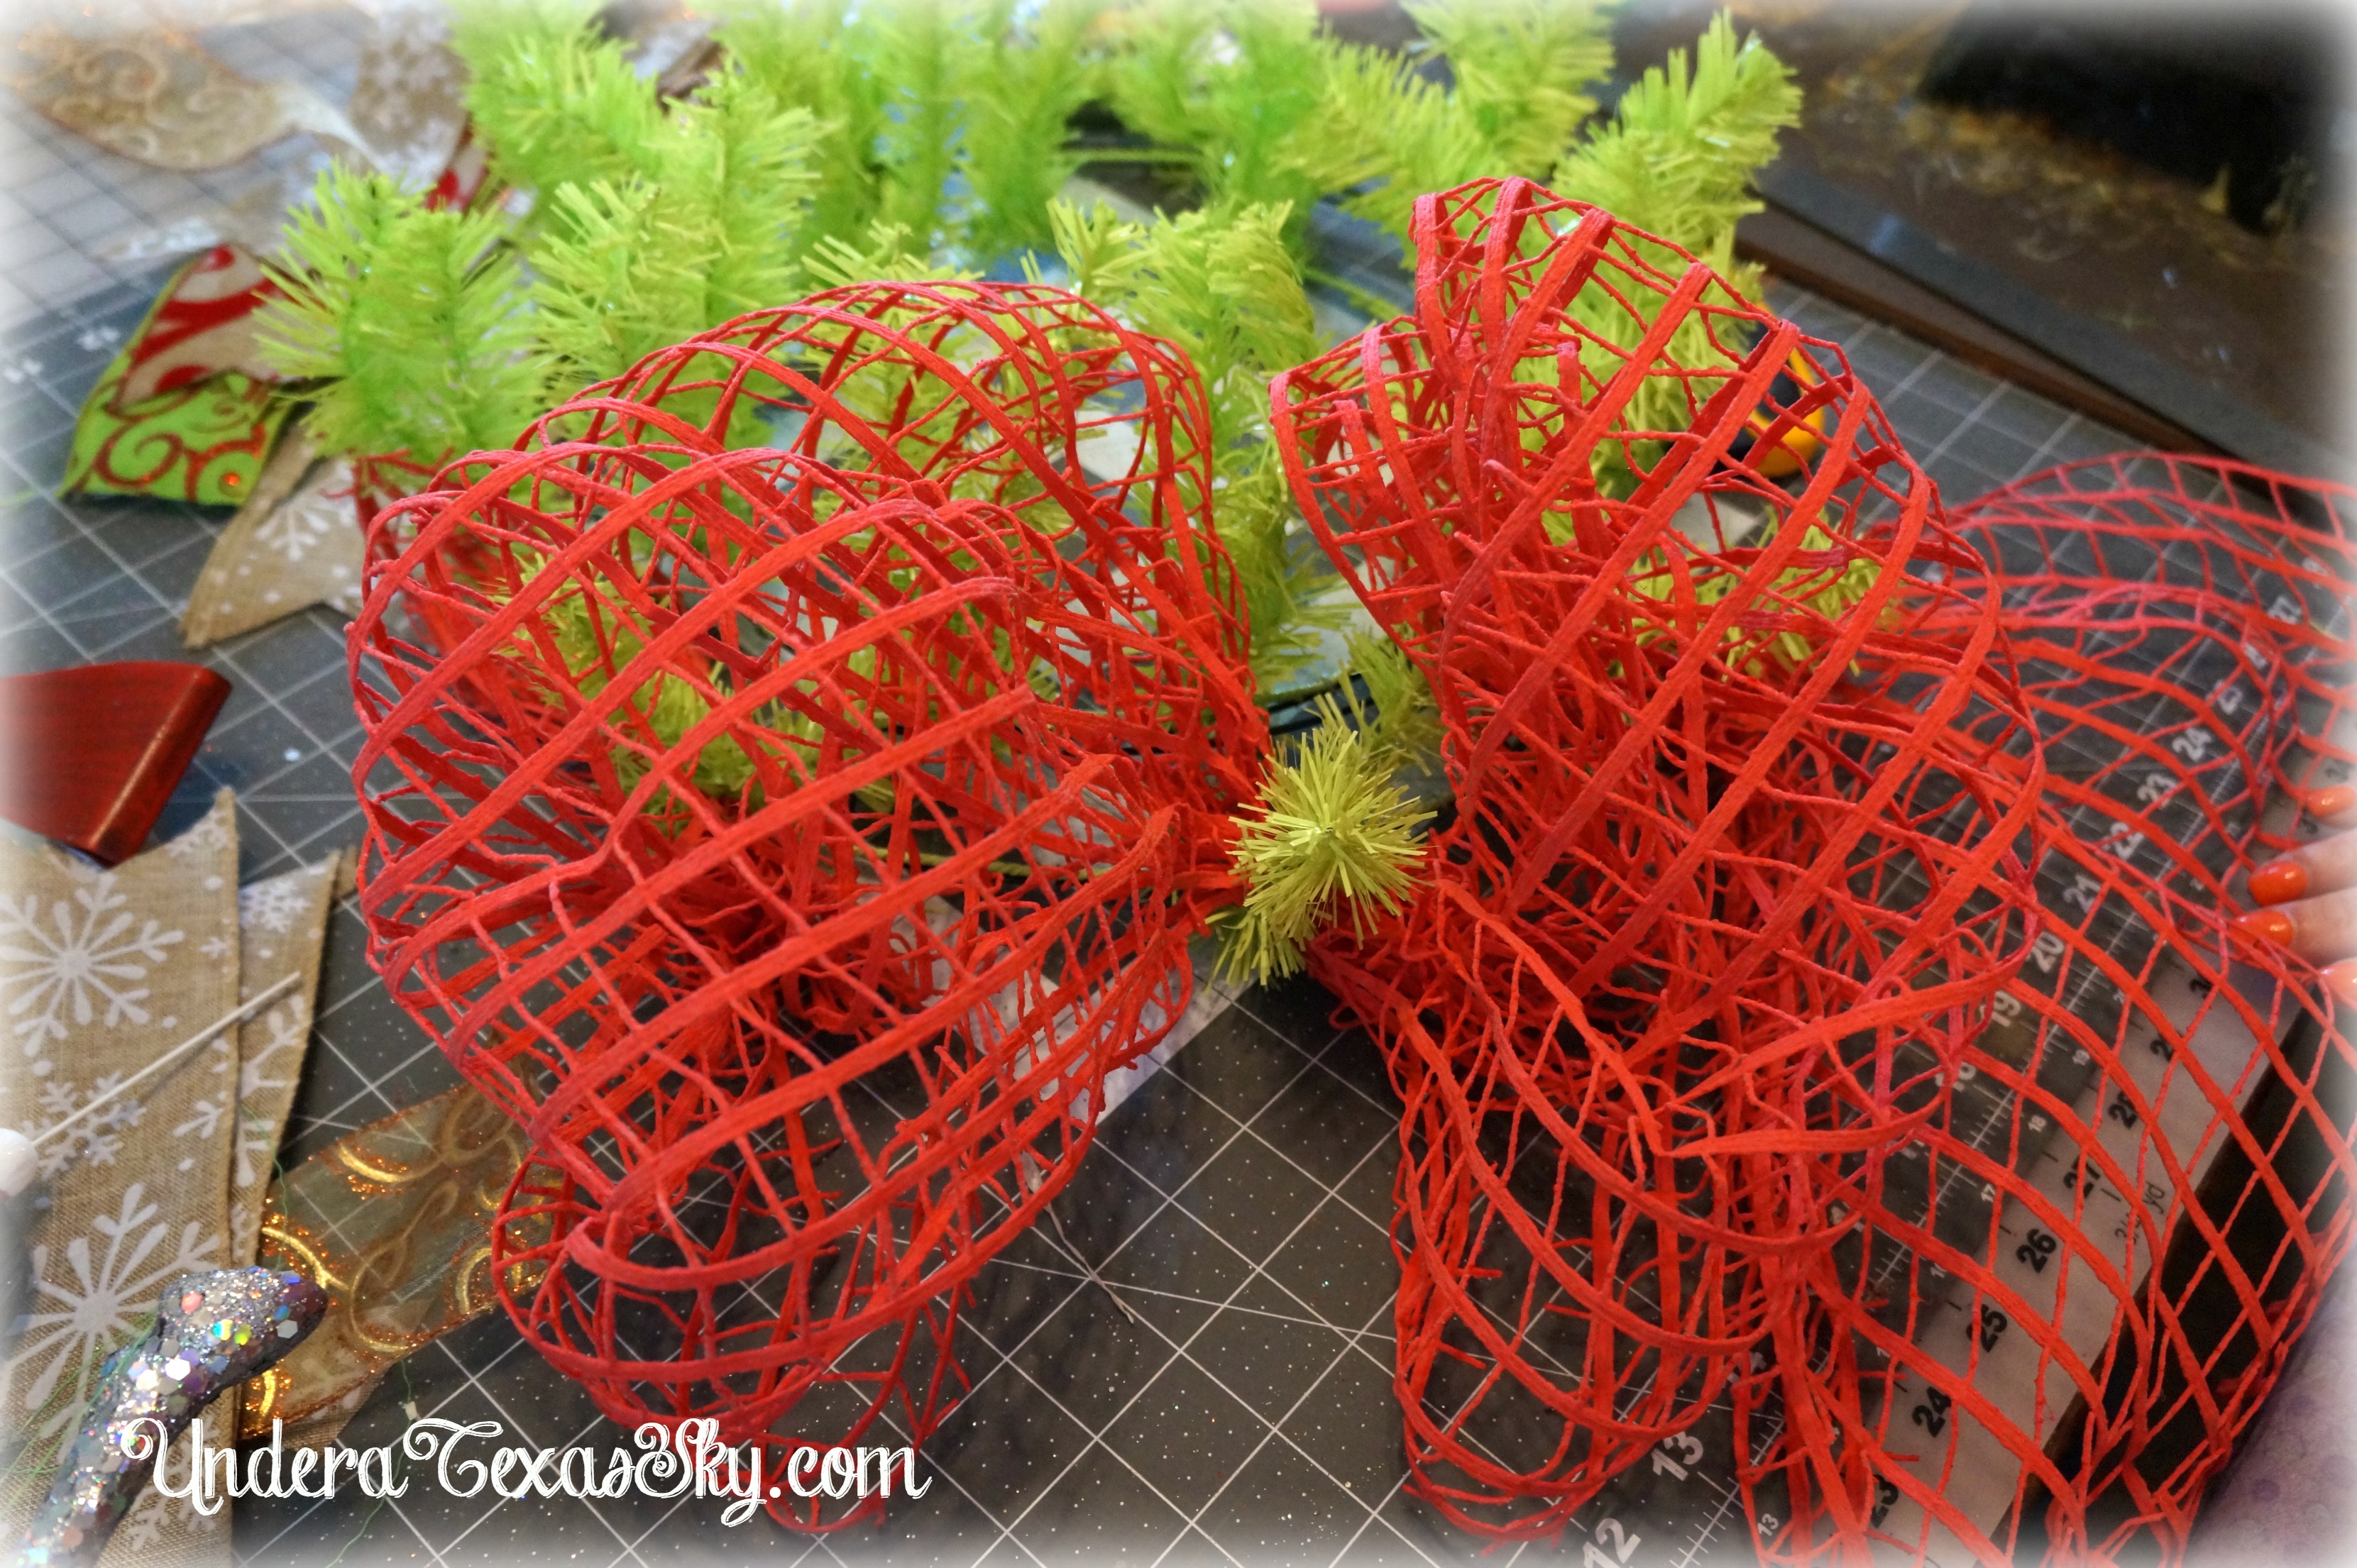
Here are the instructions for making this beautiful Christmas deco mesh wreath. I tried using “window pane” mesh (a first) as the base for this wreath and LOVE the result. Combining some ruffles to give it fuller coverage absolutely turned this wreath into a work of art. Here is what I used to make the wreath (I show a few things I decided not to use):

15″ Lime Green Work Wreath
1-21″ Roll of Red Window Pane Mesh
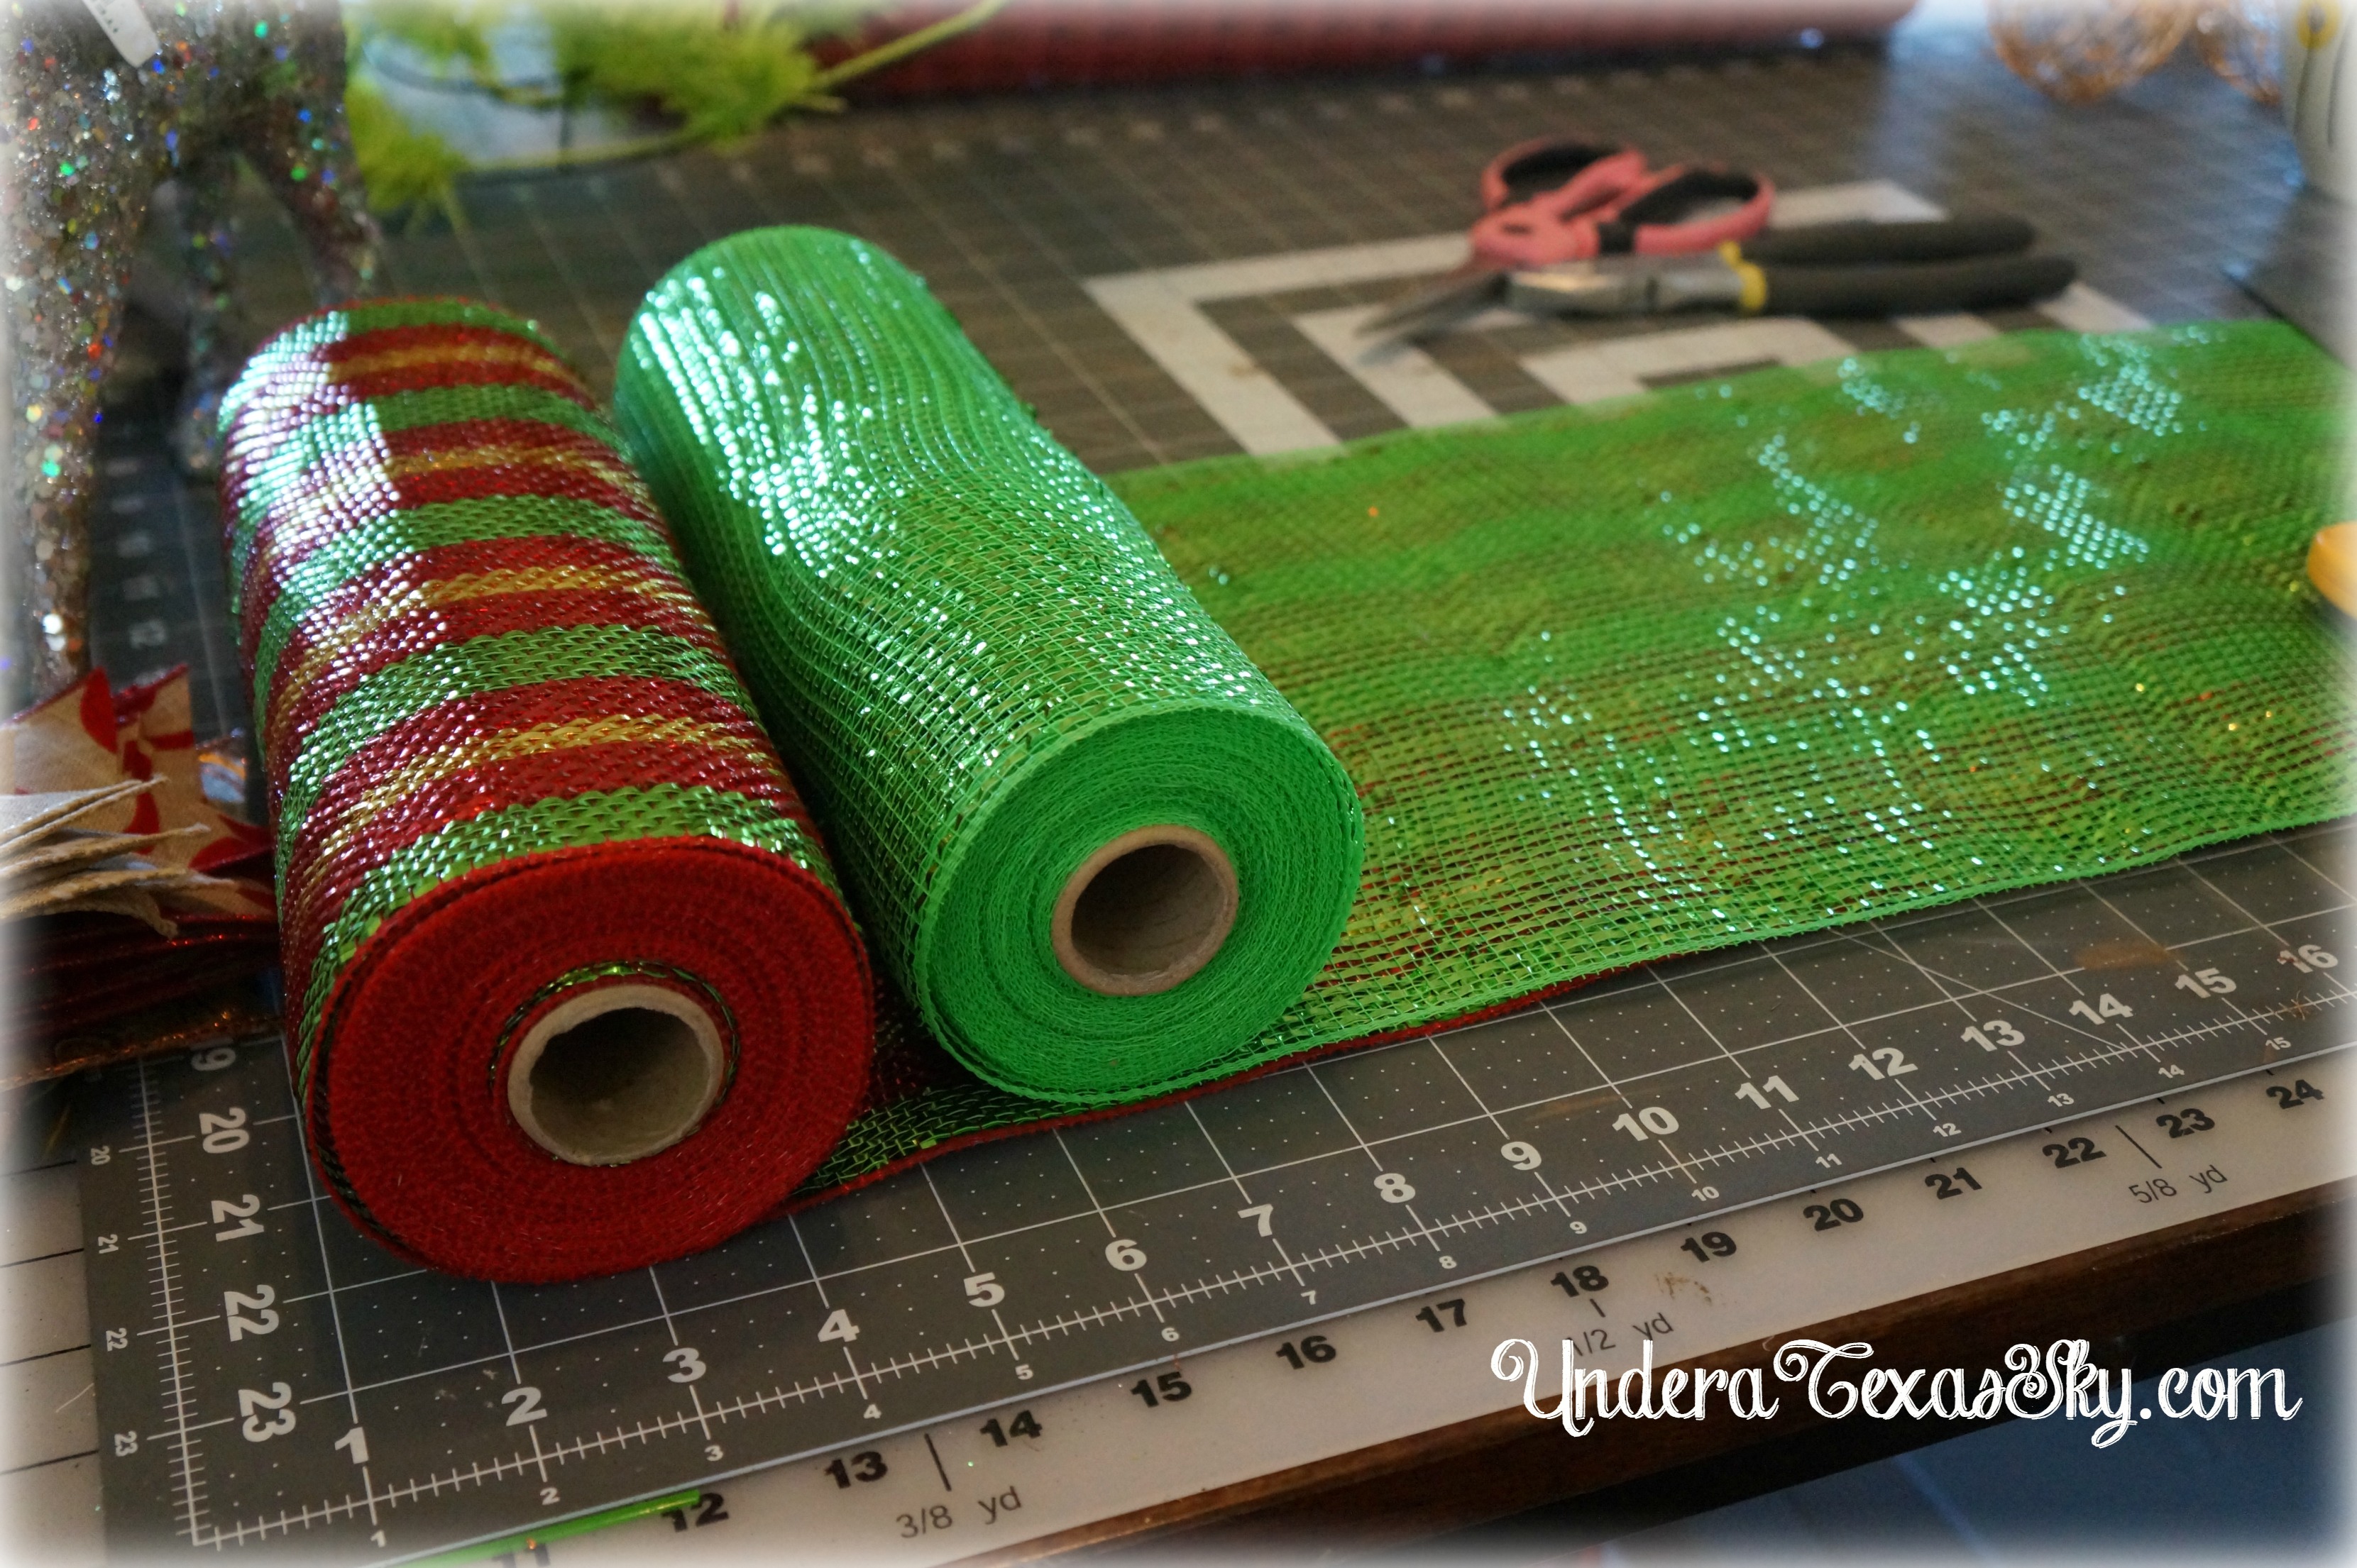
2- 10″ Rolls of Deluxe Deco Mesh (one red, green, and gold striped, and one green)
2- 2.5″ Rolls of Wired Ribbon (cut to 13″ lengths) in two different prints
A variety of filler: sparkly snowflakes, presents, Christmas ball ornaments, and a big MERRY CHRISTMAS sign
Here we go!
Take your window pane mesh and start attaching it into the first twist of the outer ring. Treat it just like any ordinary deco mesh. We are using the “pouf” method here.

Measure out 15″ for your next pouf.

I ALWAYS measure to be sure all of my poufs are the same size. A 13″ pouf may have been the better choice, because 15″ is really full. After measuring your pouf, gather it section in your hand and place it into the next twist.

Continue this around the outer ring, making sure your poufs are as uniform as possible.
When you get to the last twist on the outer ring, pull the mesh tight across to the inner ring and place it in the closest inner twist. Don’t make a pouf here. Just act like this is how you started on the outer ring. Start making poufs around the inner ring. At the end, clip off the mesh from the roll, and tuck the tail into the wreath form.
Here’s how to make the ruffles
Take your two 10″ rolls of mesh and place one on top of the other (this way you can cut two at a time).
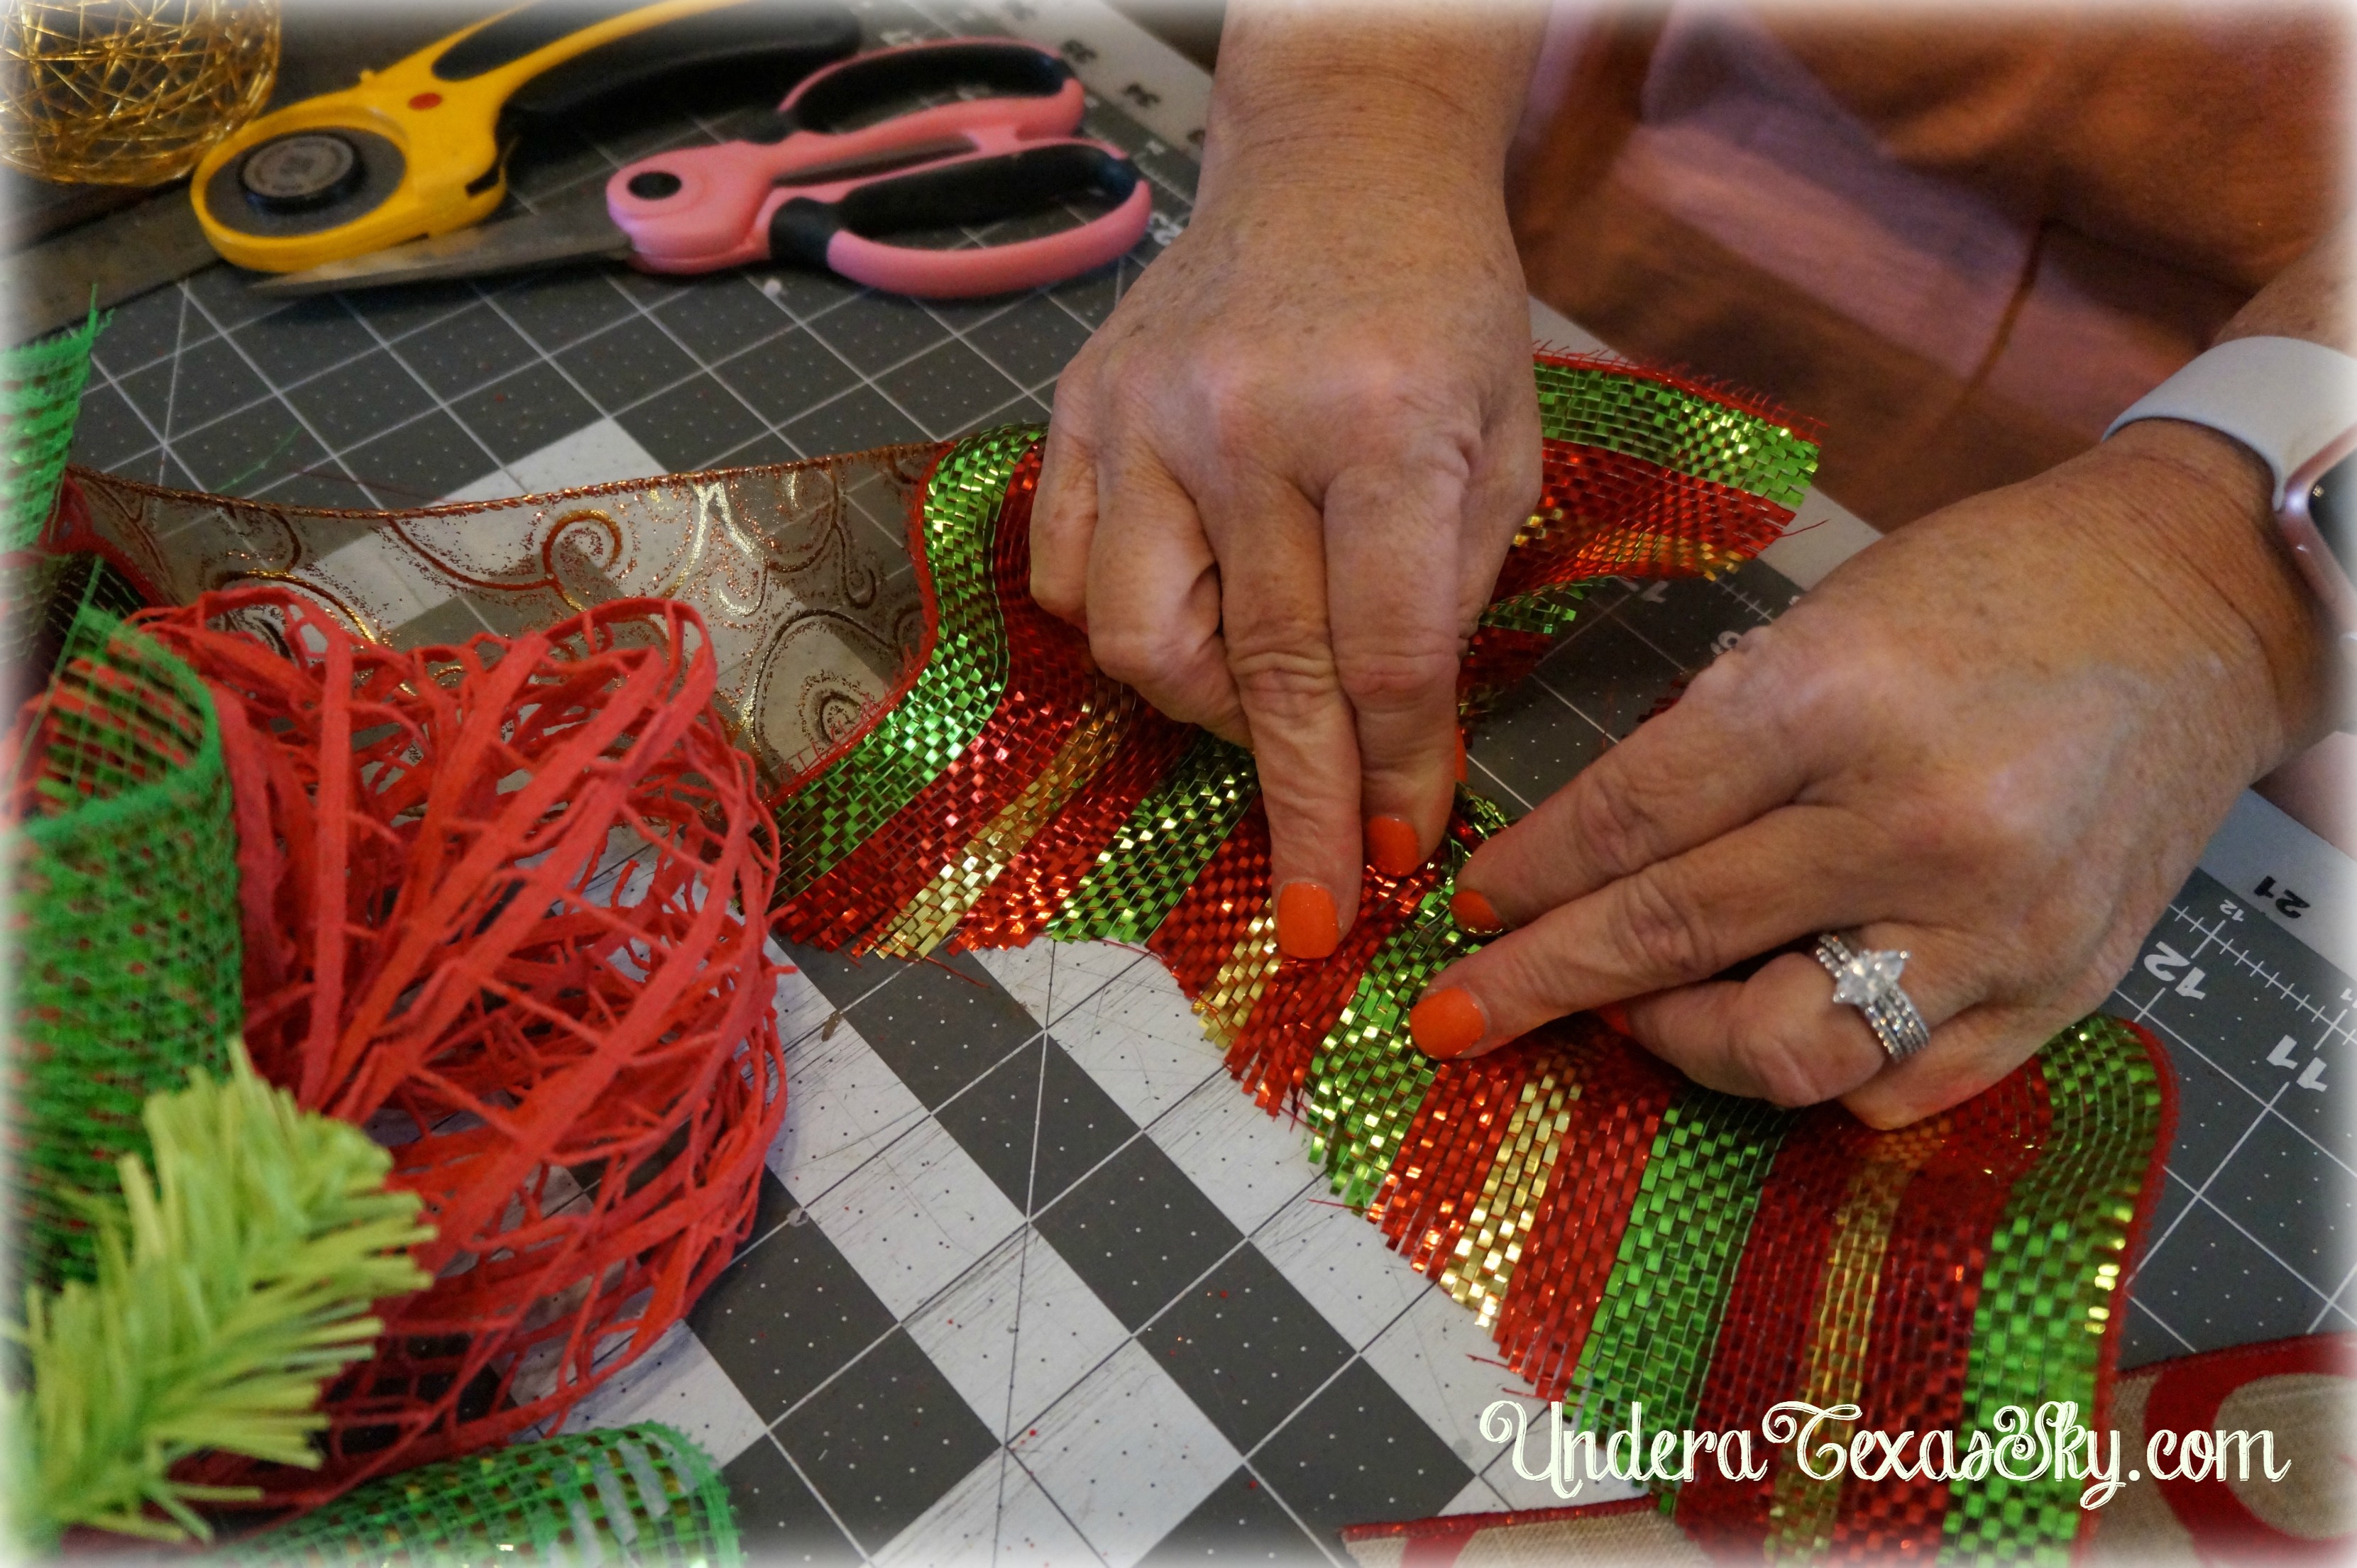
Measure out 12″ and make your cut. I used two ruffles per twist, and since there are 18 twists, I made 18- 12″ cuts. A rotary cutter makes this so much easier!

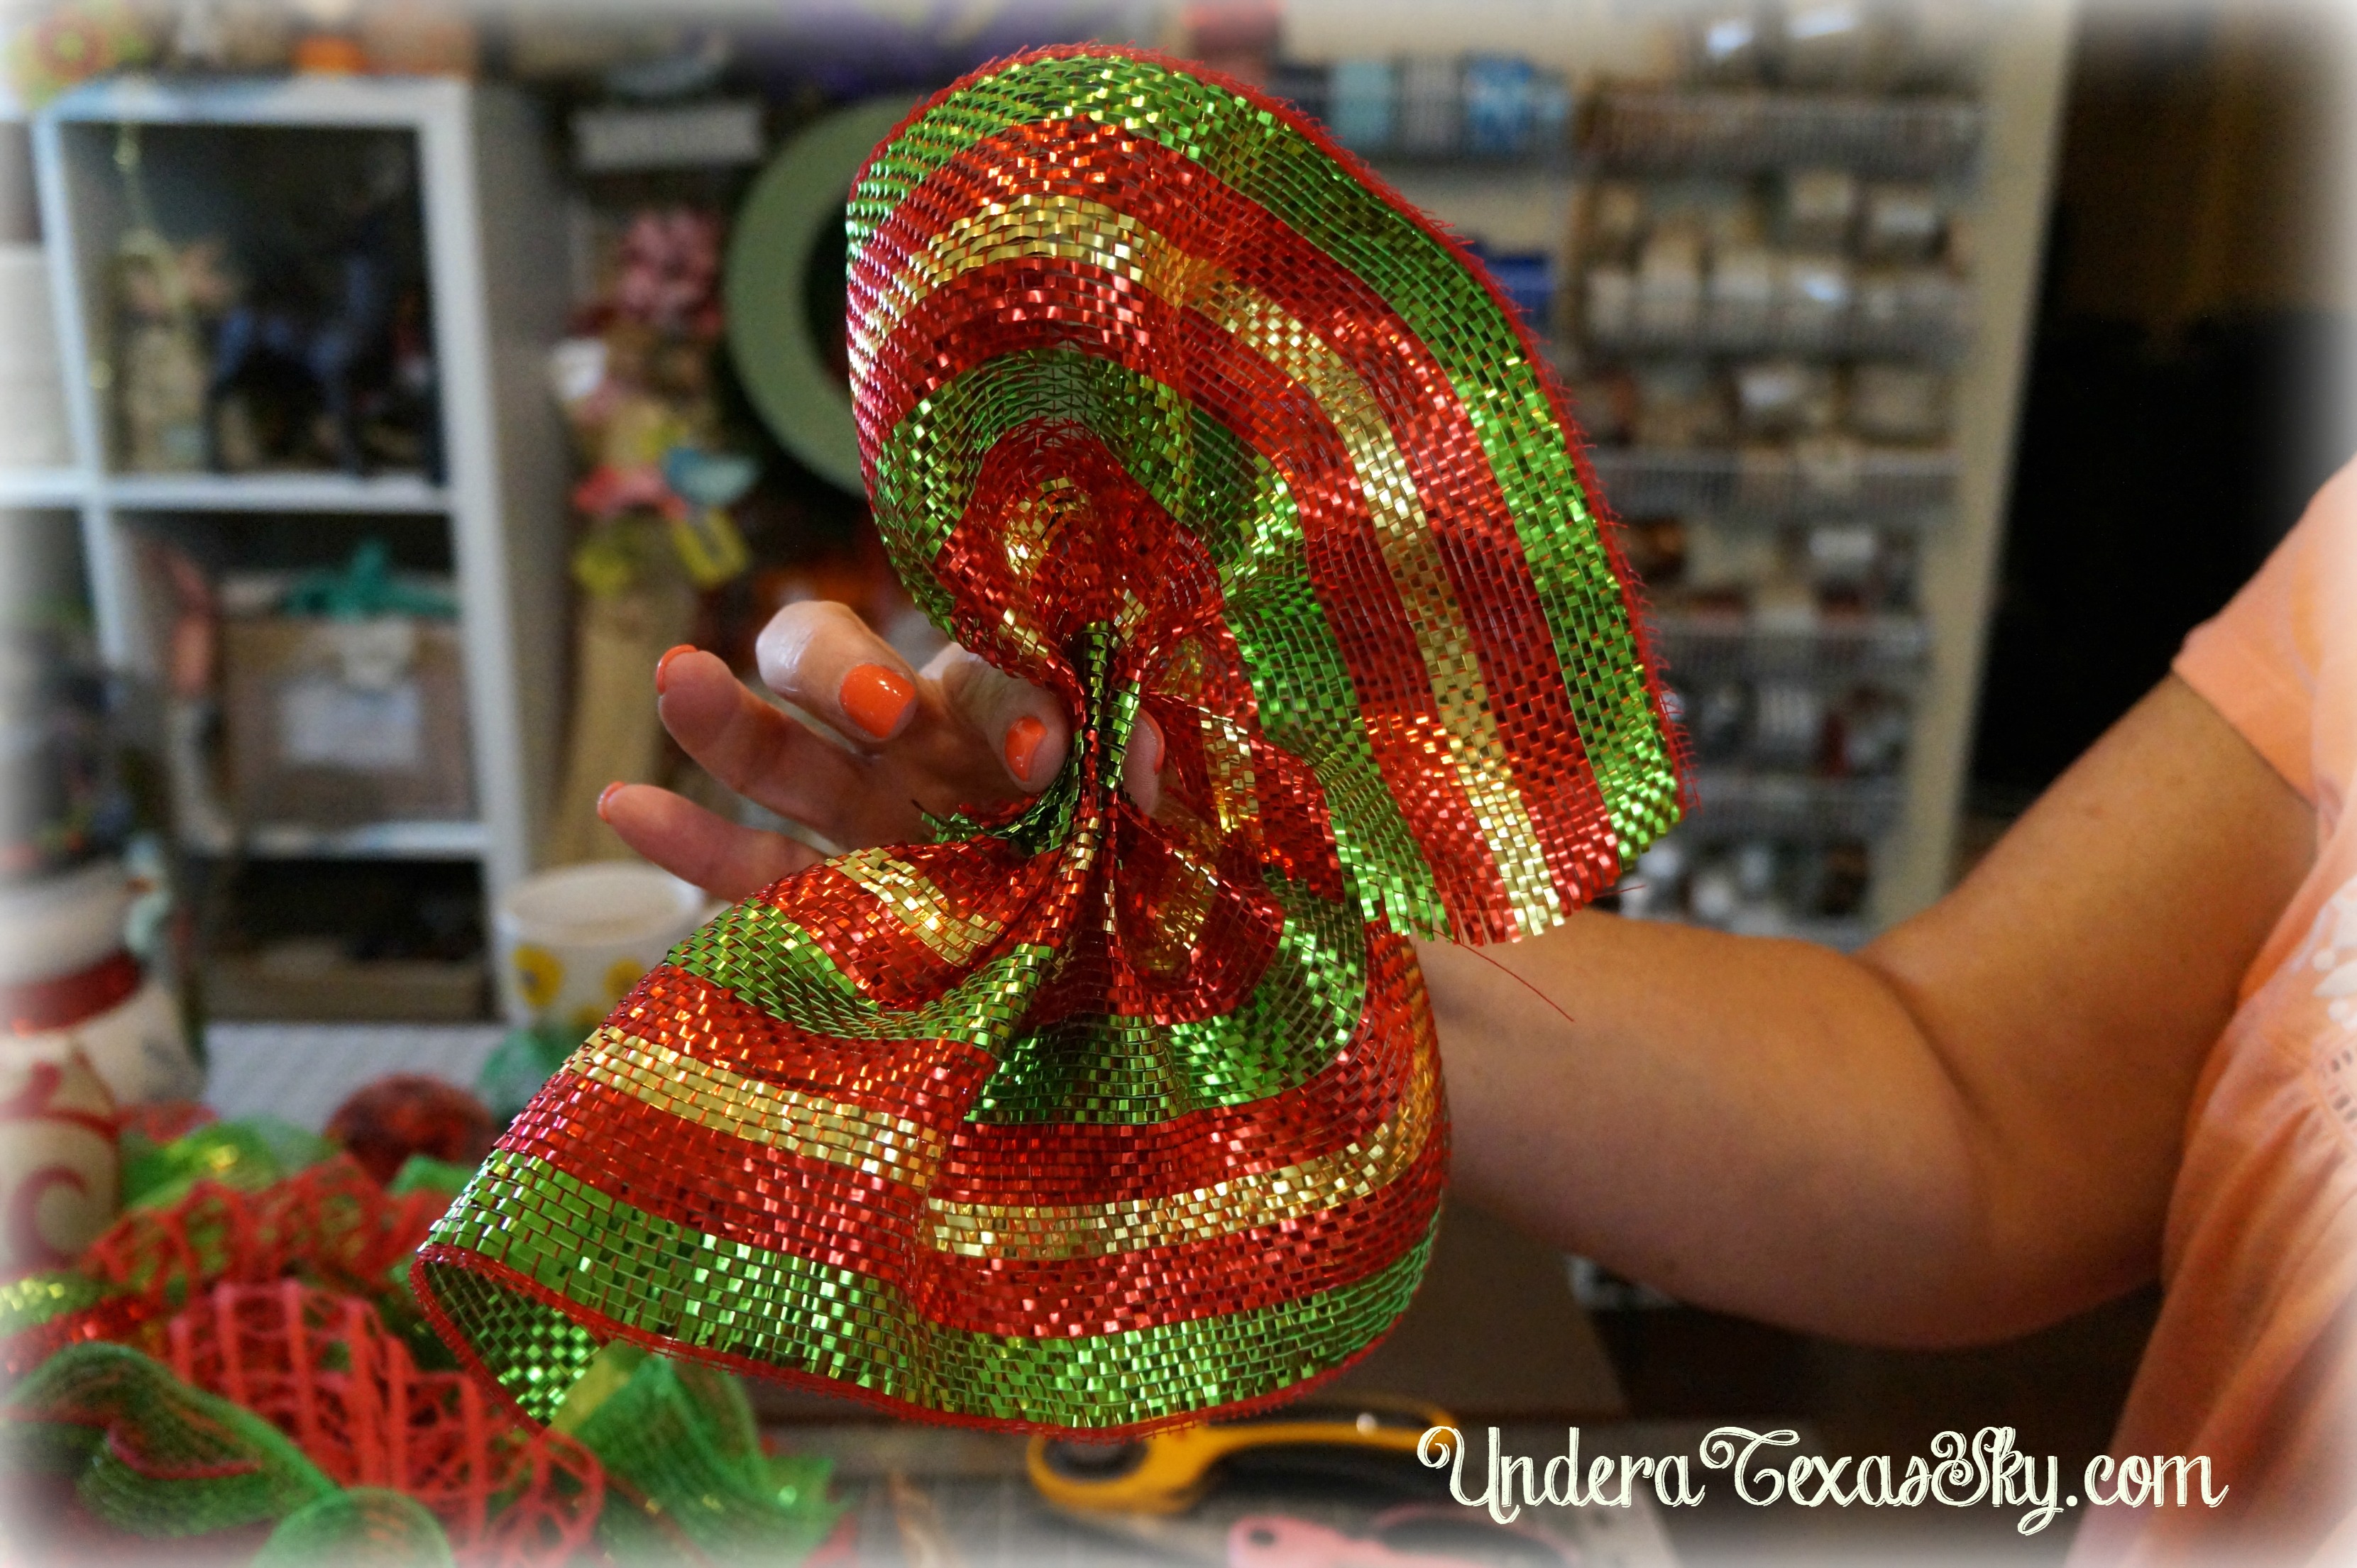
To make your ruffle, lay the cut mesh flat on your surface and start to gather the mesh in the middle. You’ll come up with what looks like a bow tie or a butterfly.
Attach the ruffles one at a time into your twists. I alternated my ruffles in each twist- one with the strip on top and green on bottom, one with green on top and stripe on the bottom, etc. Be sure you open the twists and place your ruffle right next to the window pane. You will run out of room if you don’t do this.

I did both ruffles one after the other in each twist and worked my way around the wreath filling every twist with two ruffles.
Now for the ribbon
Cut your wired ribbon into 13″ lengths. To give it a nice finished look, “chevron” the ends. To accomplish this, fold your ribbon in half.

Then fold the ends lengthwise.

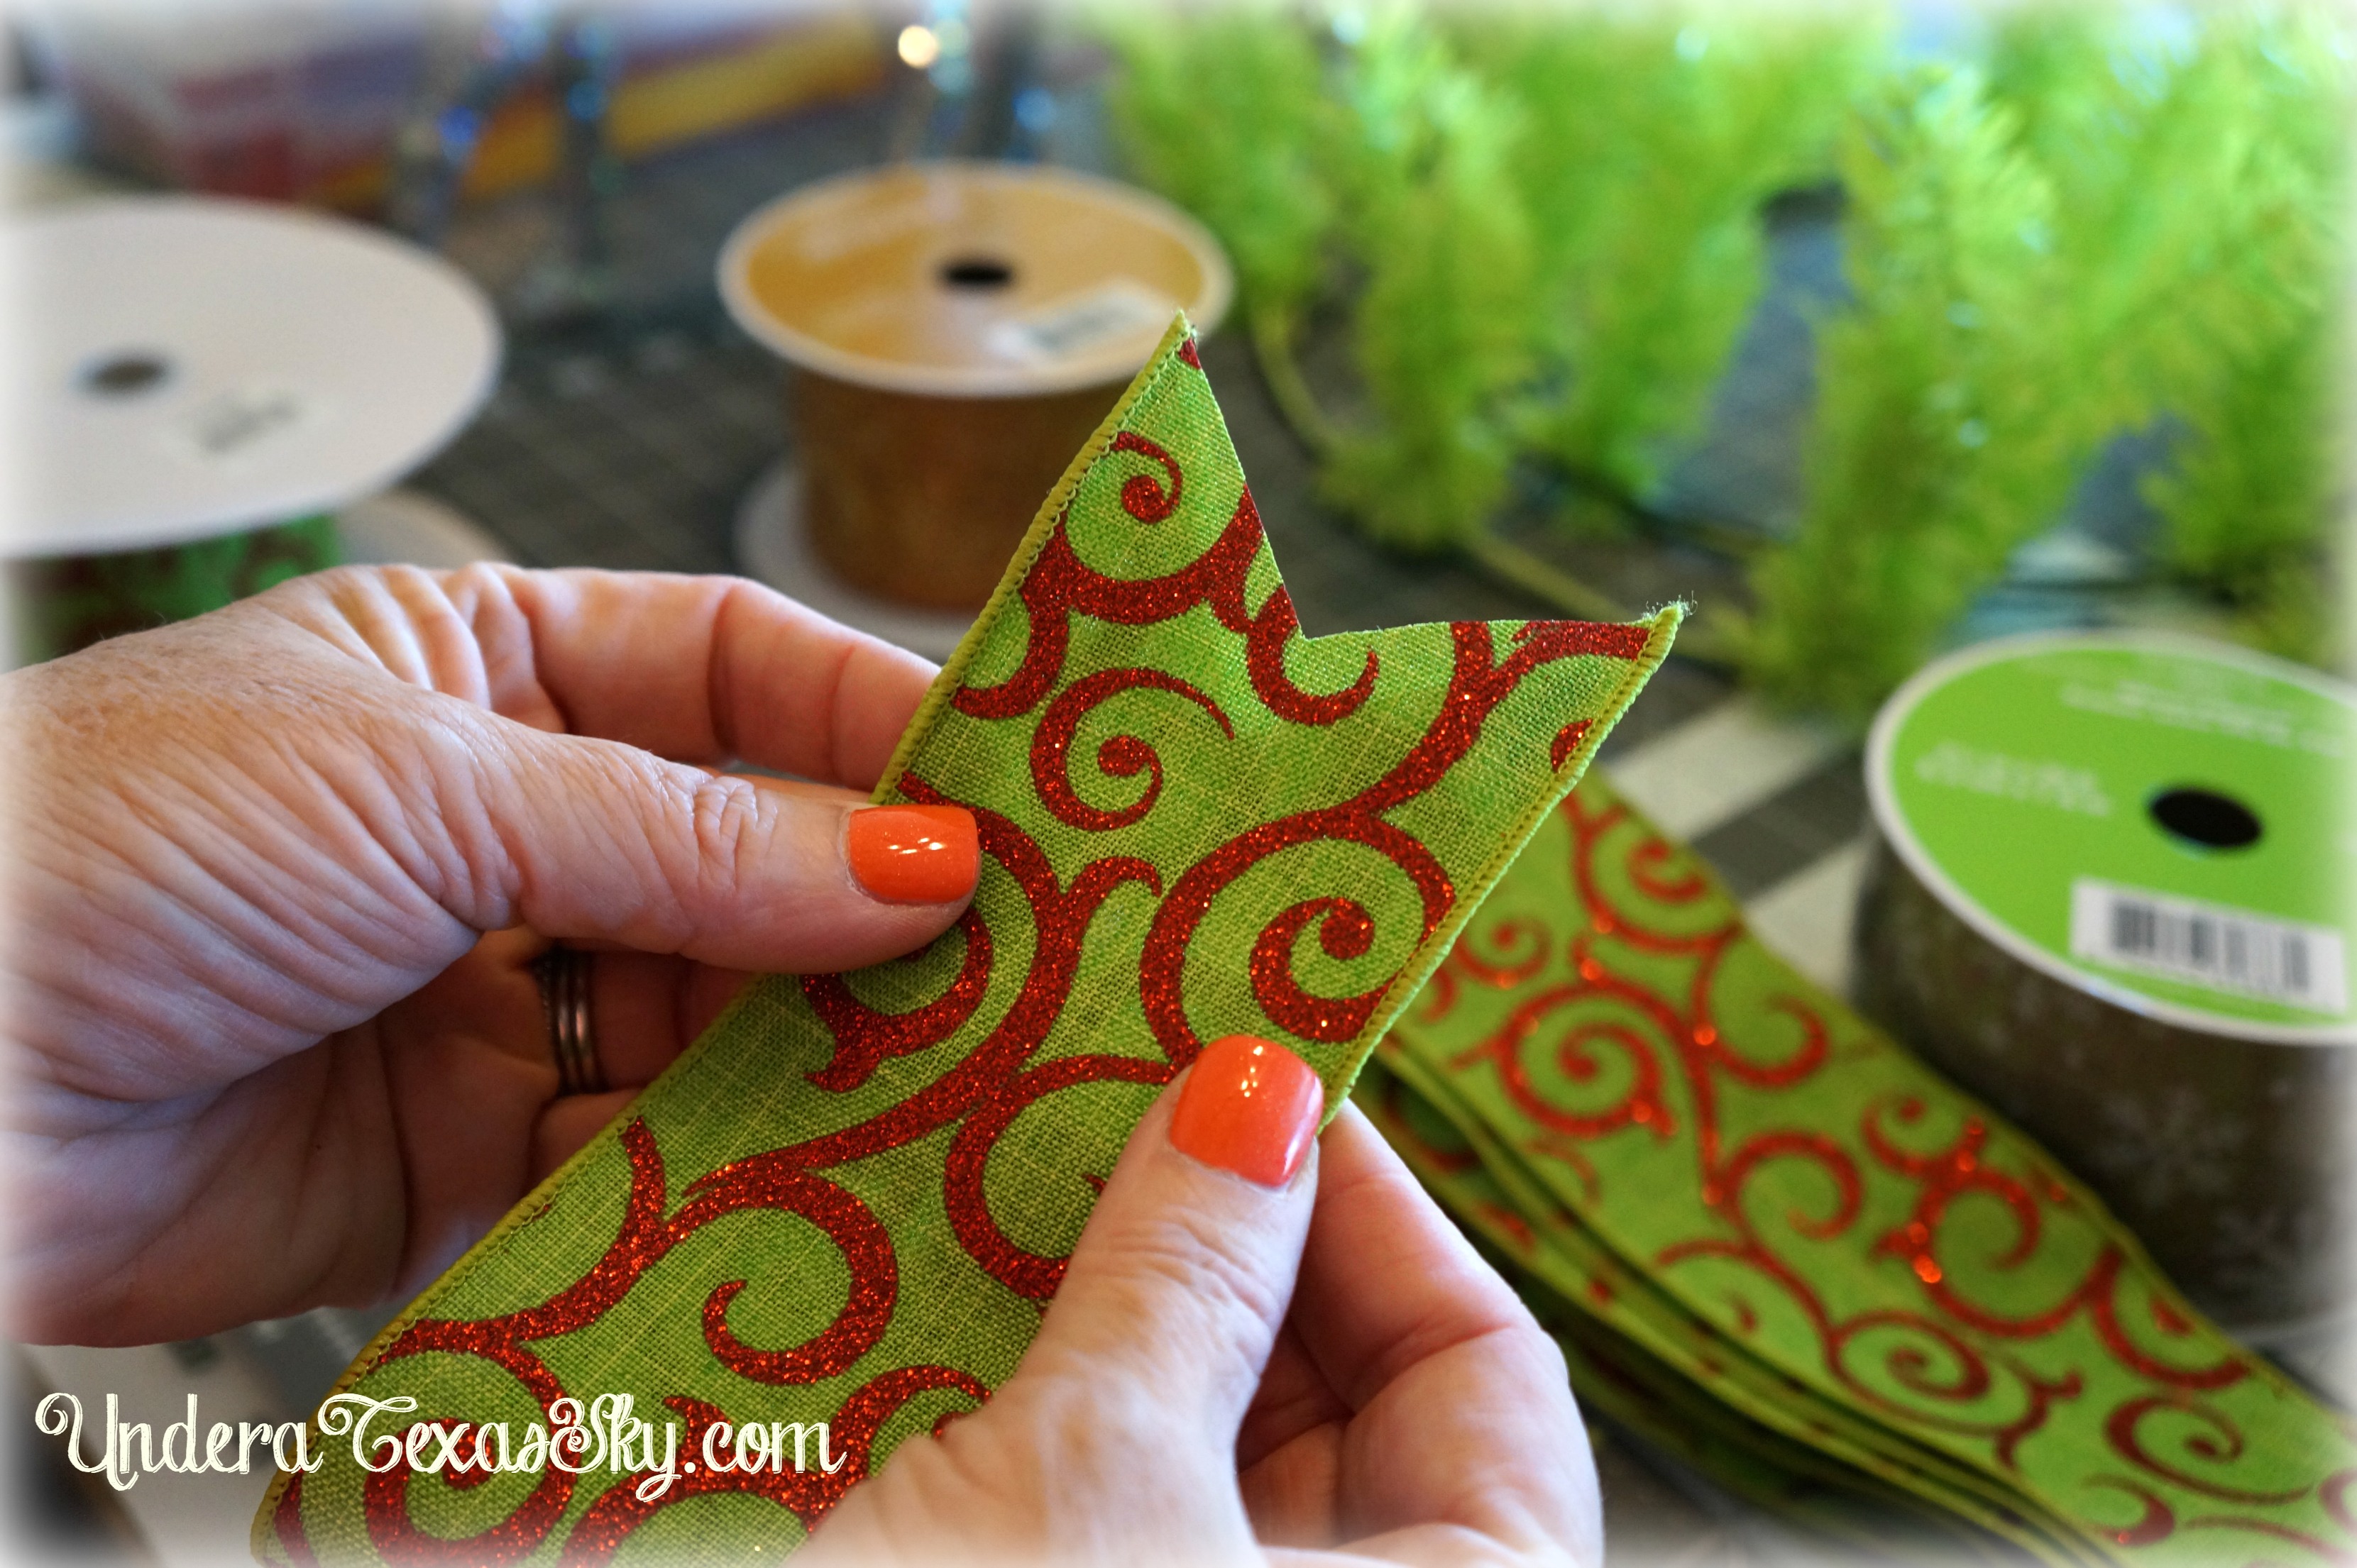
Cut a diagonal cut from the folded side to the open side.
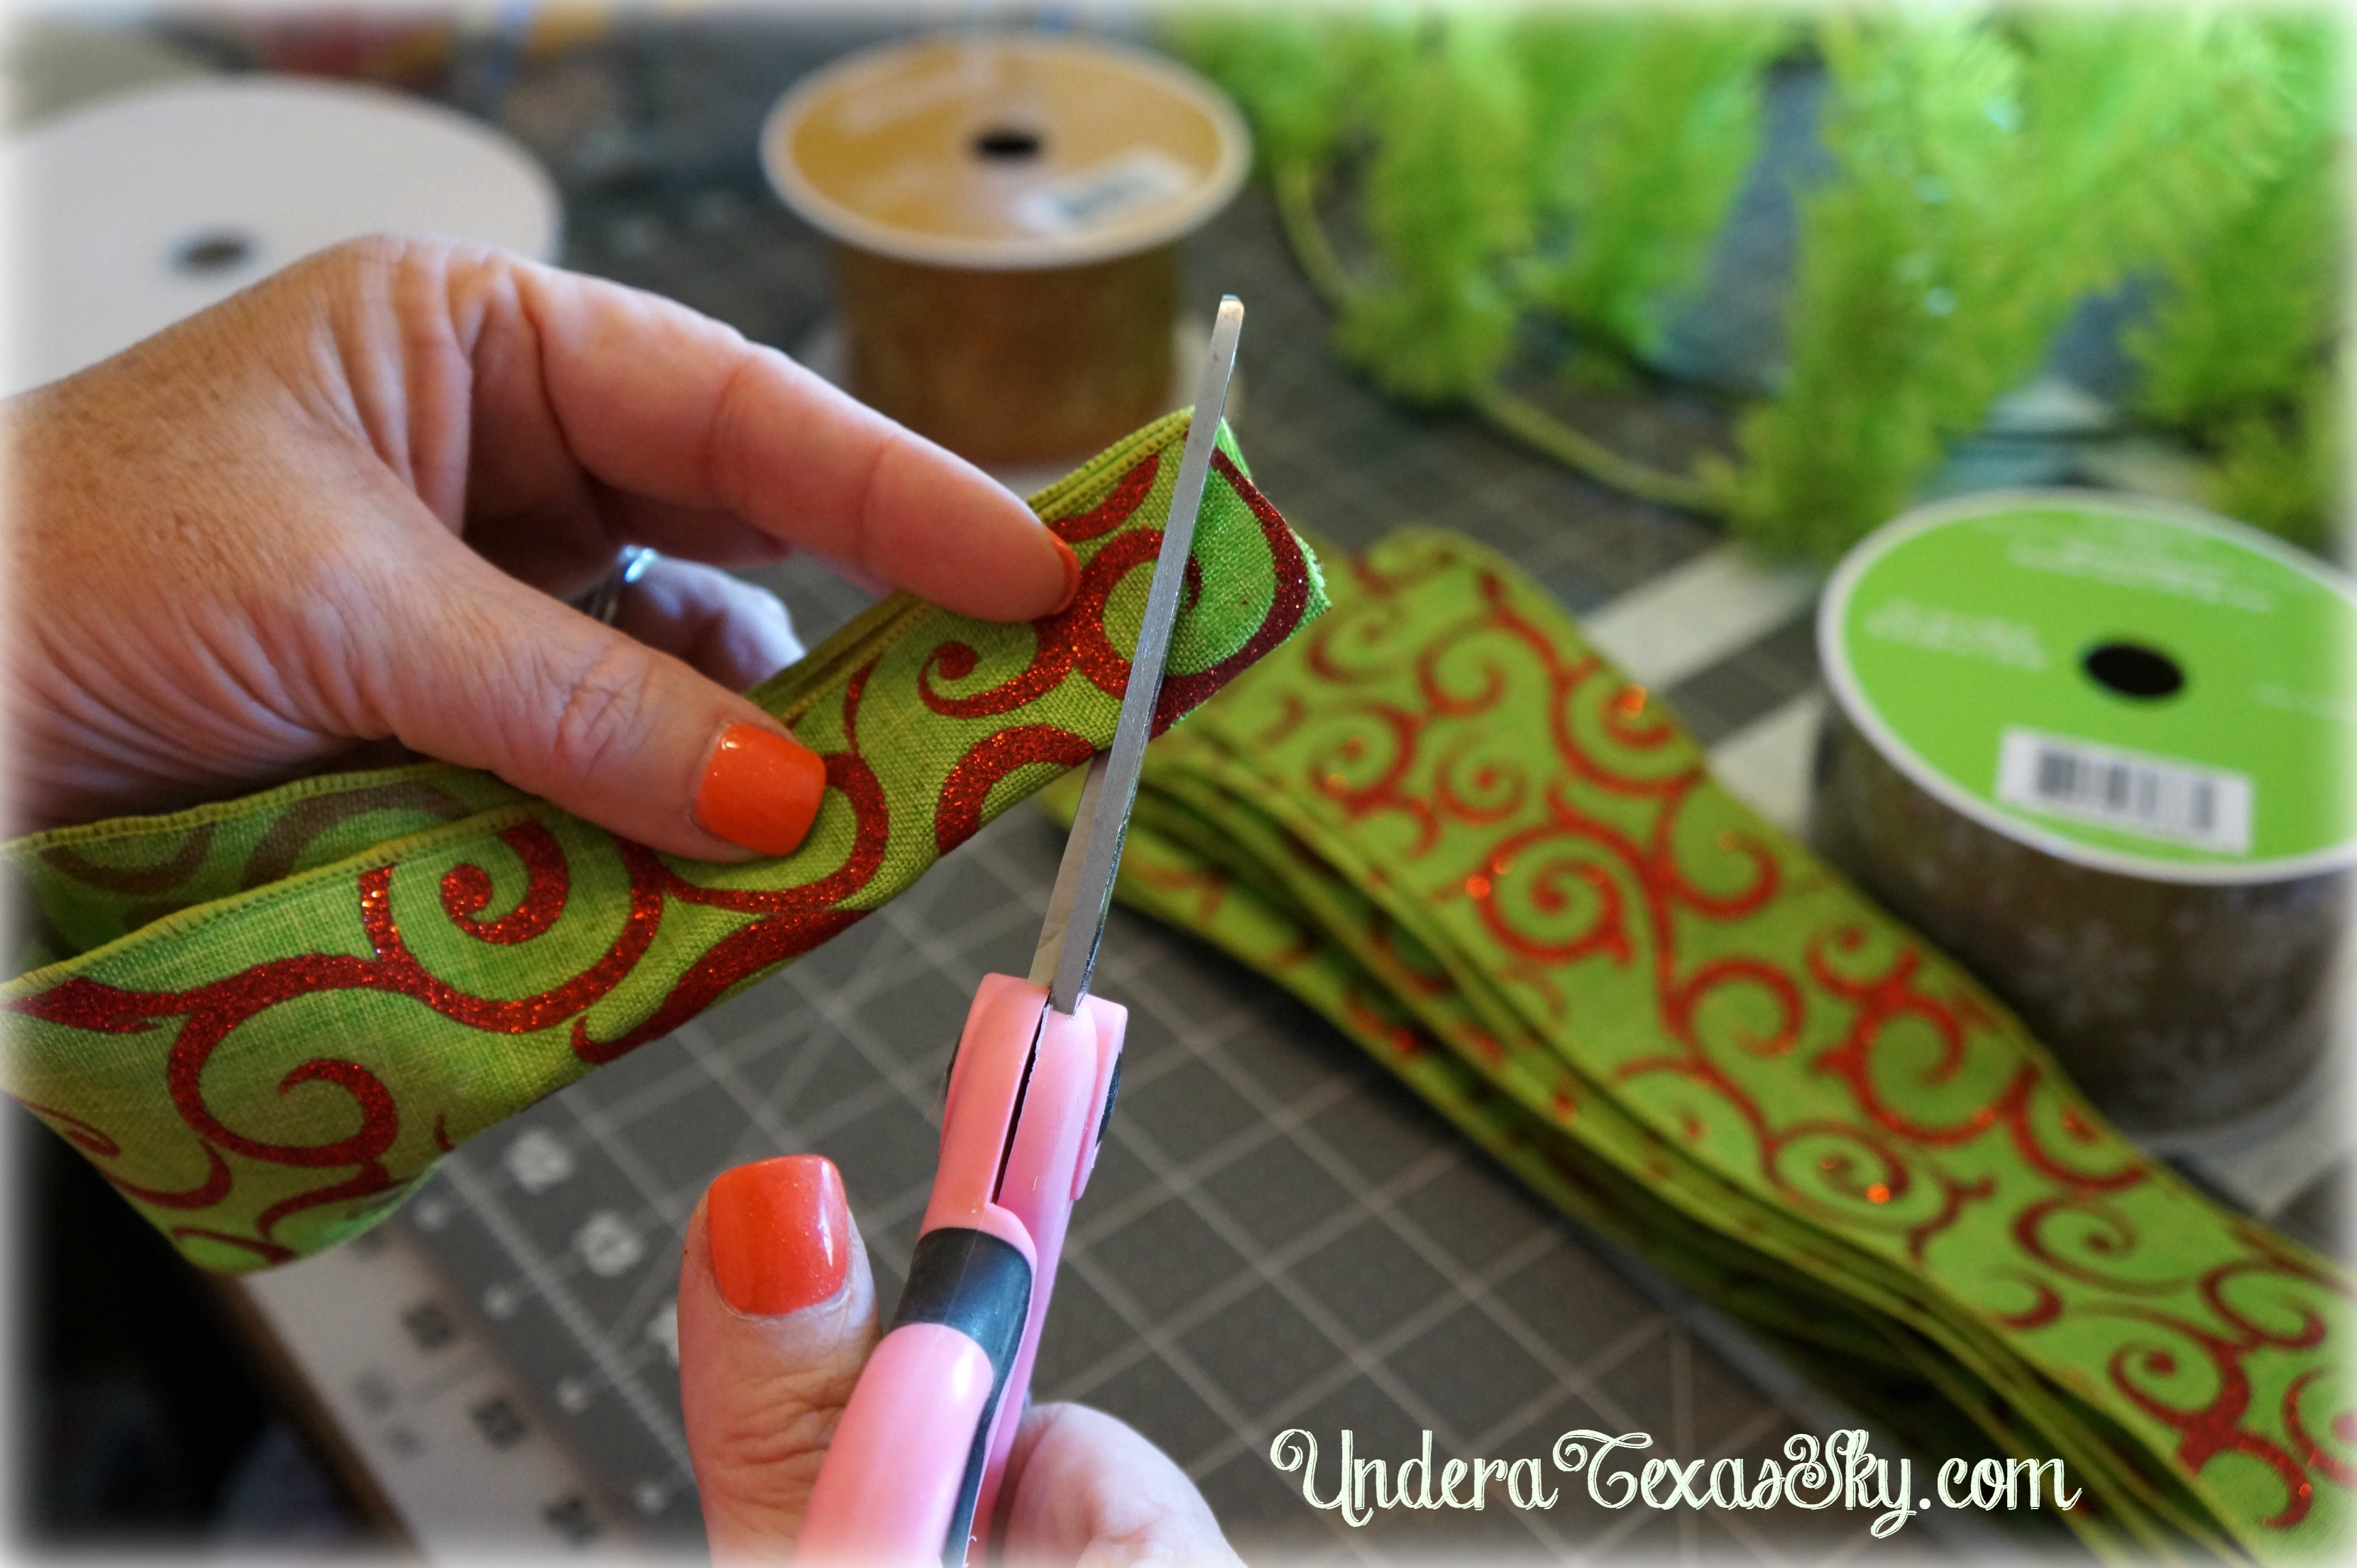
This cuts both sides at the same time, and voila!
Insert the ribbons into every twist (this is why you open every twist before adding the next element. We’re really loading them up!). I stack the ribbons on top of each other and insert them both at the same time.

Separate the ribbons after they are in the twists. I also alternated these as I went around.

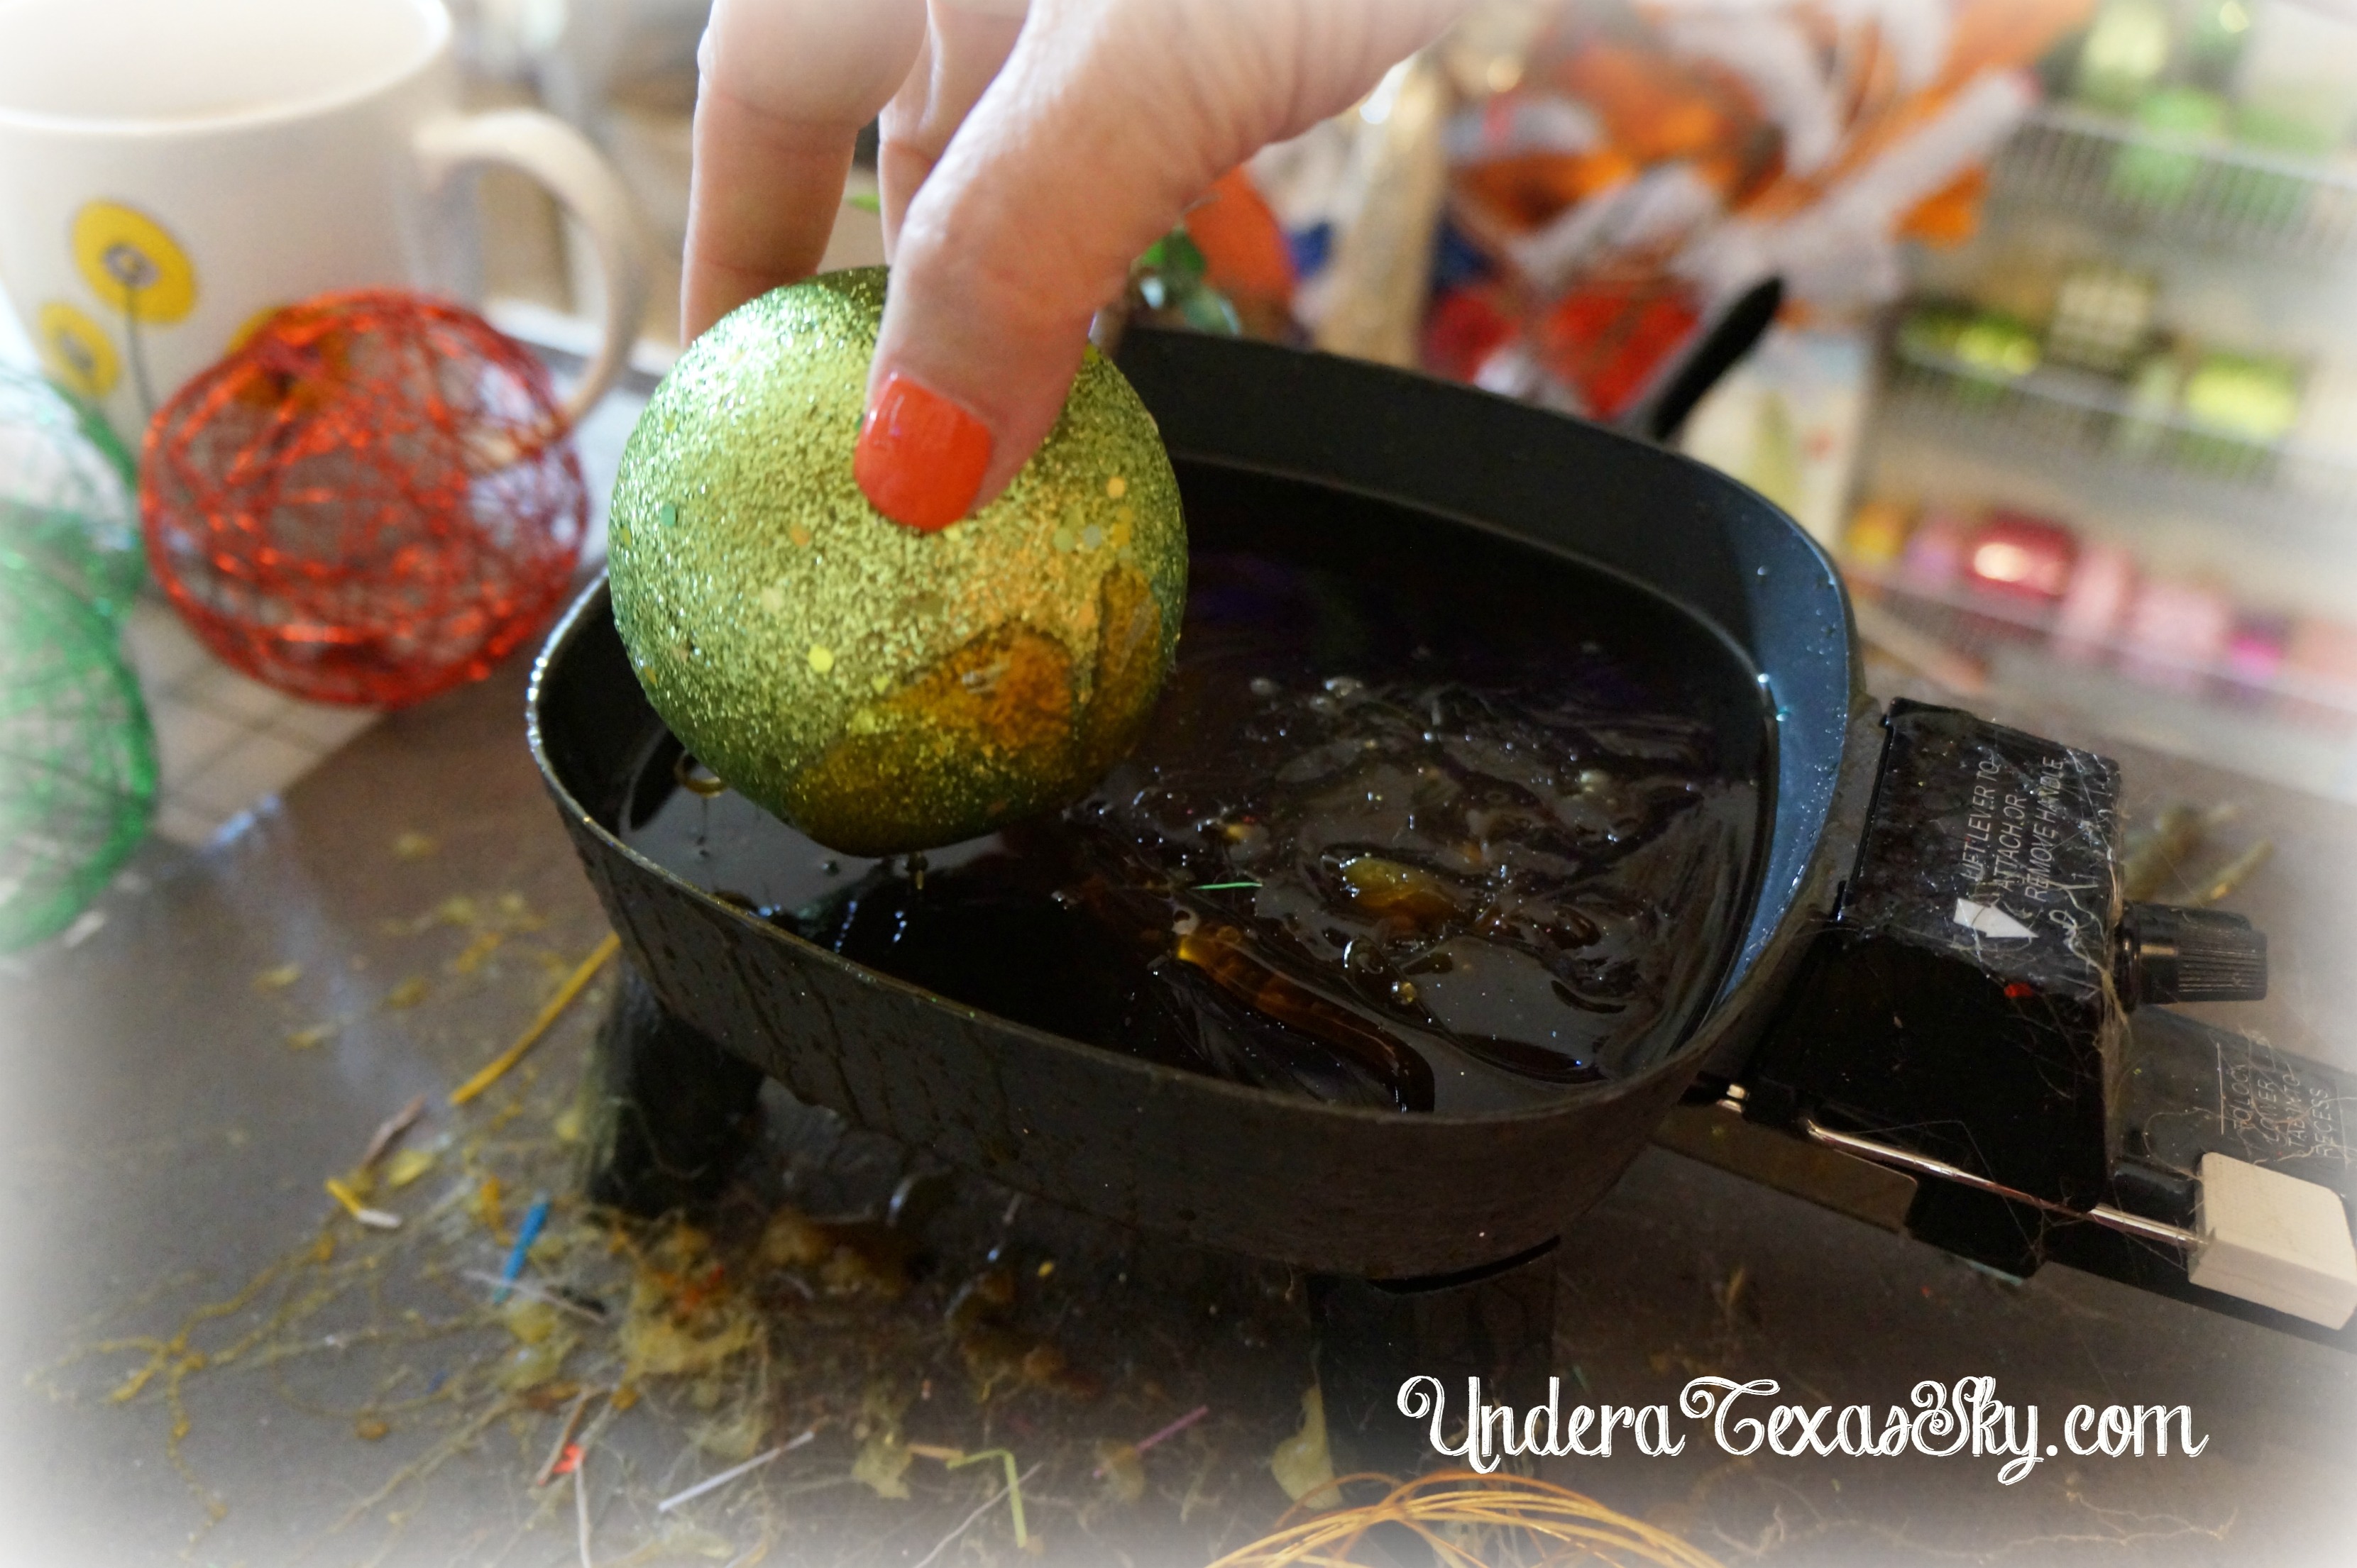
Now for the extras!
Regular Christmas balls work great for mesh wreaths. I just dip them into my glue pot and stick them in open spaces on the wreath. Use a variety of ornaments for more visual interest. I also added some sparkly snowflakes, gluing them randomly around. Some little sparkly Christmas presents were the perfect addition.

Finally, I added a “Merry Christmas” sign in the middle. This sign came with a string attached, so I pulled it up through the mesh and attached it to the frame with zip ties.
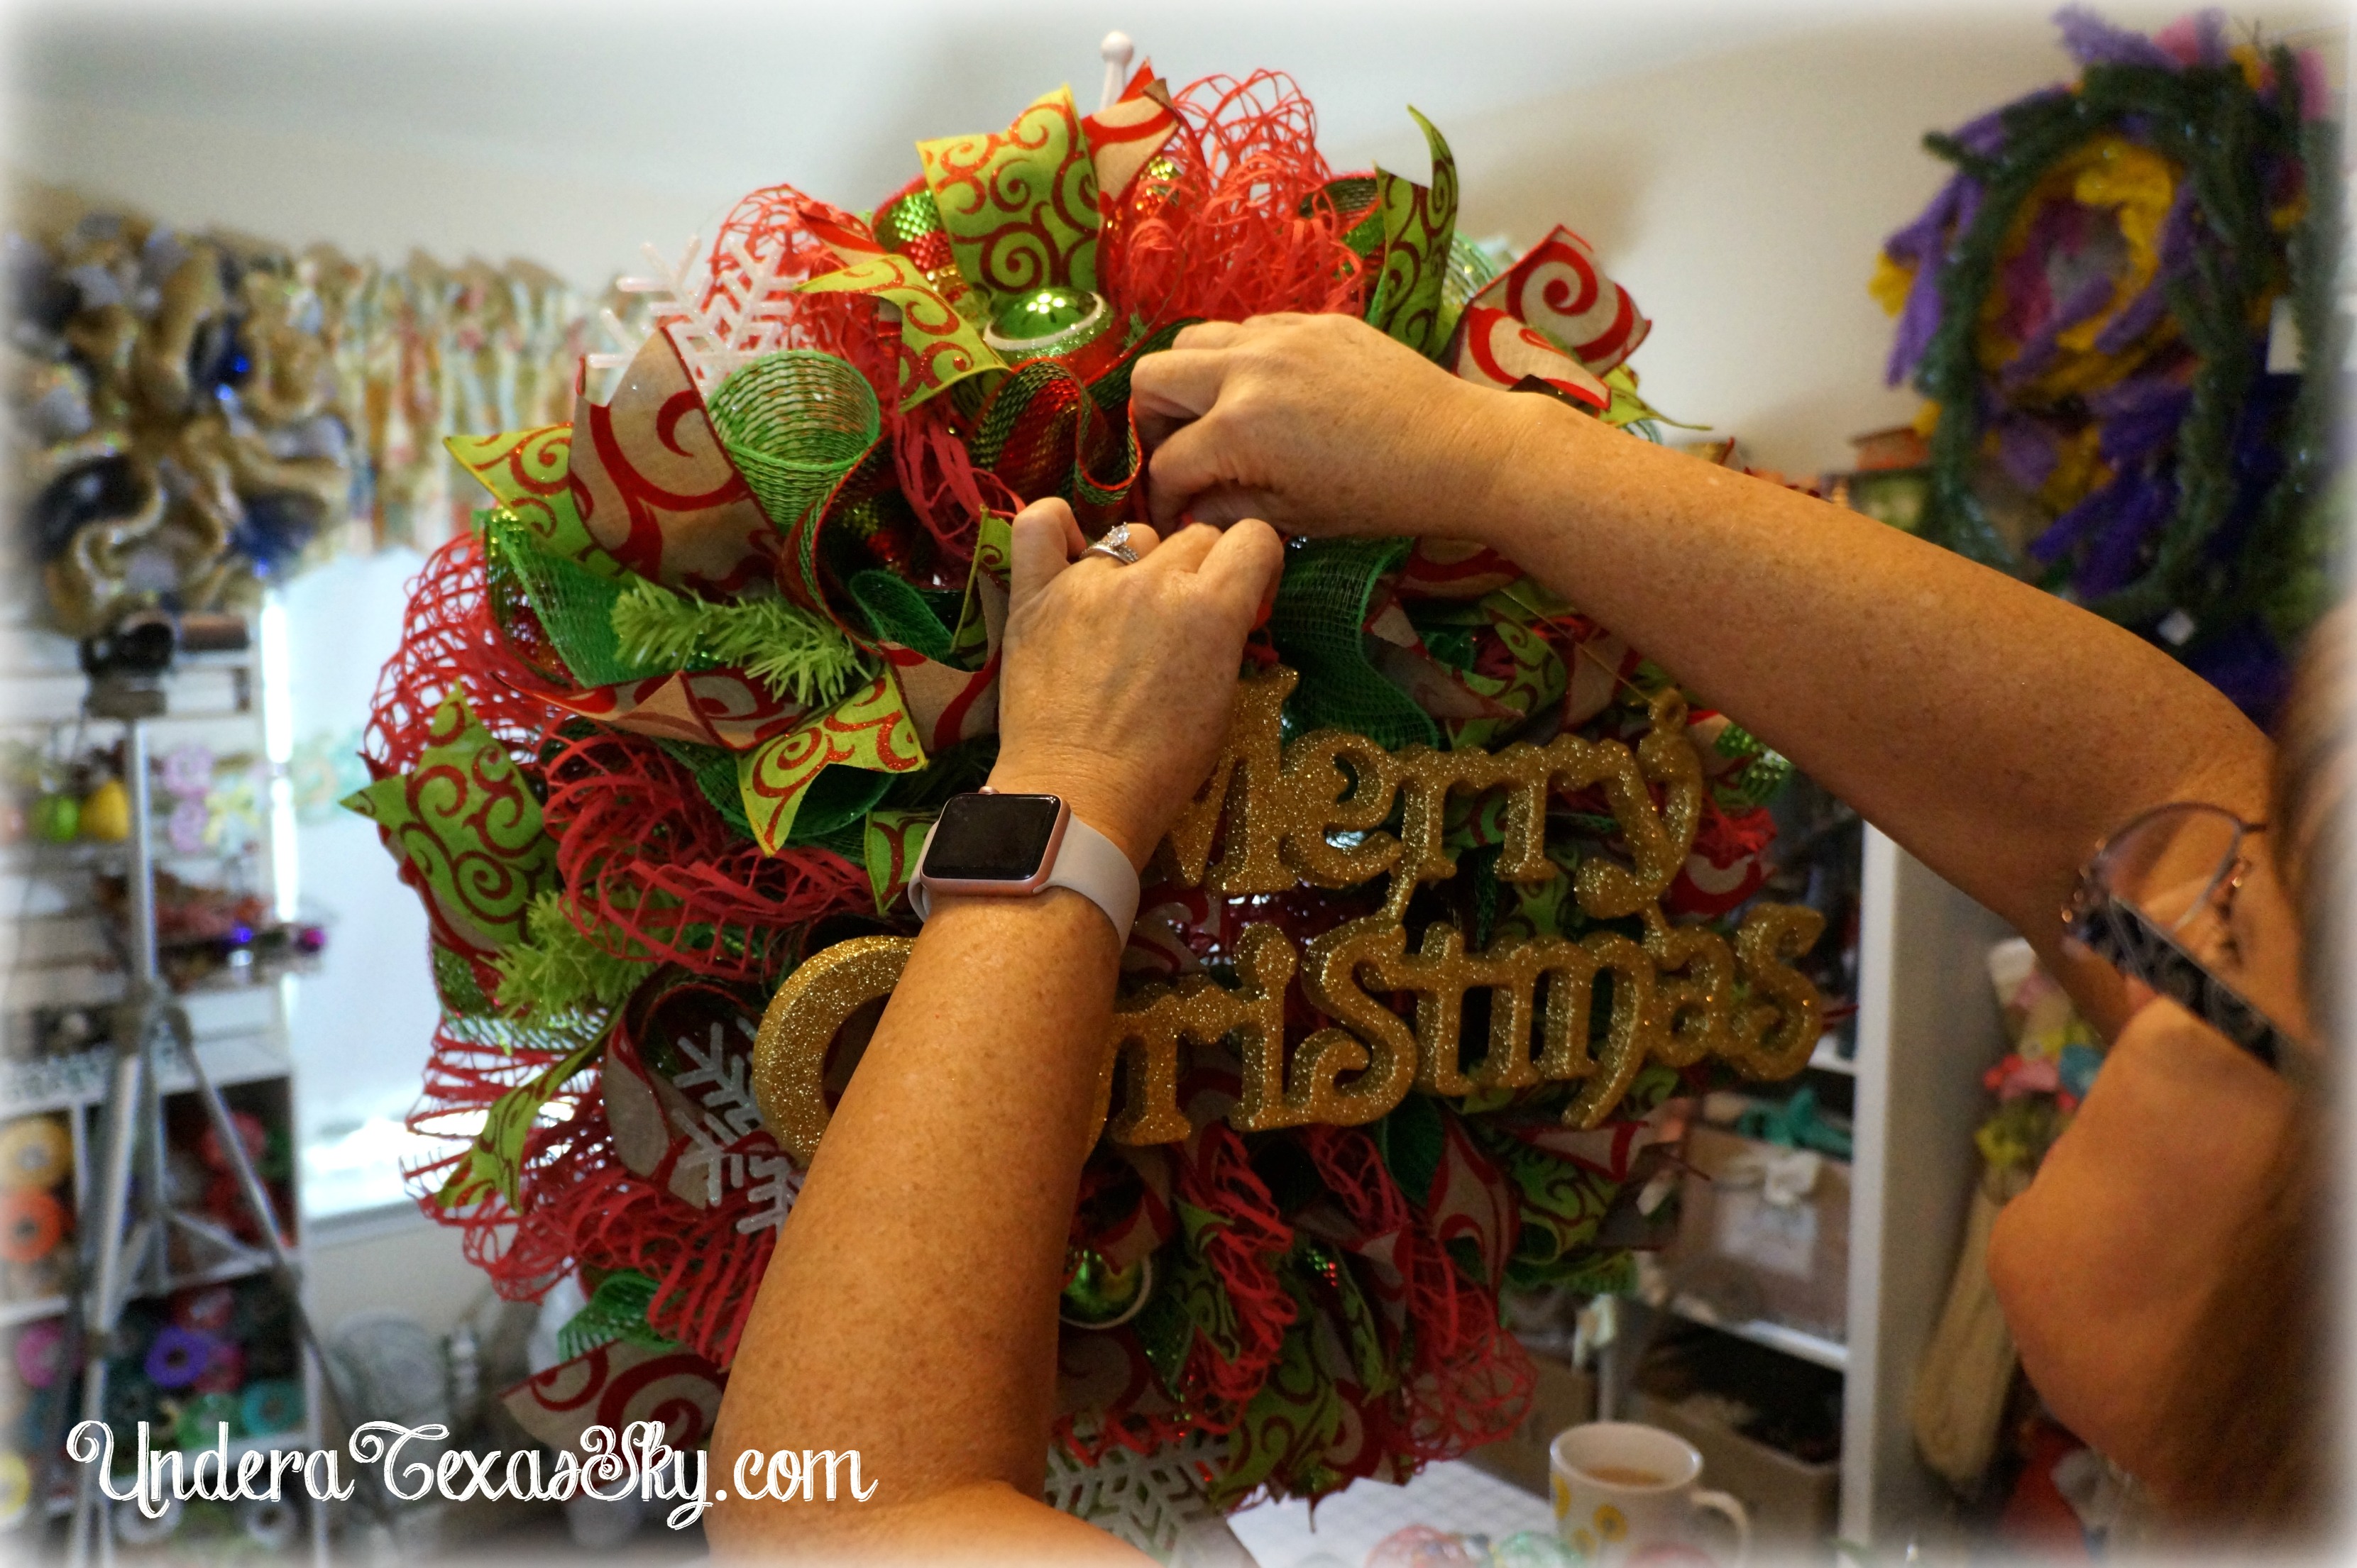

I added some floral wire to pull the bottom of the sign in a bit and attached the wire to a twist. Sometimes when you attach a sign using a hanger at the top of the sign, it tends to pooch out at the bottom. Adding the floral wire to the bottom of the sign pulls it in and gives it a more even look.

I love how this wreath turned out! I hope you try it!
If you’d like to see me actually making this wreath, here’s the video tutorial!
Don’t forget to check out 12 Days of Handmade Christmas Tutorials!
Gift Ideas You May Not Have Considered - Under a Texas Sky
December 10, 2021 @ 12:38 pm
[…] for our children becomes difficult when they’re all grown up with families of their own. As the holidays draw closer, you may be stumped as to what to buy for friends and family. Here are a few gift ideas […]
25 christmas deco mesh wreath ideas - Design Collective
December 9, 2021 @ 12:34 am
[…] Source […]
November 5, 2020 @ 10:01 pm
I have always bought wreaths cause I thought they were too hard to do.thank you so much for yours. I will be doing one for my new home in Texas.I live in Grimes county and love if here
November 6, 2020 @ 1:15 pm
Pattie- Making wreaths is so fun. I don’t do them so much anymore since I have so many things going on. I’m glad you’re going to make one for your house! Grimes is south of me- I’m in Hubbard which is northeast of Waco. We’ve been here since 2018 and I love living in a small town. Follow me on Facebook at Under a Texas Sky! I’m so glad you stopped by! Blessings- Kelly
Xmas Wreath Making Youtube | Christmas Decoration
October 31, 2019 @ 1:05 pm
[…] Download Image More @ underatexassky.com […]
Victorian Style Bedroom Furniture White | | Bedroom Design Ideas
October 10, 2019 @ 11:59 pm
[…] Image Source: underatexassky.com […]
Christmas Decor – Juste une autre décoration Image Idées
September 6, 2019 @ 12:50 pm
[…] Download Image More @ underatexassky.com […]
24 Best Ideas Diy Mesh Christmas Wreath – Home Inspiration | DIY Crafts | Birthday | Quotes and Party Ideas
September 2, 2019 @ 4:38 am
[…] Best DIY Mesh Christmas Wreath from Christmas Deco Mesh Wreath Instructional Tutorial. Source Image: underatexassky.com. Visit this site for details: underatexassky.com […]
The 24 Best Ideas for Diy Mesh Christmas Wreath – Best DIY Crafts Ideas Collection
August 25, 2019 @ 8:44 am
[…] Best DIY Mesh Christmas Wreath from Christmas Deco Mesh Wreath Instructional Tutorial. Source Image: underatexassky.com. Visit this site for details: underatexassky.com […]
Top 20 Diy Mesh Wreaths - Best Collections Ever | Home Decor | DIY Crafts | Coloring | Birthday | Ideas
July 31, 2019 @ 2:26 pm
[…] (adsbygoogle = window.adsbygoogle || []).push({}); Best DIY Mesh Wreaths from Christmas Deco Mesh Wreath Instructional Tutorial Under. Source Image: underatexassky.com. Visit this site for details: underatexassky.com […]
20 Best Mesh Wreaths Diy - Best Collections Ever | Home Decor | DIY Crafts | Coloring | Birthday | Ideas
July 30, 2019 @ 1:19 pm
[…] (adsbygoogle = window.adsbygoogle || []).push({}); Best Mesh Wreaths DIY from Christmas Deco Mesh Wreath Instructional Tutorial Under. Source Image: underatexassky.com. Visit this site for details: underatexassky.com […]
20 Of the Best Ideas for Diy Mesh Christmas Wreath - Best Collections Ever | Home Decor | DIY Crafts | Coloring | Birthday | Ideas
July 1, 2019 @ 2:42 am
[…] (adsbygoogle = window.adsbygoogle || []).push({}); Best DIY Mesh Christmas Wreath from Christmas Deco Mesh Wreath Instructional Tutorial Under. Source Image: underatexassky.com. Visit this site for details: underatexassky.com […]
November 18, 2018 @ 10:02 pm
Hi Kelly! I just wanted to tell you that I followed this tutorial today, and I made a really beautiful wreath. I wish I could post the picture here. It was a cardinal themed wreath for my mother-in-law. My father-in-law passed away last Christmas, so this year will be a difficult one for all of us. She loves cardinals and I thought this wreath would be something to make her feel better. Your tutorial was very easy to follow. Thank you! Great job!
November 21, 2018 @ 3:53 pm
Christine- I’ve love to see your wreath! You can post it to my Facebook. Just look for Under a Texas Sky and you’ll find me. What a beautiful gesture for your mother-in-law. The holidays can feel so empty when you lose a loved one, but I’m sure she’ll feel the love you have for her in your beautiful wreath. I pray y’all feels God’s love for you as well throughout the holiday season. Blessings- Kelly
December 17, 2017 @ 7:26 pm
Stunning wreath.. excellent directions. Thank you for sharing.
December 28, 2017 @ 11:04 am
Cheri- Thanks so much! I appreciate you stopping by to leave such a nice comment. Blessings! -Kelly
October 29, 2016 @ 8:27 am
Love this wreath, i need to try it. Where do you get your deco mesh?
October 30, 2016 @ 5:35 pm
Claudia- Thanks so much! I order my mesh from craftoutlet.com. They have a great selection and good prices. Thanks for stopping by. Blessings! -Kelly
October 27, 2016 @ 10:00 pm
awesome web site i will visit often. love you bunches
October 30, 2016 @ 5:35 pm
Susan- Thank you so much! I’m so glad you discovered us. I hope you subscribed. I send a newsletter out on Tuesdays so you can see what’s been happening Under a Texas Sky. I appreciate you taking the time to send some love. Blessings! -Kelly