
Perfect Wreath for Memorial Day or 4th of July!
I love this ruffle style mesh wreath made with red, white and blue poly burlap mesh. I also threw in some burlap mesh as well. This is an easy to follow wreath tutorial that’s sure to make you want to try it. Here are the materials you’ll need to create this beautiful wreath:
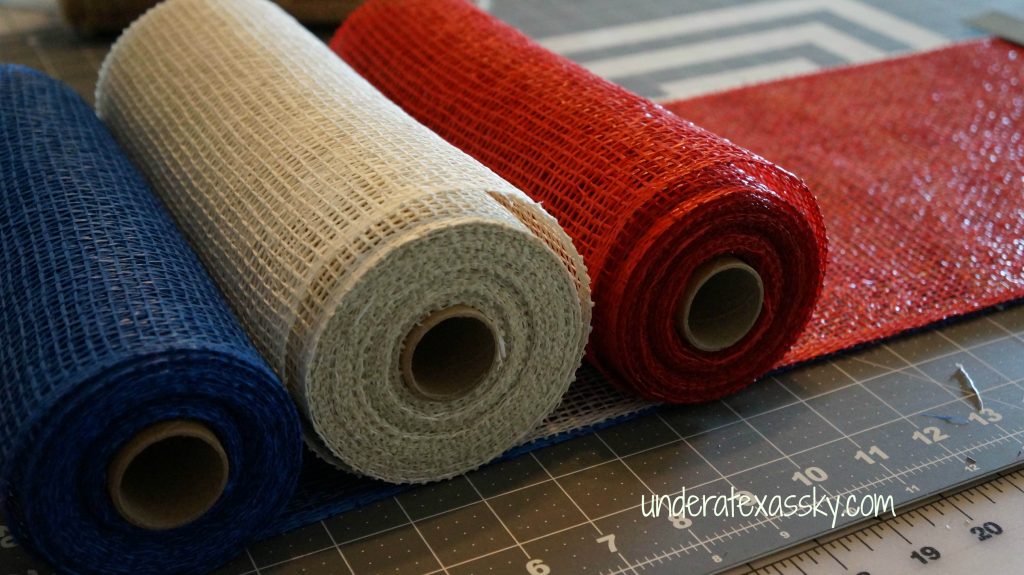
3 rolls of poly burlap mesh (I added some random burlap mesh ruffles throughout as well)
2 rolls of 2 1/2″ ribbon (I used patriotic colors)
24″ work wreath (the wreath is 15″ in diameter- approx. 24″ when completed)
large center element
decorative wire picks
various embellishments
scissors
wire cutters
zip ties
hot glue
ruler
a rotary cutter makes it much easier- but it’s not imperative
Here We Go!
I started with red, white, and blue poly burlap mesh

I laid each roll on top of the next so I’d be cutting all three at the same time.


You’ll cut the mesh every 10.” This will create 10″ squares since the mesh is 10″ wide. There are 18 twists on a work wreath. If you fill each twist with two ruffles, that’s 36. If you triple up your rolls, you’ll need to make 13 cuts (13 x 3 = 36). You can add more ruffles to each twist if you want it more full- but two work just fine.


Starting on the outer ring, begin making your ruffles. To make the ruffle, take a square of mesh (finished sides on the left and right) and start to gather the square up in the middle.


Open a twist on the outer ring and place the center of ruffle into the twist. Give it about a twist and a half. Don’t twist it all down a bunch of time because there is more to be placed inside each twist. Continue alternating colors around the outer ring, filling all of the twists with a ruffle. Next you’ll go in and add a second ruffle of a different color on top of the ruffles you just placed. Open each twist back up and place your next ruffle on top of the ruffle below it, NOT on top of the twist you had made previously. Be sure you don’t have two of the same color in any twist, and be sure your top ruffles don’t sit next to the same color ruffle. Continue this process on the inside ring. I added a third ruffle randomly throughout the wreath, so some of my twists had three ruffles.


Next it’s time to add the ribbons. I used two rolls of 2 1/2″ ribbon. I cut my ribbon into just about 15″ lengths. This is a lot of ribbon- but makes a gorgeous wreath!
I chevron the ends of my ribbon to give them a finished look. To me it’s a much nicer look than a blunt cut. To do this, you’ll need to take your ribbon and fold it in half. Then fold it in half longways. Take your scissors and cut down from the folded side down to the ribbon edge. When you open it up- you’ll have chevron cuts at both ends.

![]()
I cut enough ribbons for each twist to have two ribbons. Using both ribbon styles for each twist (stars & stripes, and red and burlap striped) makes for a full, beautiful wreath. Squeeze your length of ribbon in the middle and add it to the twist. Add both ribbons to each twist and then separate them once your twisted them in. Go ahead and give two good twists to secure them.
I stuck some wire picks with little red white and blue beads into the wreath and secured them on the back of the wreath by twisting the wire of the pick around the wreath form, then using a zip tie to secure it.


Then I added my center plaque. I ran a thick zip tie through the hanger of the star and pulled it through the middle of the wreath. It’s always a bit difficult to line get it balanced, but I attached it to the top of the wreath form and pull the zip tie until the star was in the right position.

Adding a couple of other embellishments onto the wreath made it more interesting. I added some light burlap stars, and hearts, and a few red, white, and blue wire balls as well.


Video Tutorial
Or, even better…. here’s the video tutorial!