Distressed Mason Jars Make Such Cute Vases

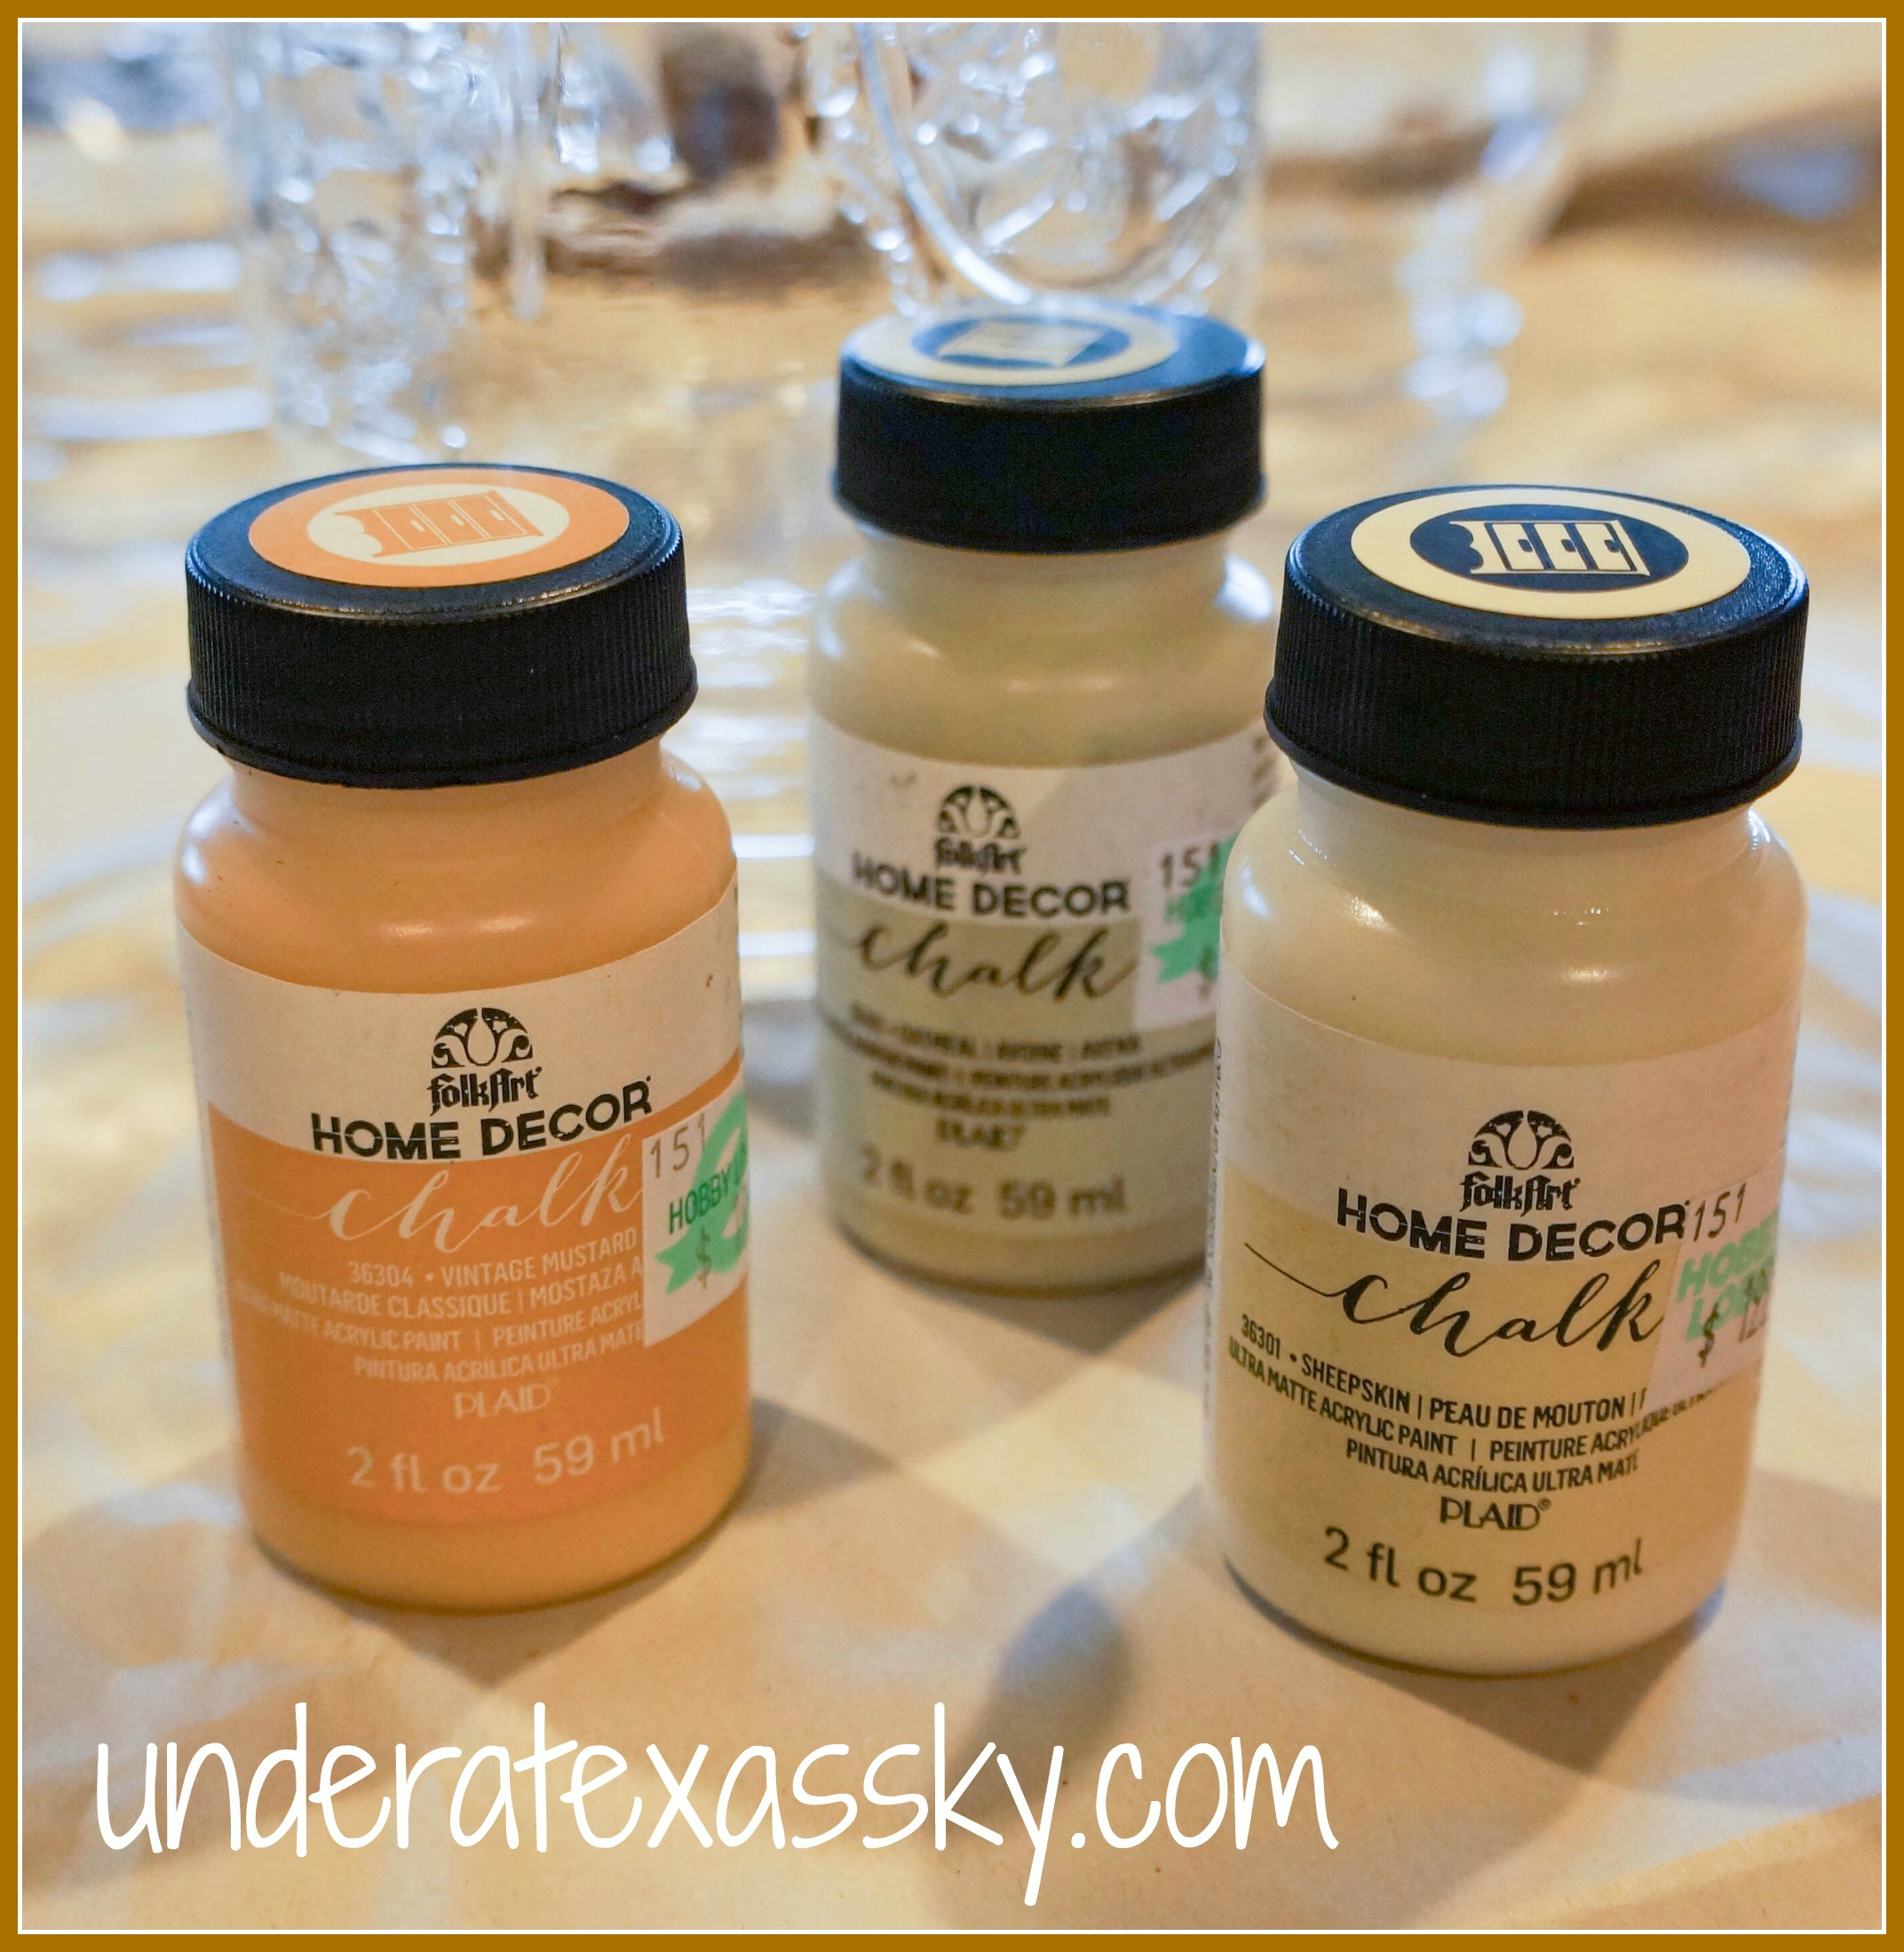
I am loving all of the home decor I’ve seen that’s using distressed Mason jars. From wall hangings, to vases on a shelf, to kitchen utensil holders, I love them all! I decided I’d give the distressed Mason jar style a try. This distressed technique uses chalk paint. As you probably know, this stuff is expensive!! Hobby Lobby ended up having just what I needed! Folkart Brand makes the perfect sized chalk paint bottles for about $1.97 a bottle as compared to about $25 for a pint of the premium chalk paint. I had this project in mind to put on our newly built coffee table (a tutorial is coming, I promise) so I chose three sort of neutral paint colors.
The process is so easy!
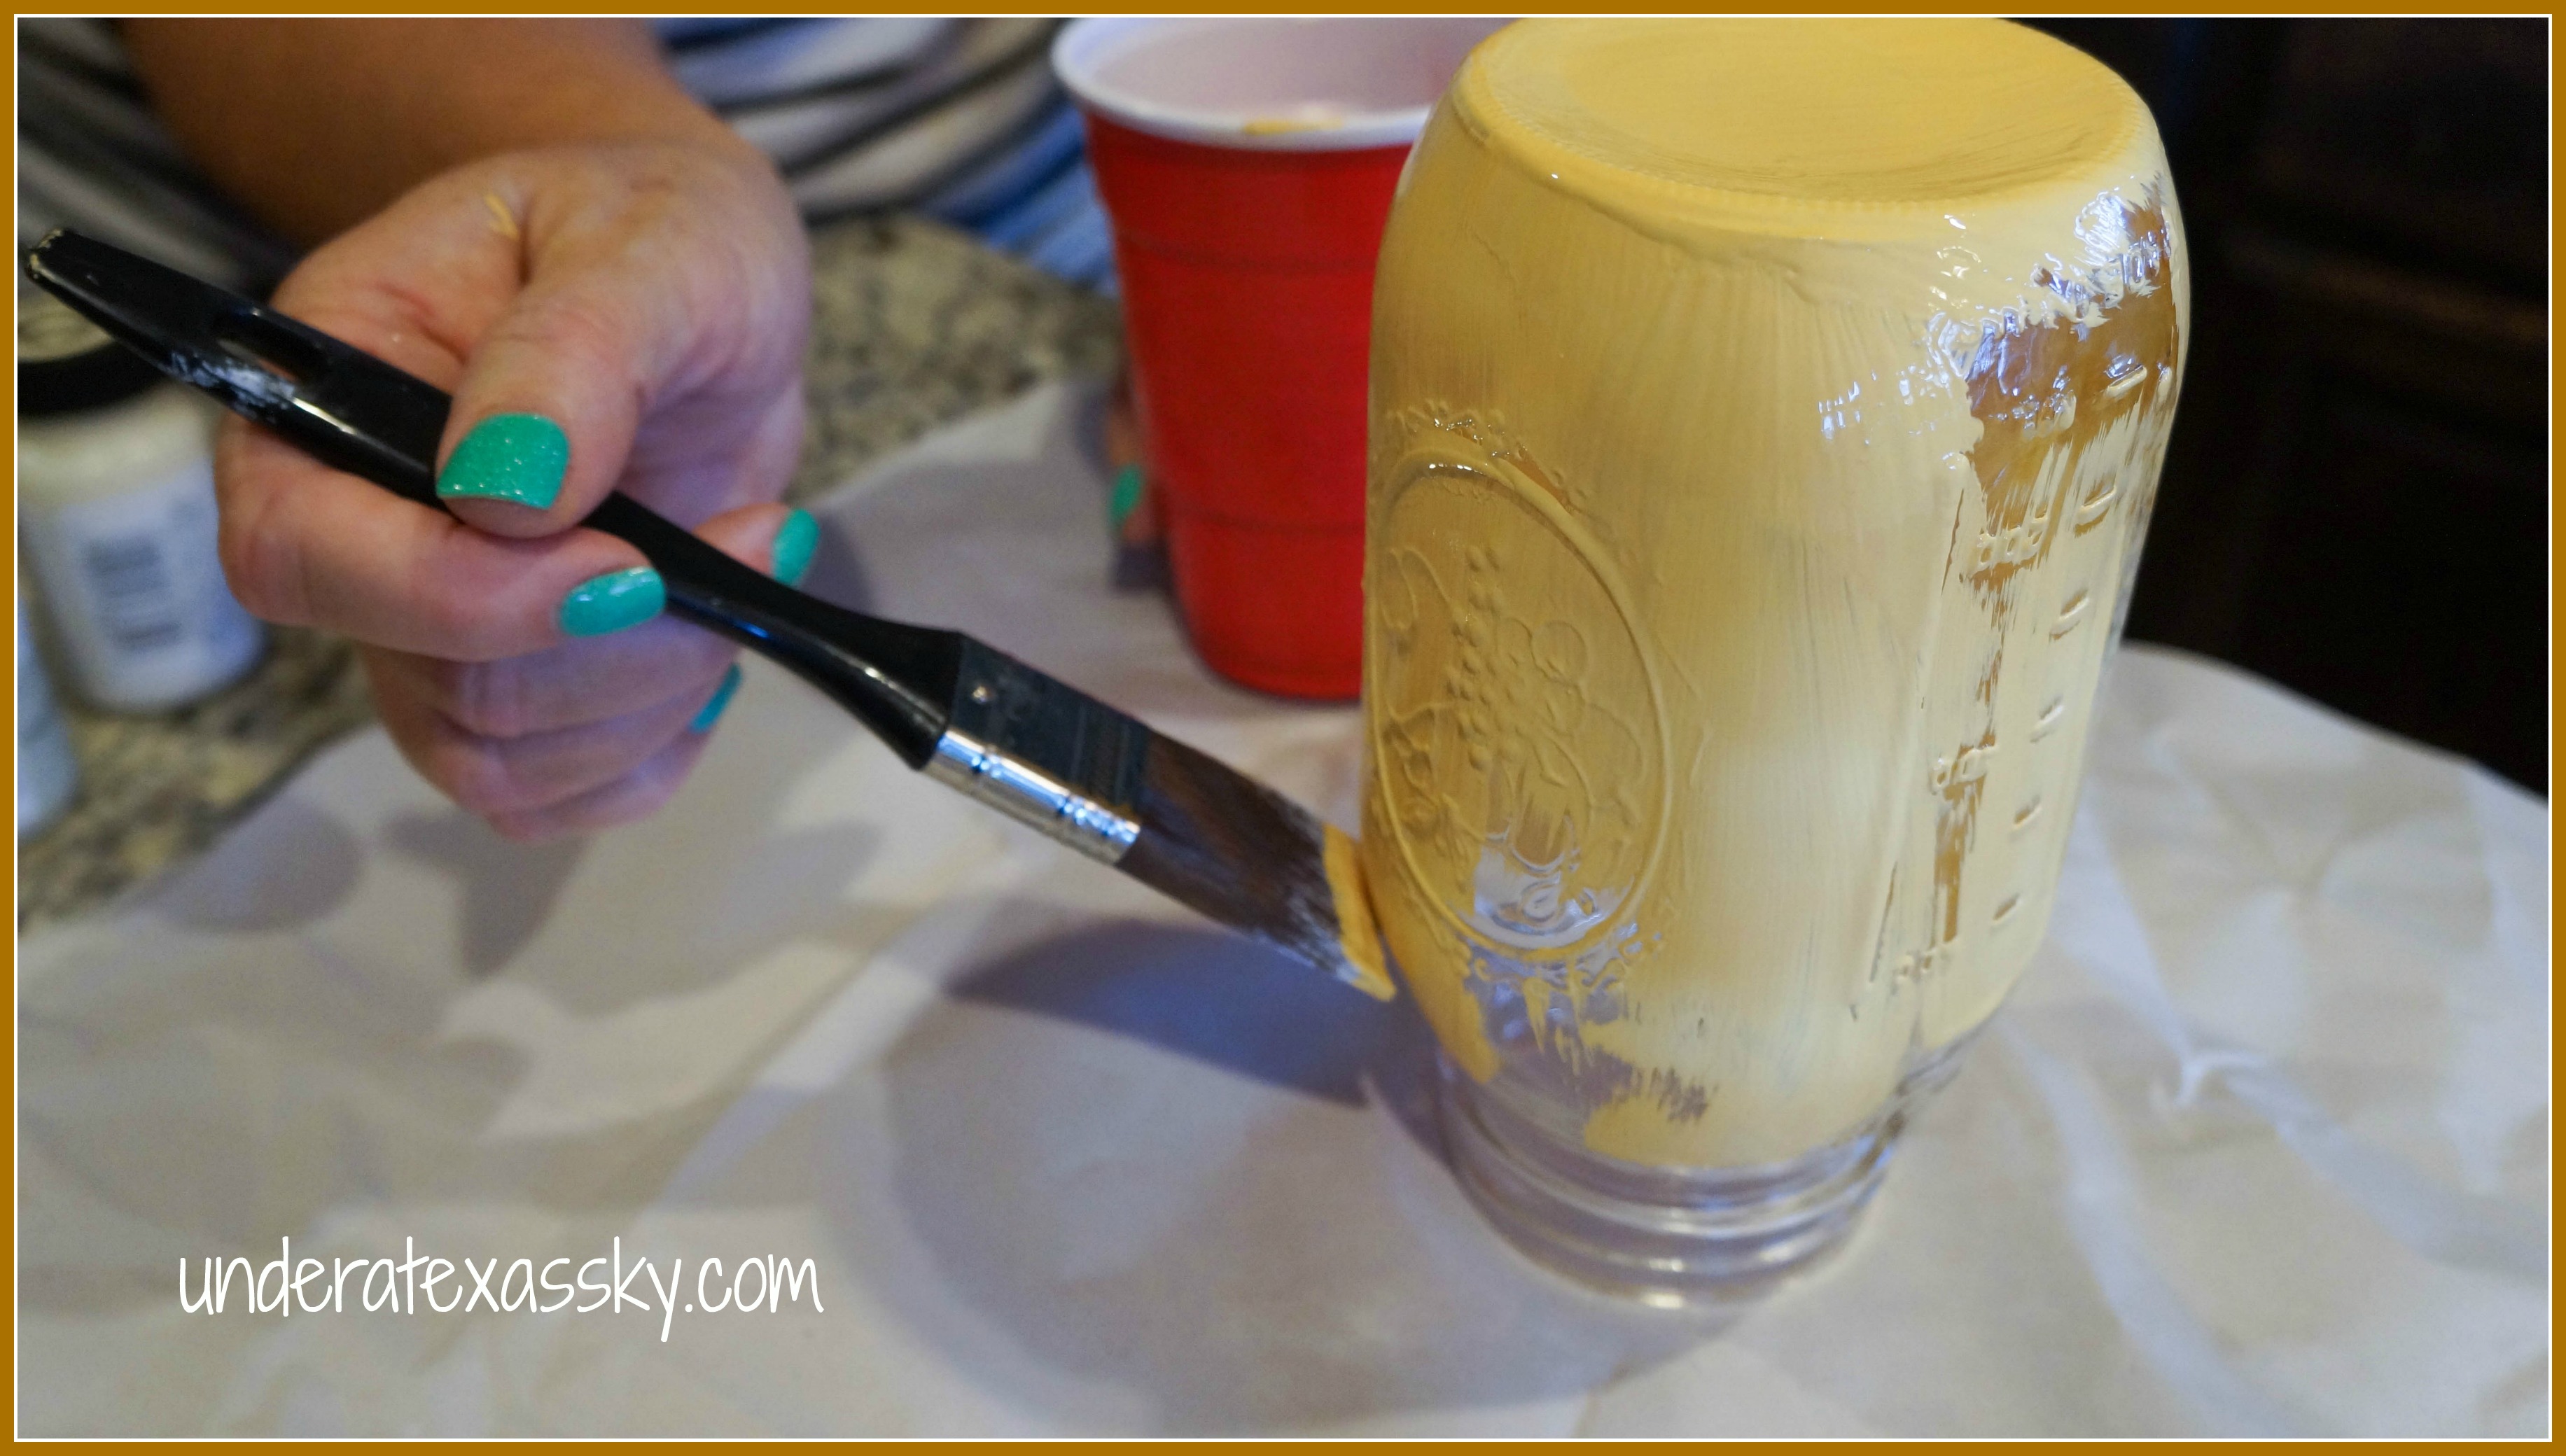
I started the project by setting my Mason jars upside down on some paper to protect the counter. A regular soft paintbrush is perfect for applying the paint. I poured up less than a tablespoon of paint into a solo cup (solo cups, not just for beer pong! Like I’ve ever played beer pong…), dipped the brush in the paint and just starting applying the paint. You really do want a softer brush for this, one of mine was a little bit stiff and it was pushing the Mason jar, making it difficult to apply the paint evenly.
I set the jar on a stand The Mean Man uses in the garage for his rolls of trash bags; dual purpose! (I actually only did this on the first one as it’s pretty difficult to get the jar up there. I just just let the others stay on the paper upside down). I let them dry for two hours and applied a second coat.


After the Mason jars were completely dry, I took some 80 grit sandpaper and began to lightly sand all of the raised elements; all words, measuring lines, even the “Made in the USA.”


Spraying the painted and sanded jars with a sealer is important. Rust-Oleum makes an easy to use matte enamel sealant that I sprayed on each jar. This will make it easier to keep the jars dust-free.

The jars then got some raffia tied around the neck and topped off with a little bow. This gives the jars a little country charm. I used an old slat box that I had The Mean Man cut down to better accommodate the size of the jars. Adding some burlap and raffia to the bottom of the box helped get the jars to the height I wanted. Putting some random silk flowers in the vases completed the project.
[huge_it_gallery id=”36″]
I hope you give this a try!
August 7, 2022 @ 7:29 am
Good post guys!
September 30, 2017 @ 10:31 pm
Love,love these jars. I just have made 3 and can’t wait to make more! I went and bought every color of the rainbow, small 2 oz, bottles $1.49 each with my discount from Hobby Lobby. My husband makes the crates. Is going to make great Christmas gifts!!
October 1, 2017 @ 11:48 am
Linda- Aren’t these the cutest things?? They’re so easy to do and look amazing. Your friends and family will LOVE these as gifts. Thanks so much for stopping by. Blessings! -Kelly
September 12, 2016 @ 5:16 am
The colors you used and the flowers you put into the jars is just perfect. You have a great eye for design! Lovely idea! Part of me wants to try it, but part of me loves my mason jar collection so much and would hate making one unusable for canning! (I have so many jars though it’s ridiculous, lol, I’m sure I could spare a few.)
September 12, 2016 @ 12:28 pm
Julie- Thanks so much! I just love how these turned out. And wow, how awesome that you do your own canning. We’re lucky at my house to find an actual can of anything! I love the fact that the jars are fairly inexpensive- maybe you could just grab a couple and see what you can come up with. Thanks so much for the encouragement. Blessings! -Kelly
September 11, 2016 @ 7:44 am
Kelly, you killed me when you said “beer bong” love it! Thanks for the creative advice with the mason jars!
September 11, 2016 @ 1:02 pm
Mrs. Denniston- I really never played beer pong… but I know that’s what those red solo cups are famous for! Thanks for stopping by. Blessings! -Kelly
September 8, 2016 @ 9:49 pm
These Mason jars are super cute!! Love the colors you chose and how you decorated with them!
September 8, 2016 @ 10:08 pm
Thanks so much! I really love them too. Thanks for stopping by. Blessings- Kelly
September 7, 2016 @ 9:24 am
Hi Kelly,
I just love your mason jars! Thank you for co-hosting with us at Friday Favorites. Even though you are a co-host, I picked your amazing project will be featured at the next party. Hugs- Christine at Light and Savvy
September 7, 2016 @ 3:08 pm
Christine- Thanks so much!! I’m having a great time really digging into all of the entries on our Friday Favorites! Thanks for loving my project! Blessings! -Kelly
September 6, 2016 @ 2:36 pm
Thanks for linking up this adorable craft at the Pretty Pintastic Party! We love it so much we will be featuring it at the party this weekend! Stop by, grab a featured badge, and link up some more fantastic posts!
September 6, 2016 @ 4:15 pm
Jamie- That’s fantastic! Thanks so much for the feature and for providing a place to share. Blessings- Kelly
September 6, 2016 @ 12:54 pm
Love this look, especially with the dark box holding them. Perfectly country. Will be stealing this look soon…thanks! P.S. Also under Texas Skies (far Northeast, almost Oklahoma)
September 6, 2016 @ 4:14 pm
Sugar- Thanks so much! I always love to hear from fellow Texans- even if they ARE close to Oklahoma! I stopped by At Rivercrest Cottage- your motto is SO true! Made me giggle. Thanks for stopping by and leaving some love. Blessings! -Kelly
September 4, 2016 @ 11:12 am
I’m a mason jar freak.
Thanks for the tutorial.
I found you on a link up party.
September 4, 2016 @ 11:00 pm
Meena- Mason jars rock. I’m glad you found me! Blessings!
September 3, 2016 @ 2:37 pm
I like these jars. Your are a fabulous decoration.
September 3, 2016 @ 11:11 am
Visiting from Paula’s no rules party!! Had to pin this!!
September 4, 2016 @ 9:06 am
Helen- Thanks so much! Blessings! -Kelly
August 31, 2016 @ 10:25 am
I have tryed these and when putting the second coat of paint on, some of the first coat came off. I thought maybe using some Gesso first might help but the same thing happened. I used foam brushes, maybe that was the problem. They turned out great but I had to do some dabbing so it wasn’t as smooth of a texture as I’d like. I will try a soft brush like you did. I have all different size of vintage ones and am trying to make a set for the kitchen.
August 31, 2016 @ 4:22 pm
Diana- I didn’t experience the first coat of paint lifting. Maybe it was the type of paint. Did you use the chalk paint? I also let my dry for over two hours before I applied the second coat. I just hate it when you’re painting and the brush removes the paint! I think it’s a good idea to try the soft bristle brush also, that could help. I hope your kitchen set turns out beautifully!
August 30, 2016 @ 7:18 pm
Cute jars – thanks for sharing the tutorial on how to make them. Stopping by from Turn It Up Tuesday.
August 30, 2016 @ 9:53 pm
Thank you!
August 30, 2016 @ 2:29 pm
This is a really cool idea. Doesn’t look too had either. i may have to try it out.
August 30, 2016 @ 9:53 pm
Gray- It really is easy, and such a cute result. Thanks for stopping by. Blessings!
August 30, 2016 @ 10:34 am
Very cute jars! I bought some that paint but haven’t tried it yet good to know it works great! Thanks for linking up to Merry Monday! Sharing on G+! Have a great week!
Kim
August 30, 2016 @ 12:15 pm
Kim- You’ll love it! It’s one of my very favorite projects. Thanks for hosting!
August 29, 2016 @ 10:55 pm
This is a great, easy to follow tutorial. I just love how these distressed jars turned out. Thank you for sharing at Family Joy Blog Link-Up Party this week!
August 30, 2016 @ 8:45 am
Thanks so much!