Easy Wooden Sign
This wooden sign style is all the rage and you can make one! Our goal with this particular sign, was just to give it a try; you know how we love to wing it. We literally made it from scraps.
On to the tutorial:
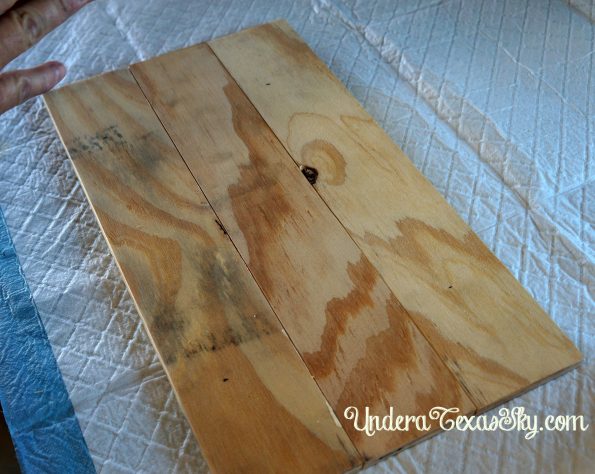
The Mean Man took three pieces of scrap wood and trimmed them down to 3″ widths. He then cut them 15″ long. After cutting, he took his sander and smoothed out the wood slats and slightly curved them as well. This gives the illusion of there being space left between the boards. We really have them glued and butted together.
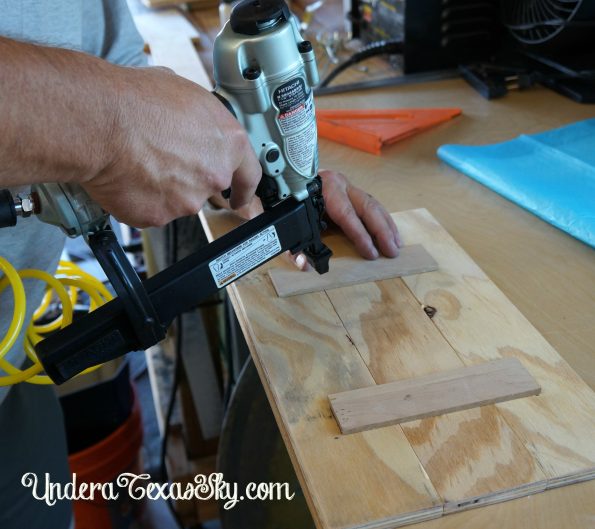
Attaching the pieces of wood together is the next step. I didn’t want the sign to stick out very far from the wall so we went with the thinnest strips we could find that would still hold the sign together.
The Mean Man attached the strips with a staple gun.
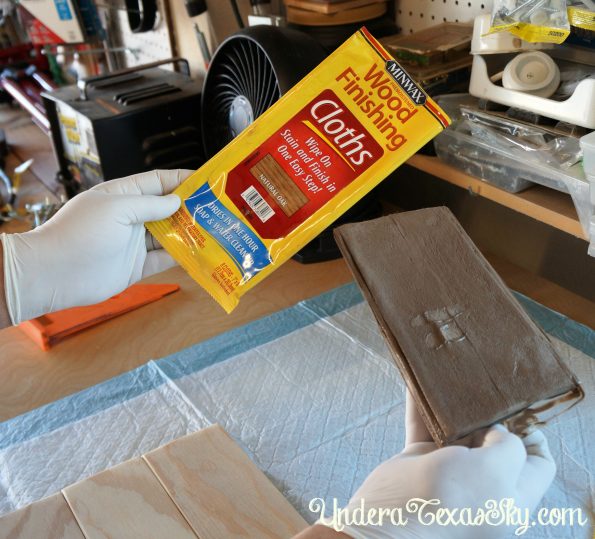
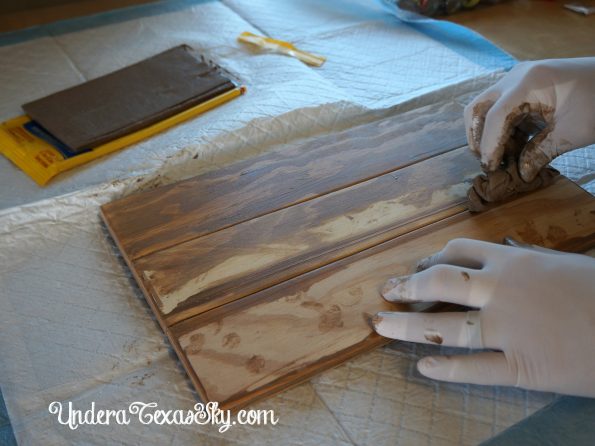
Next it’s time to stain. We actually tried something new with this project. Minwax makes something called “Wood Finishing Cloths” which are cloths that include the stain. You just take the cloth out of the package and then wipe it on your project.
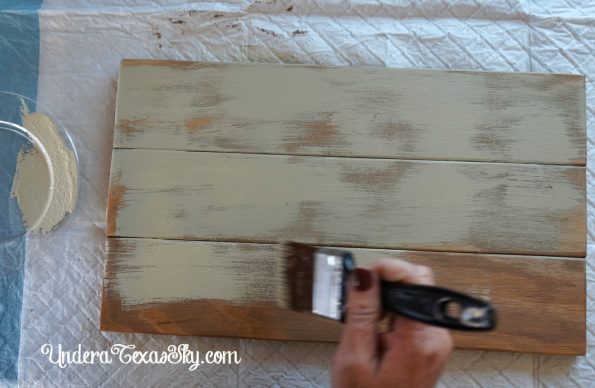
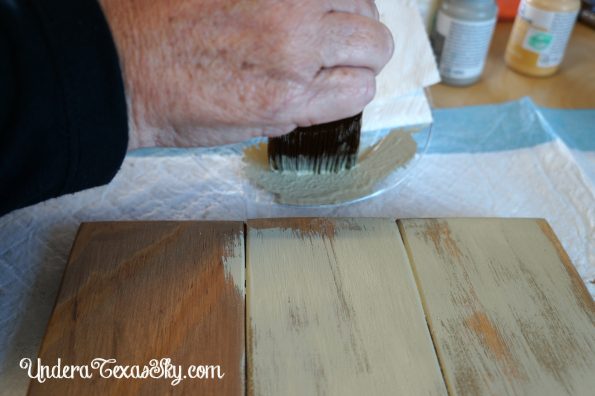
I wanted more than just stained wood, so I decided to use a dry brush technique with some chalk paint. Be sure your stained board are completely dry before you paint.
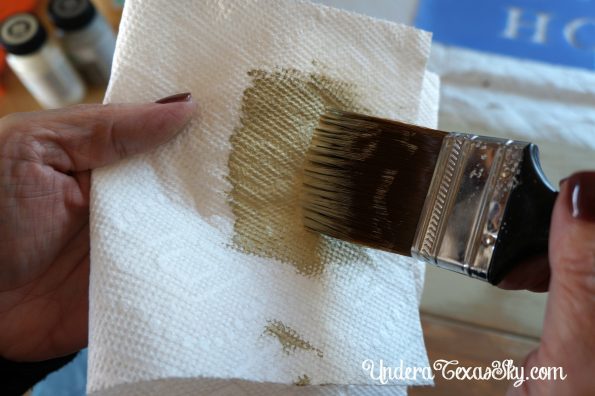
To dry brush, you just need to dip your brush in the paint and then wipe off most of it on a paper towel.
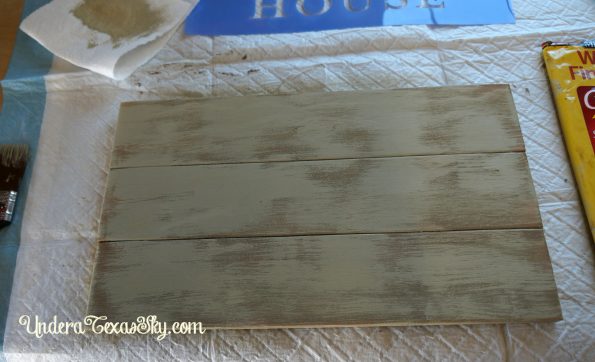
You can see I just had poured a tiny bit of paint onto a plastic plate. It doesn’t take much. Just randomly add your paint to the boards.
I will confess, my intention was to stencil a nice warm and fuzzy saying over the paint. Turns out, I really suck at painting with a stencil; it was a mess. So, I took some more chalk paint and painted over the awful, mess I had made with the stencil. I still wanted a warm fuzzy saying, so I just did a vinyl cutout on my Silhouette.
Almost done!
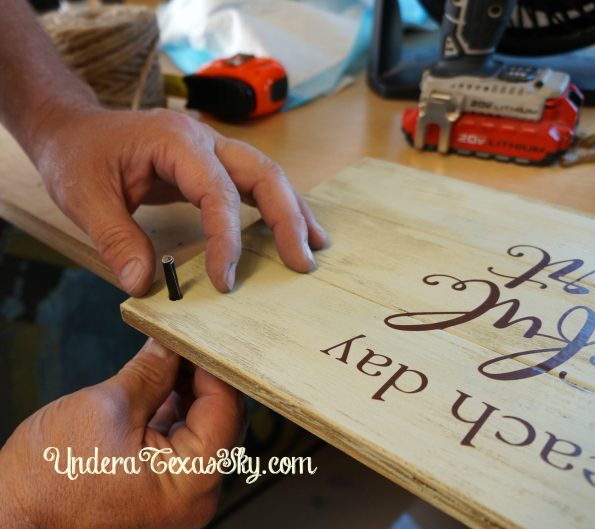
The Mean Man drilled holes in the top two corners so I could add some jute twine to make a hanger for the sign. He used some electrical tape on the ends of the jute so it could be threaded through the holes. I tied a knot in the jute to secure it (I cut away the taped part).
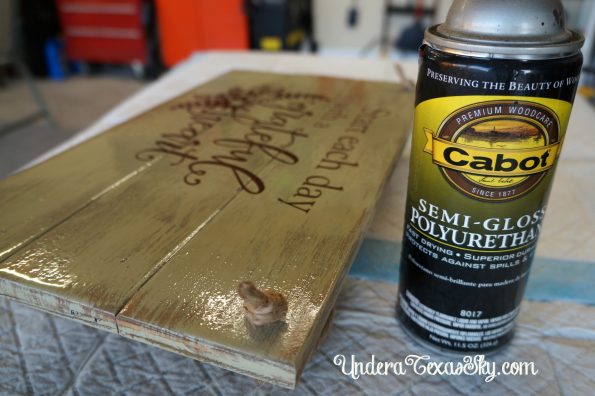
Adding a spray polyurethane finished the sign by protecting it.
Even with having to repaint the stencil mess, I think this experiment turned out really cute. I could have done a bit better with my vinyl placement, but this being just a first try, I’m really happy with the sign. I’m excited to try some other designs. I hope you feel like you can give this a try.





Más de 40 señales de madera para agregar un glamour rústico a tu decoración. | Alist of Games
January 20, 2021 @ 1:46 am
[…] Source: underatexassky.com Grateful Heart Painted Wood Sign […]
40+ Wood Signs to Add Rustic Glam to your Decor – The Best Jp
January 17, 2021 @ 1:13 am
[…] Source: underatexassky.com […]
Top 21 Diy Signs On Wood – Home, Family, Style and Art Ideas
November 27, 2020 @ 6:14 am
[…] Best DIY Signs On Wood from Wood Sign DIY. Source Image: underatexassky.com. Visit this site for details: underatexassky.com […]
21 Ideas for Diy Signs On Wood – Home, Family, Style and Art Ideas
November 19, 2020 @ 3:36 am
[…] Best DIY Signs On Wood from Wood Sign DIY. Source Image: underatexassky.com. Visit this site for details: underatexassky.com […]
December 7, 2016 @ 9:20 pm
where did u get the lettering
December 7, 2016 @ 9:23 pm
Heather- I used my Silhouette Cameo to print out the lettering and design in vinyl. Thanks so much for stopping by! Blessings – Kelly
November 30, 2016 @ 7:43 am
I love this!! I have wanted to try this myself with vinyl cut from my Cricut! Can you send mean man to Ohio to help me with my boards? Lol Thanks for the great tutorial! I think I’m going to attempt this & make some Christmas gifts!!
November 30, 2016 @ 9:24 pm
Susan- Thanks so much! I tell you, The Mean Man helps so much with so many of my projects! This really is a cool and easy project that has endless possibilities. I did a new sign for Christmas a couple of days ago- I’m putting it on my porch sign post. I just love a simple project. Thanks so much for stopping by. Blessings- Kelly
November 27, 2016 @ 6:50 pm
I absolutely adore your sign. I recently acquired a stack of old pallets from a friend to make signs with. I will definitely be referring to this post when I make them. Thank you!
Your post is being featured at the Monday Mish Mash Link Party #45 this week! Thank you so much for sharing this with us!
*Hugs*
November 28, 2016 @ 7:28 pm
Amy- Thanks so much! pallet wood are a great medium for all things signs! I’m glad you found the tutorial helpful and am so happy you decided to feature it on Monday Mish Mash. Blessings! -Kelly
November 21, 2016 @ 9:50 pm
I think the end result is fantastic! Now would it look that good if I did it. Hmmm. 🤔🤔
November 22, 2016 @ 11:02 am
Christine- Thanks so much! I’m sure your end result would be just as lovely if not more! I have some room for improvement. Happy Thanksgiving! -Kelly