Installing Faux Shiplap- Big Impact, Little Cost
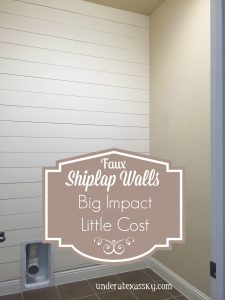
Installing shiplap seems to one of the most popular design elements going today. Like so many, I love this farmhouse look! I thought singling out the shiplap wall element in my laundry room makeover would be helpful to those who are looking to add this style to any room in their house. We did not use true shiplap boards. I’ve seen those advertised at different hardware stores (none in our area, however), but we used sanded plywood that we purchased in 4×8 foot sheets. To make is easy- here’s what it took to create this wall, and what we spent to do it:
3- 4×8 ft sanded plywood sheets (we needed three because out ceiling in 10 feet high in that room) @$23.45- $70.35 (We had Lowe’s rip the plywood sheets down to 6″ planks. They did this for free).
2″ pneumatic nails for the nail gun $19.54
1 gallon Valspar Eggshell Latex Interior Paint and Primer in One- $32.98
Gator 400 grit commercial sanding sponge- $4.98
Fast ‘n Final Lightweight Spackling- $6.78
Paint rollers and tray -$13
We had the Frog Tape and caulk so didn’t need to purchase those things to seal and tape the side walls before painting.
We were able to add the shiplap wall in that room for less than $150! Not much money, but what a difference!
Here are the steps:
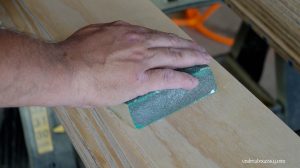
The first thing the Mean Man did was to sand all of the planks smooth. It’s really important to have the planks ready to paint. Sanding assures that the paint will go on smoothly.
Next came prepping the wall. We had to remove a shelf and the caulk that surrounded it before starting the shiplap. We wanted to be sure the wall was as level as possible so the planks would all sit even on the wall. We also established where the studs were located so the planks would be nailed as securely as possible. We used painter’s tape on the ceiling to mark where the studs are located.
[huge_it_gallery id=”30″]
Then it was time to set the top piece of shiplap. Starting at the top is best, just be sure the plank is level. This will guide the next planks. Since we weren’t using actual shiplap, we needed a way to set the space between each plank. We used a nickel to get just the right amount of space between planks.
[huge_it_gallery id=”31″]
We used spackling to fill all of the nail holes and then sanded them after the spackle dried. Again- it’s important to have a nice smooth surface for painting. The plywood is pretty thirsty also. It really drinks in the paint. We used two coats to get the best coverage.
[huge_it_gallery id=”32″]
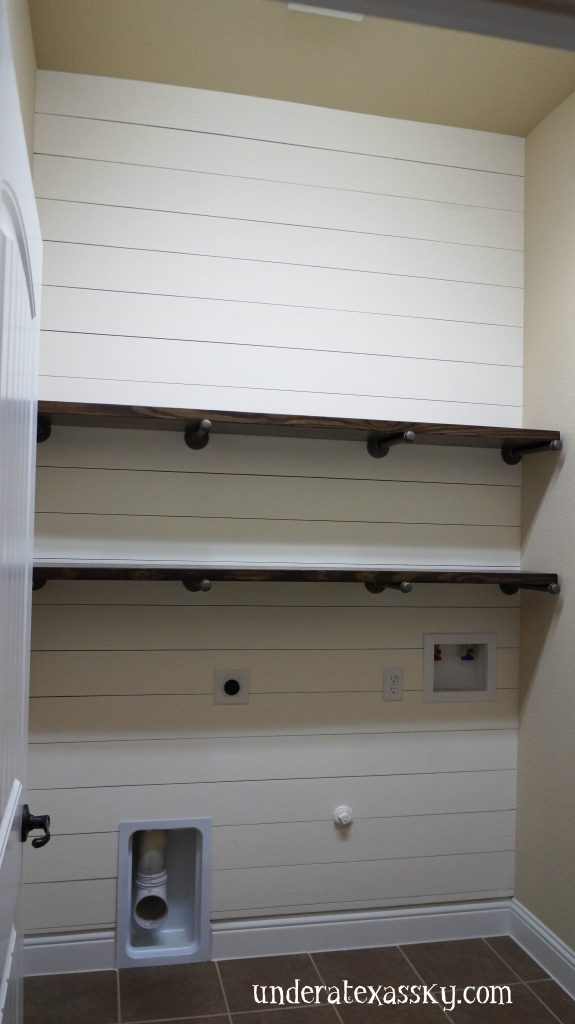
I am so very please with the result. The wall in and of itself is beautiful. We added some pipe shelves to the wall to solve our storage problem in the laundry room. It’s actually now a pleasure to go in this room.


Shiplap Walls Using Plywood - AllYourIs
April 28, 2020 @ 12:59 am
[…] Download Image More @ underatexassky.com […]
Shiplap Wall - Cool Home Remodeling
December 5, 2019 @ 1:10 am
[…] Download Image More @ underatexassky.com […]
Diy Faux Shiplap (Get The Look Without The Expense!) - KitchenRemodel.xyz
May 10, 2019 @ 12:27 pm
[…] Source: Installing Faux Shiplap – Under A Texas Sky […]