Picture Frame Wreath with Dry Brushed Painted Frame
I had a special request for a picture frame wreath back at Christmas. The wreath turned out beautifully using a decorative ready to paint frame that I painted then went over with a crackle glaze. I liked it so much, I decided to make an “any occasion” picture frame wreath to go on a narrow wall next to the staircase in my living area.
Painting the Frame
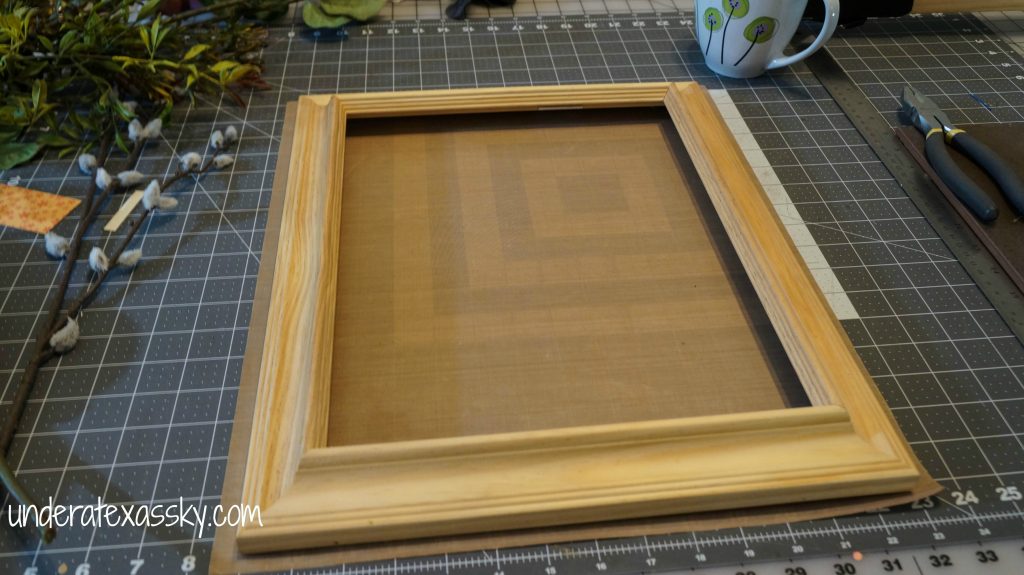
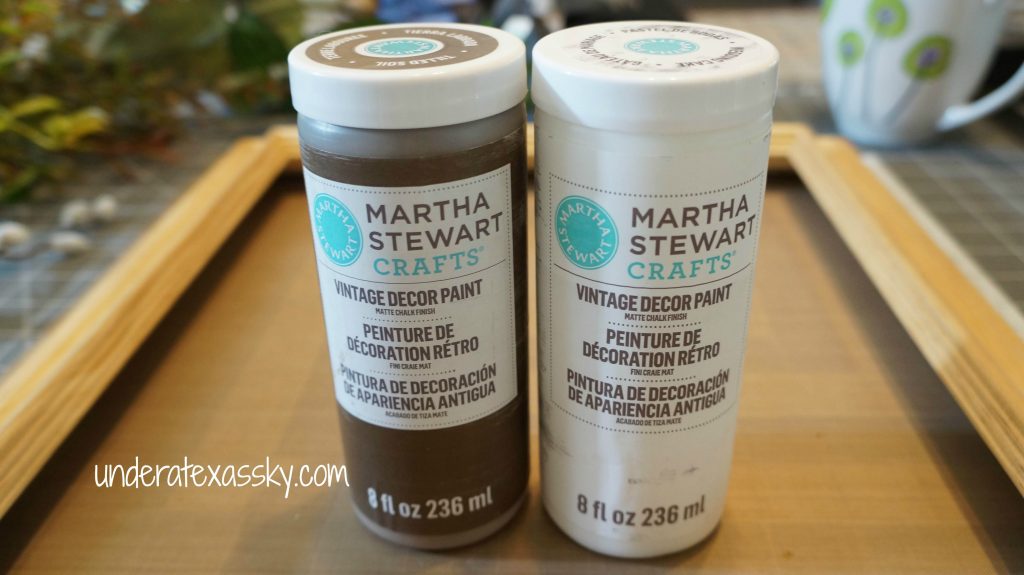
Start with a raw wooden frame. I couldn’t find a crackle glaze at the hobby store so I decided to do a dry brush technique to give the frame some visual interest. A chalk paint gives great coverage, I used a Martha Stewart brand. The colors I went with are called Tilled Soil for the base and Wedding Cake for the dry brush over it.
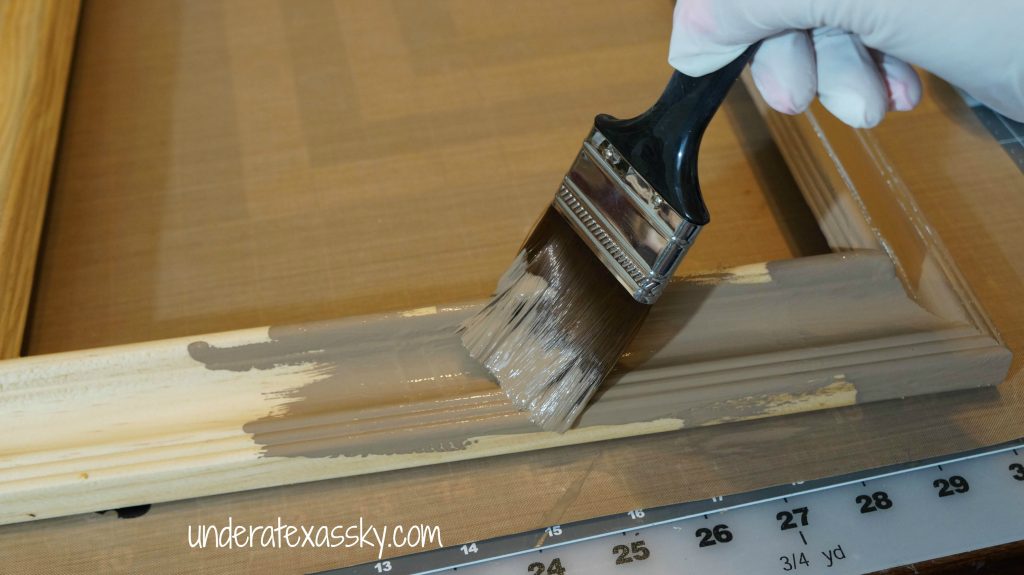
Paint the frame with the base color and allow a couple of hours for it two dry, according to the paint directions.
Then add the lighter color paint using a dry brush technique. Dry brushing is just what it sounds like. It’s using a brush that is almost dry; there’s just a dab of paint on the bristles. I shook up the paint and just used the paint that had pooled on the lid. It’s really plenty for this. Dip your brush in the paint that’s on the lid, then dab most of it off on a paper towel. The key is to get the brush pretty dry and then use very light strokes.
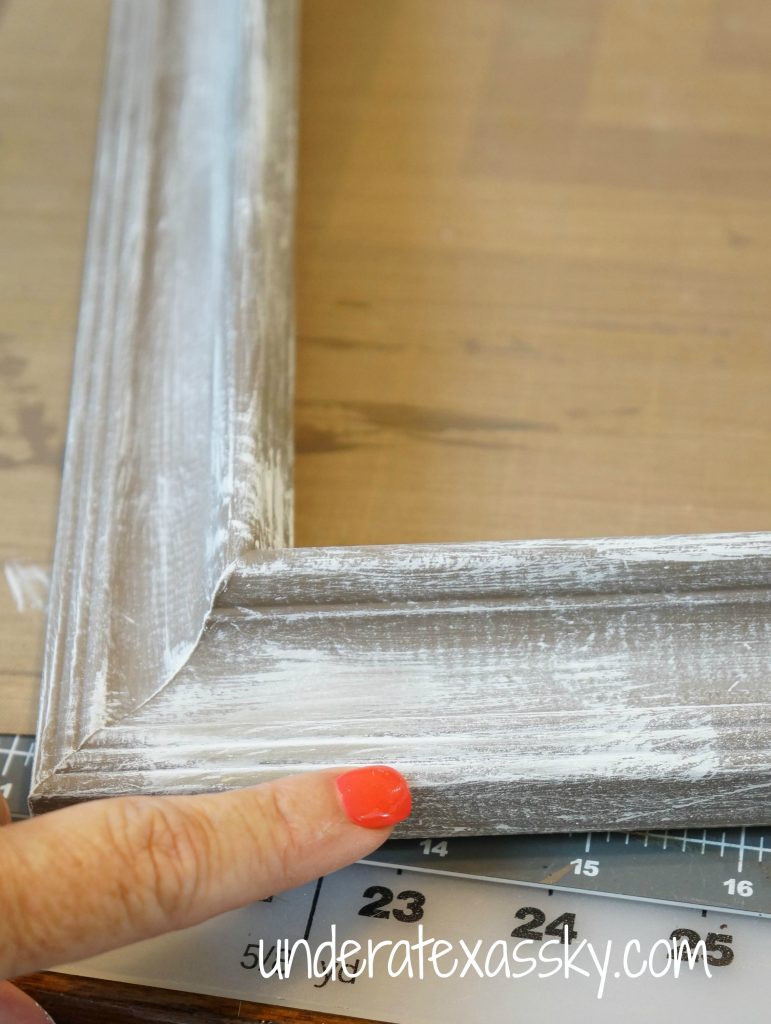
This is not a difficult technique- but you do need to be careful when you first touch the brush to the surface you’re painting. You need a feather light touch- working in the groves first is probably the best place to start. I was rocking along pretty well, and then this happened:
I went a little heavy here. Fortunately that it was in the corner- I didn’t get too upset because I knew I’d be layering in greenery and flowers and you would never know. If it were in a less forgiving spot, I could have gone a little heavier all the way around the frame and it would have still had that sort of weathered look and been fine.
Adding Your Florals
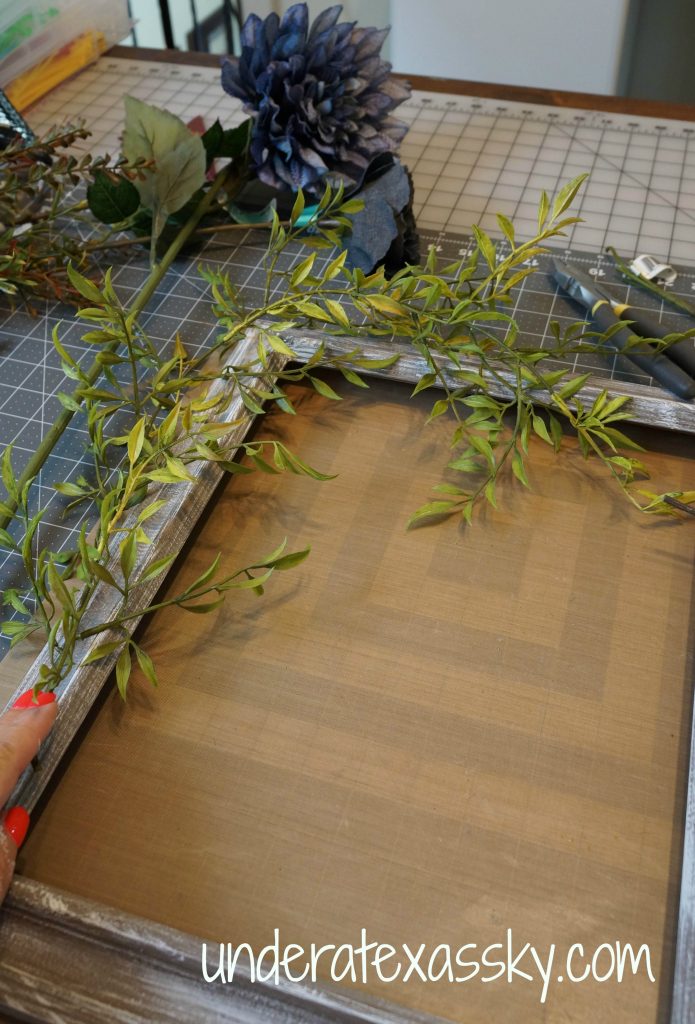
Next I started layering in my greenery.
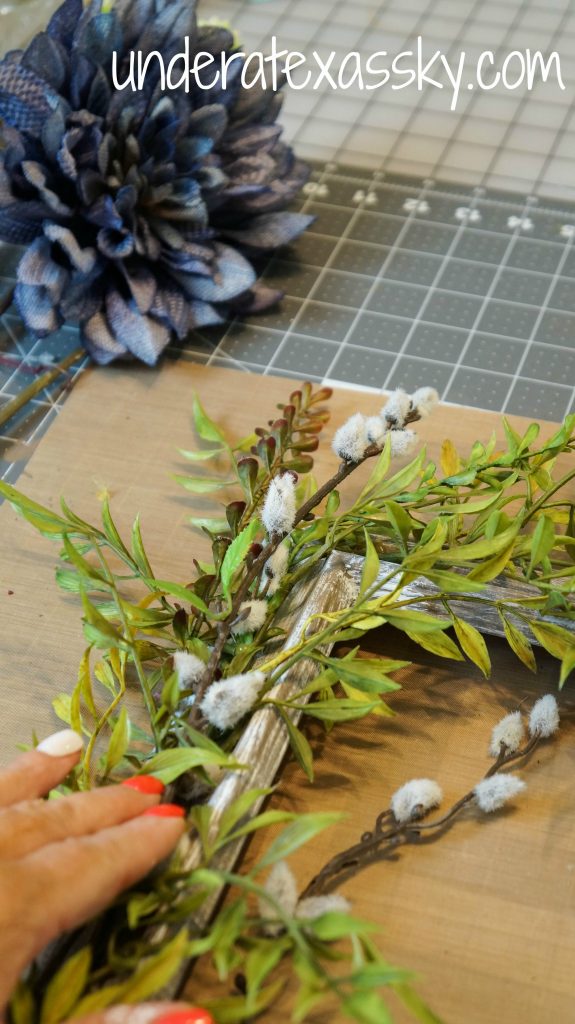
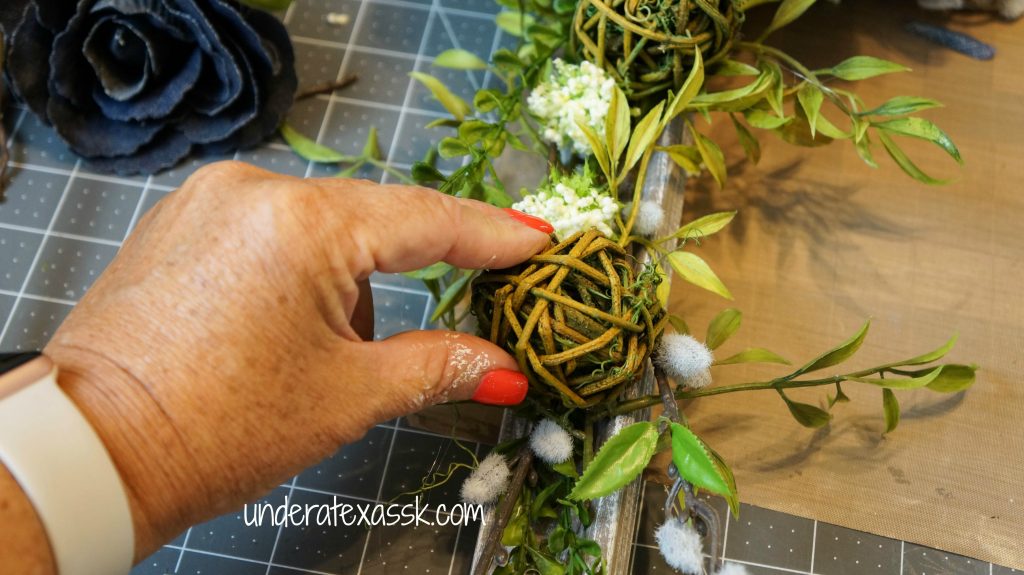
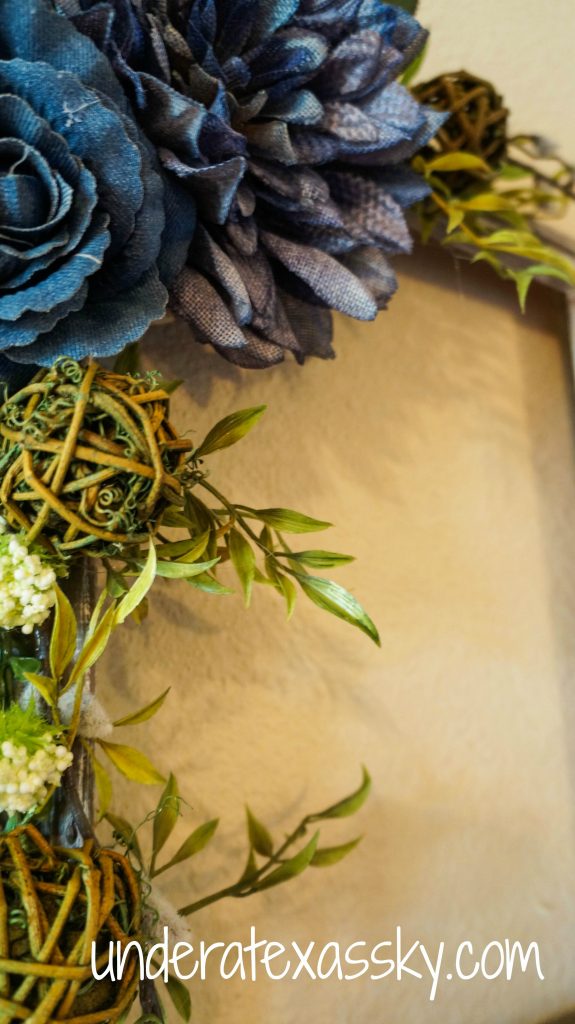
Start with gluing a base of greenery and filler onto the frame. I use the pot type of hot glue- where the little electric skillet looking pot melts glue chips (see below). This glue seems to hold much better than regular hot glue out of a gun. You need to be sure your greenery has areas that are really glued well and that the outer areas are looser and more natural. Continue adding your next layer of “greenery” (it’s not necessarily green as you can see here:).
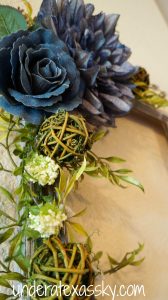
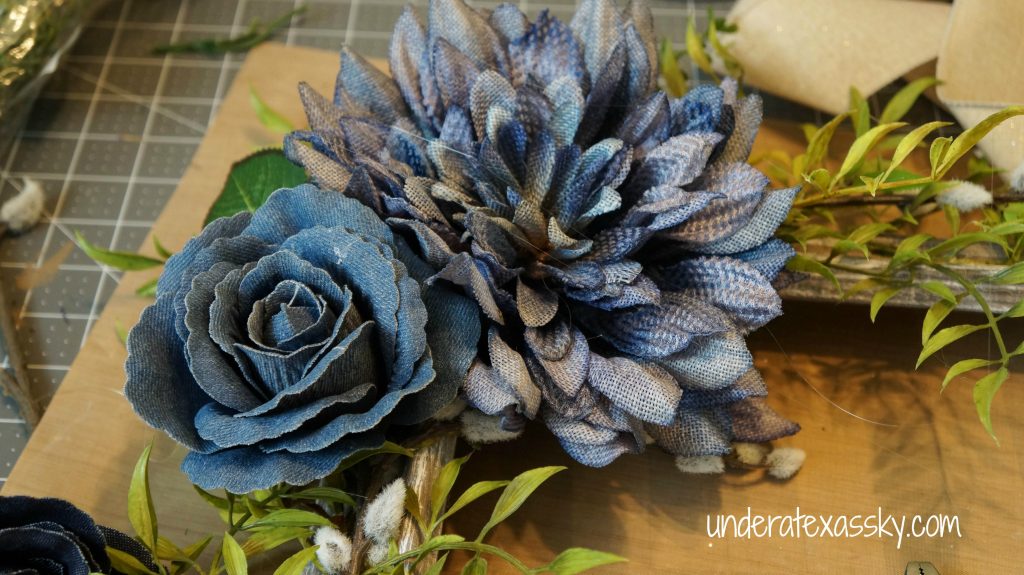
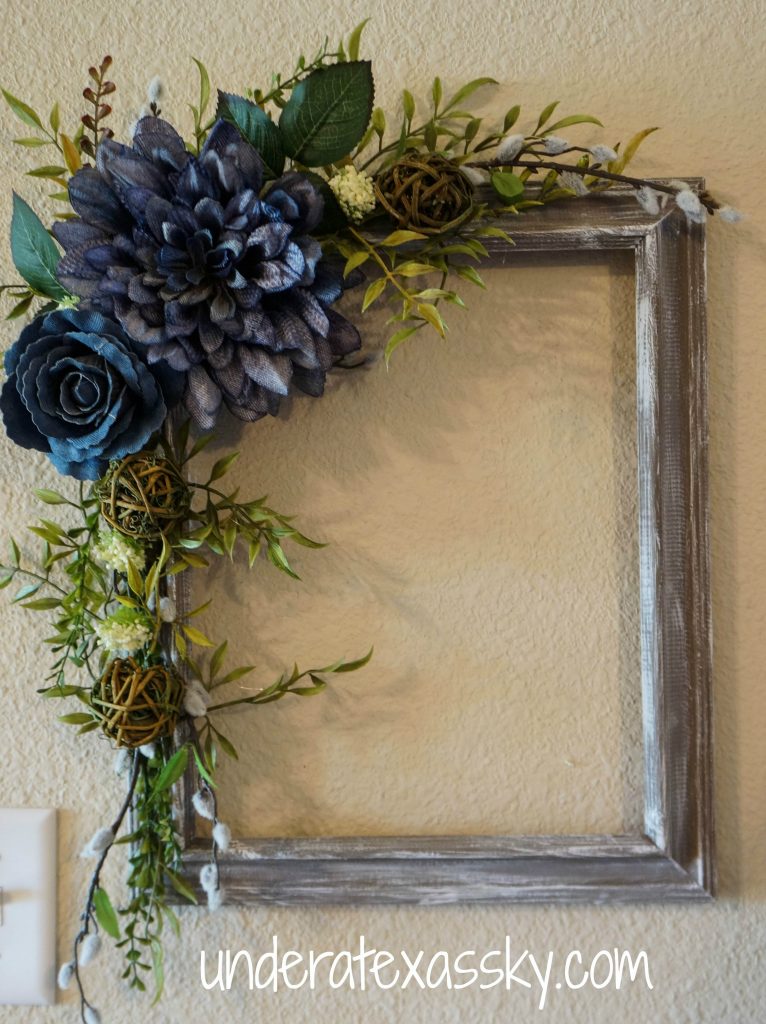
Add in some interesting filler and then your flowers. I found some really cool denim flowers and thought they’d be great for this wreath. It’s the perfect little rustic touch.
I love the result. There are several other ways to go with this wreath. It’s perfect for a center monogram, or another element in the corner opposite the flowers. Really the possibilities are just about endless. Here’s an example of the one I made for Christmas.




March 31, 2020 @ 9:44 pm
Could you please print a list that you used a florals on your frame wreath that you made? The one that was used that you painted not the Christmas one. Please I love the florals and stuff you use but I’d like a list of them if I could have them so I could follow yours. Thank you!!
April 11, 2020 @ 6:41 pm
Lori- I’m so sorry it’s taken so long to get back with you! Those flowers that I used on that picture frame wreath we purchased at least 5 years ago. If I had to guess I bought them at Hobby Lobby or Michael’s. It’s just important to get some loose leafy greenery for filler, then get some with the greenery and tiny flowers. Add something interesting at this point also- like I used those pussy willows. Instead of the denim flowers, maybe you could use ones made of burlap. Mine where a dahlia and roses. I know Hobby Lobby has burlap dahlias and rose buds. I’m sorry I’m not able to be more specific with you. I hope this helps though. Blessings- Kelly
March 2, 2019 @ 12:10 am
I really enjoyed this video Kelly. I am 71 yrs. old and just started doing crafts for the very first time. I want to try this frame wreath. So pretty. I will be watching more of your videos! 😊
March 5, 2019 @ 12:26 pm
Lin- I think it’s fabulous that you have discovered how fun crafting can be! There is so much personal satisfaction I feel when I make something that I love. Just remember to not judge yourself by others’ work. Enjoying the journey is the most important thing. I’m terrible about thinking that my stuff doesn’t measure up to so many other crafters and I have to stop and remind myself that it’s in the creating where the joy lies. Please stop by again! Blessings- Kelly