
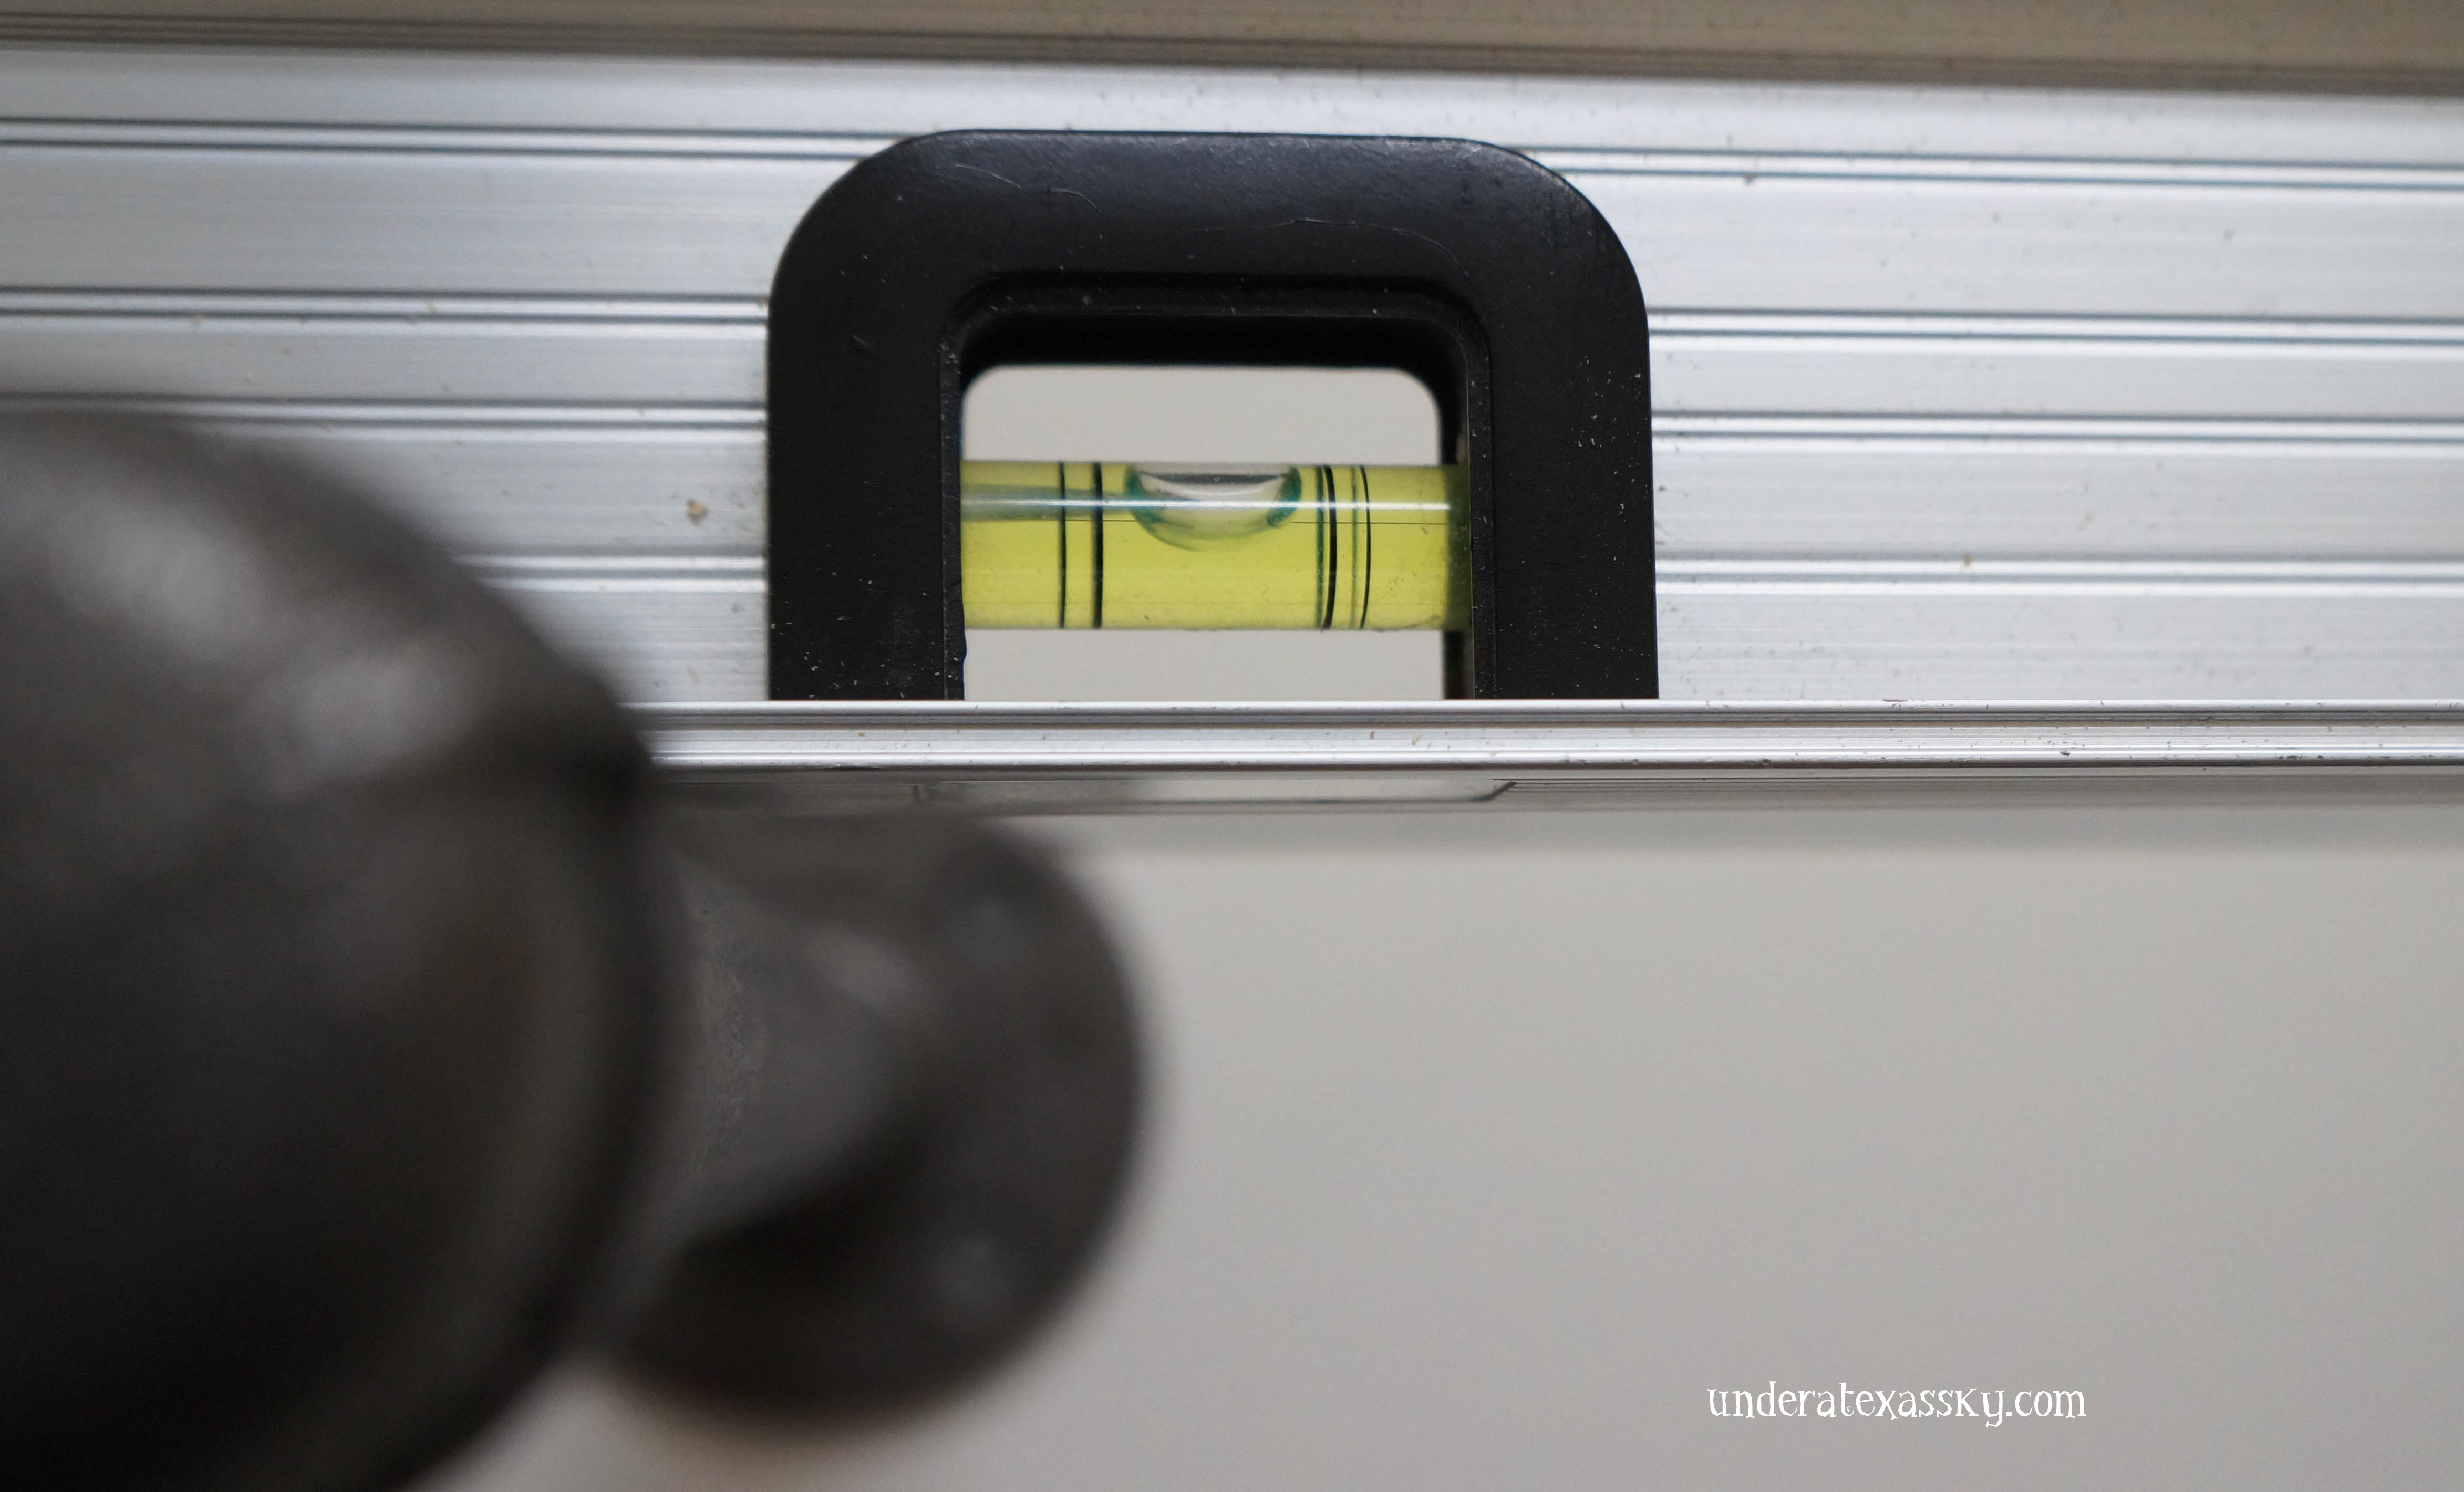
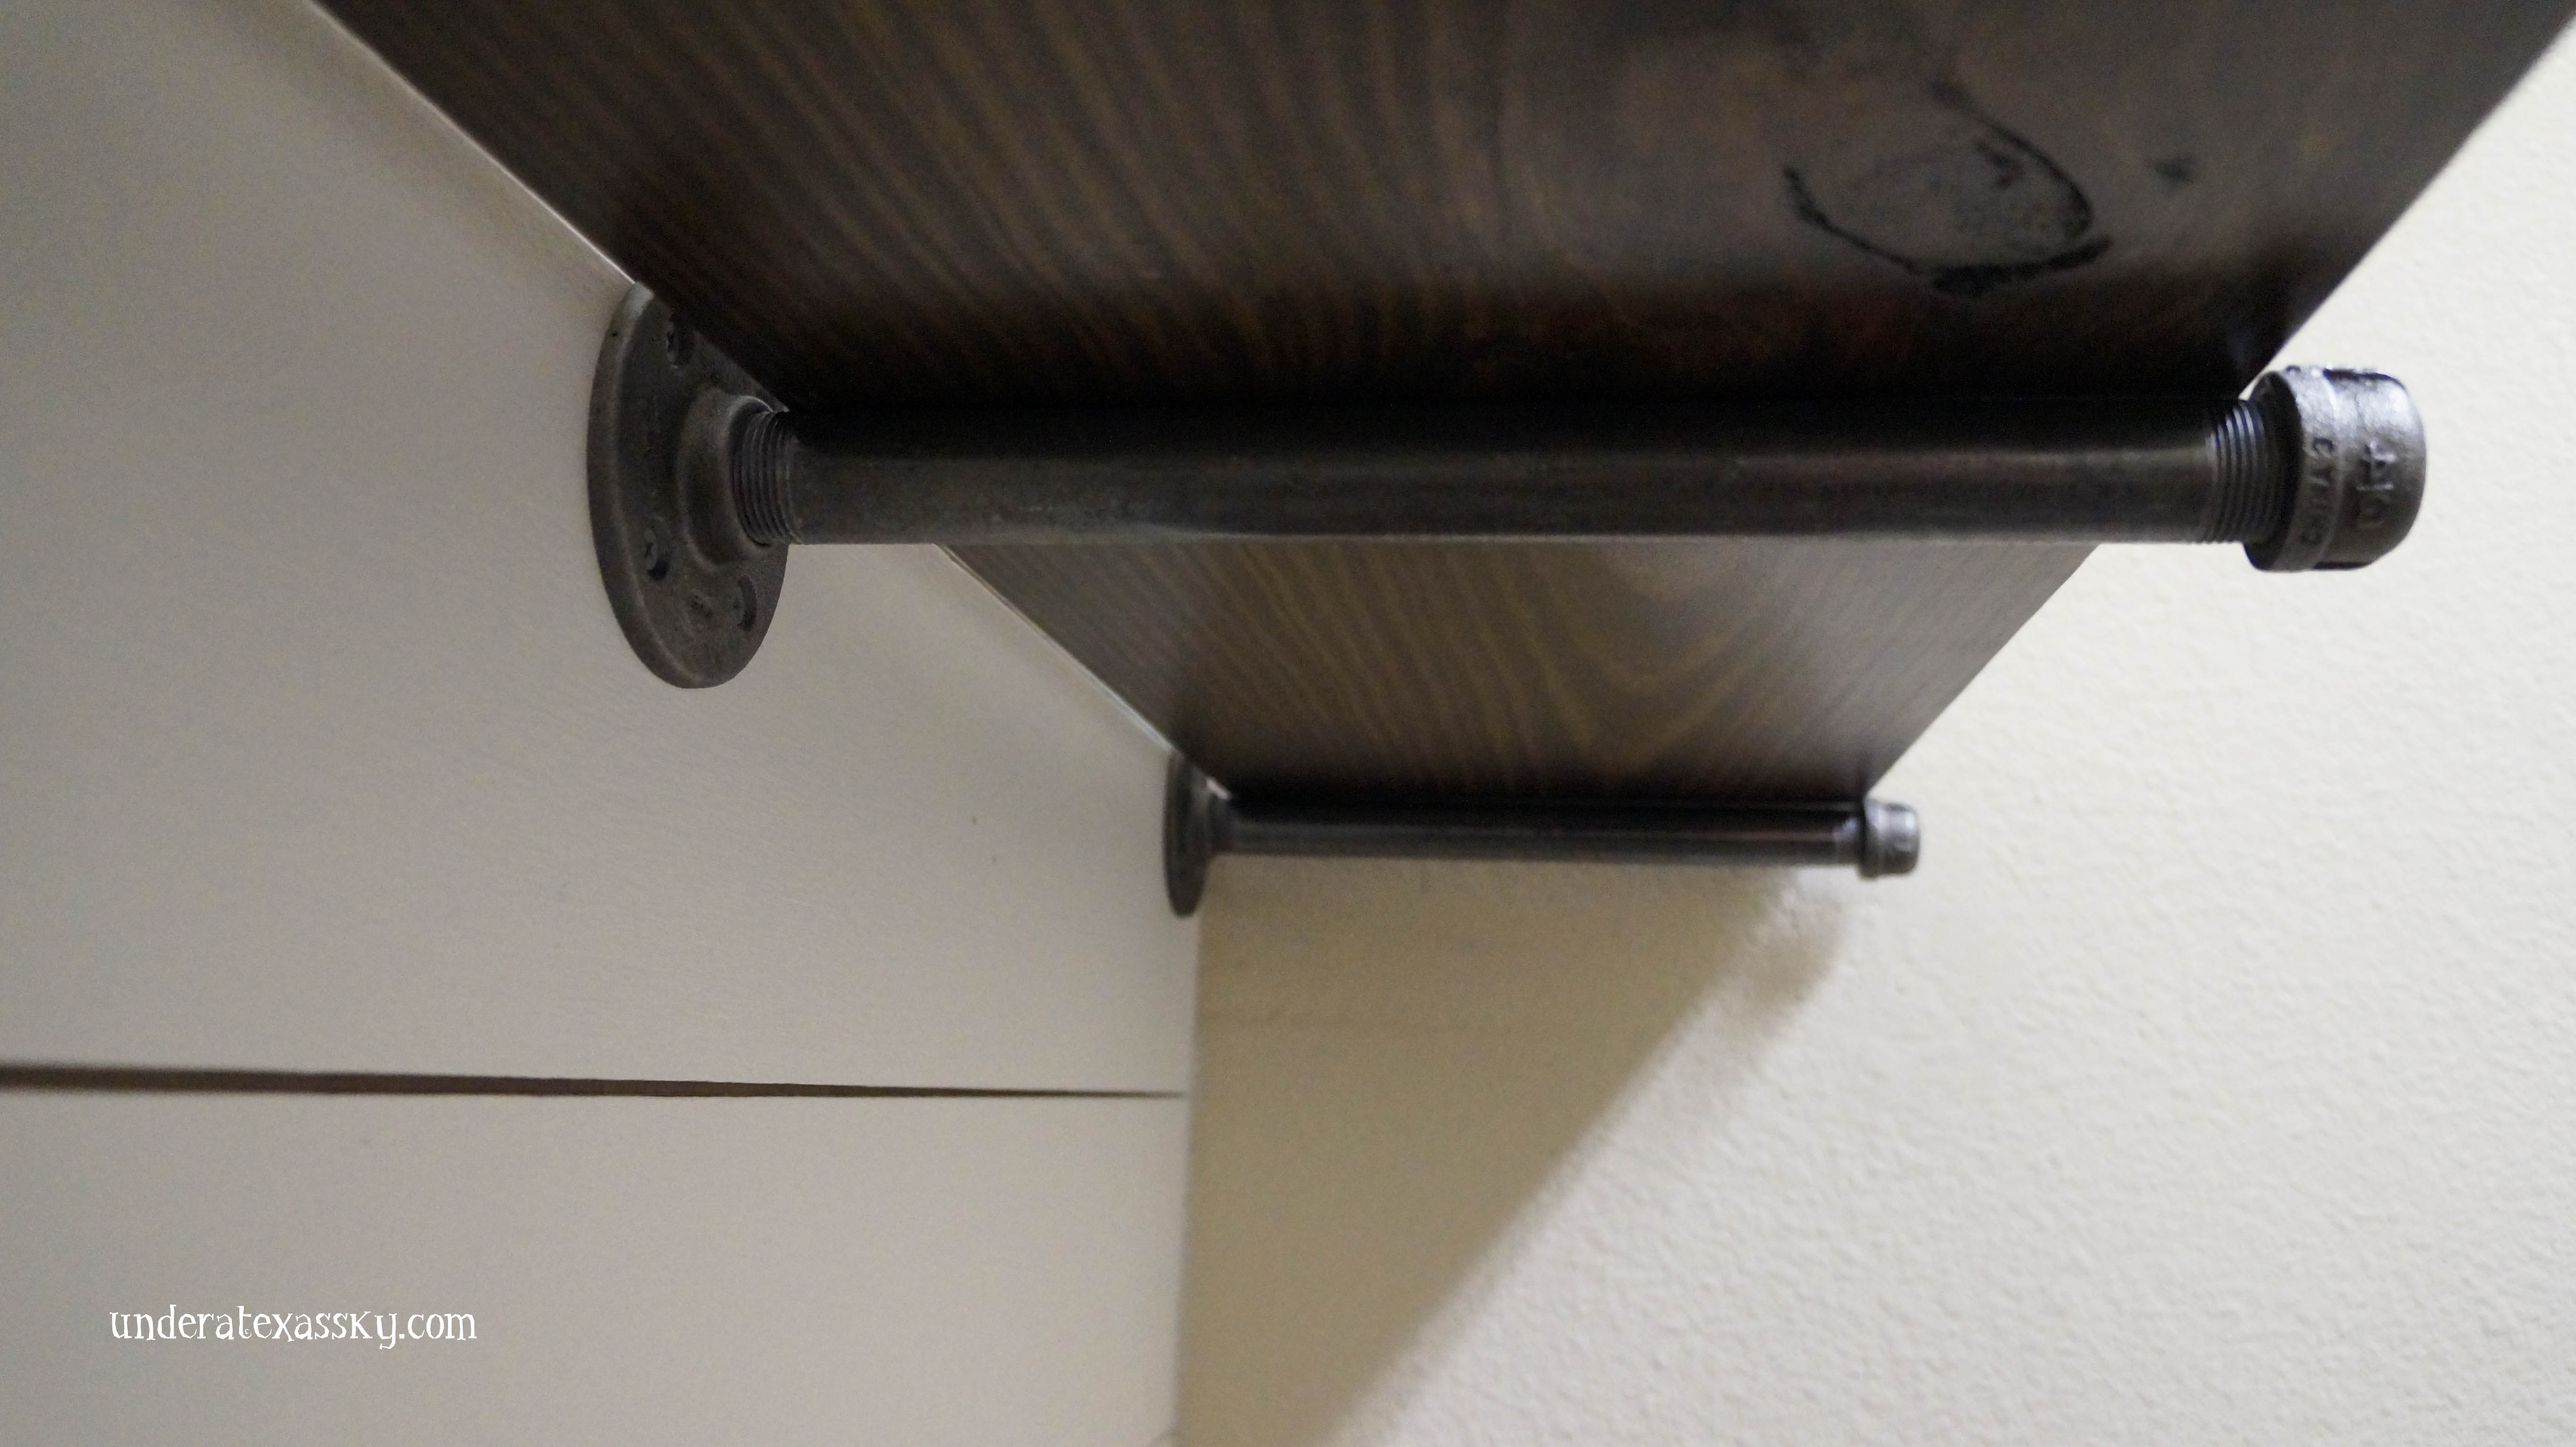
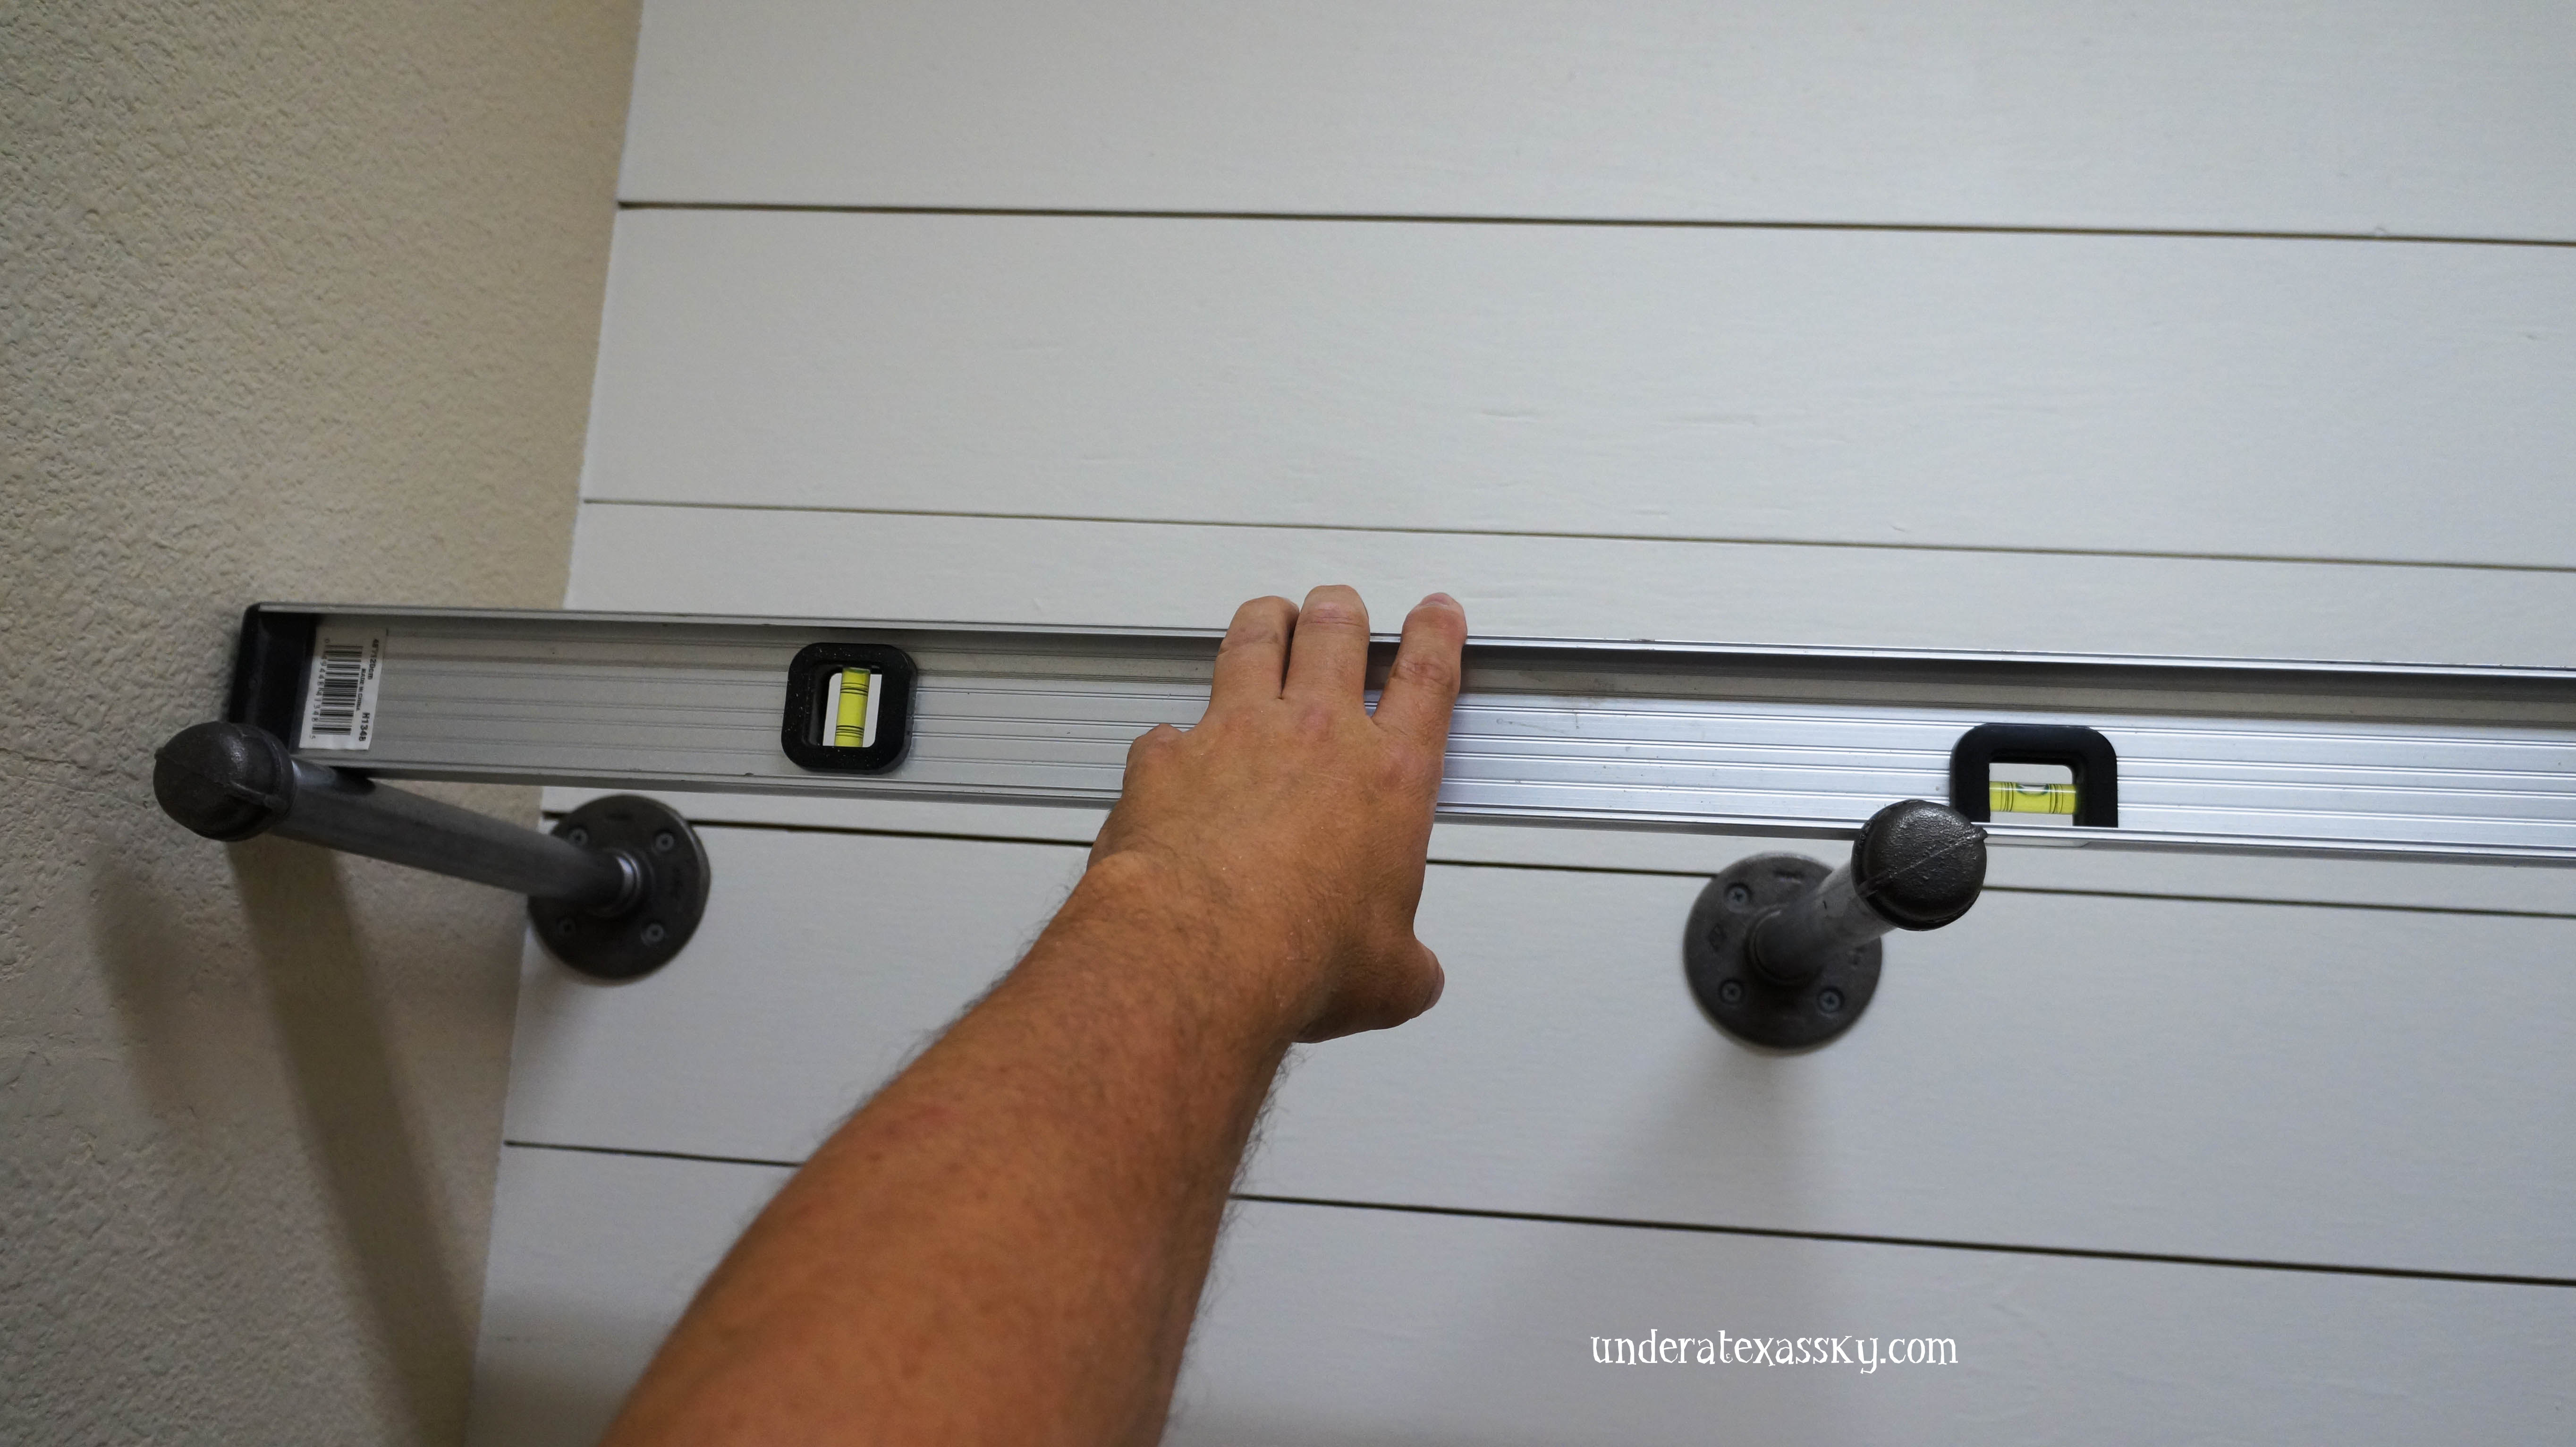
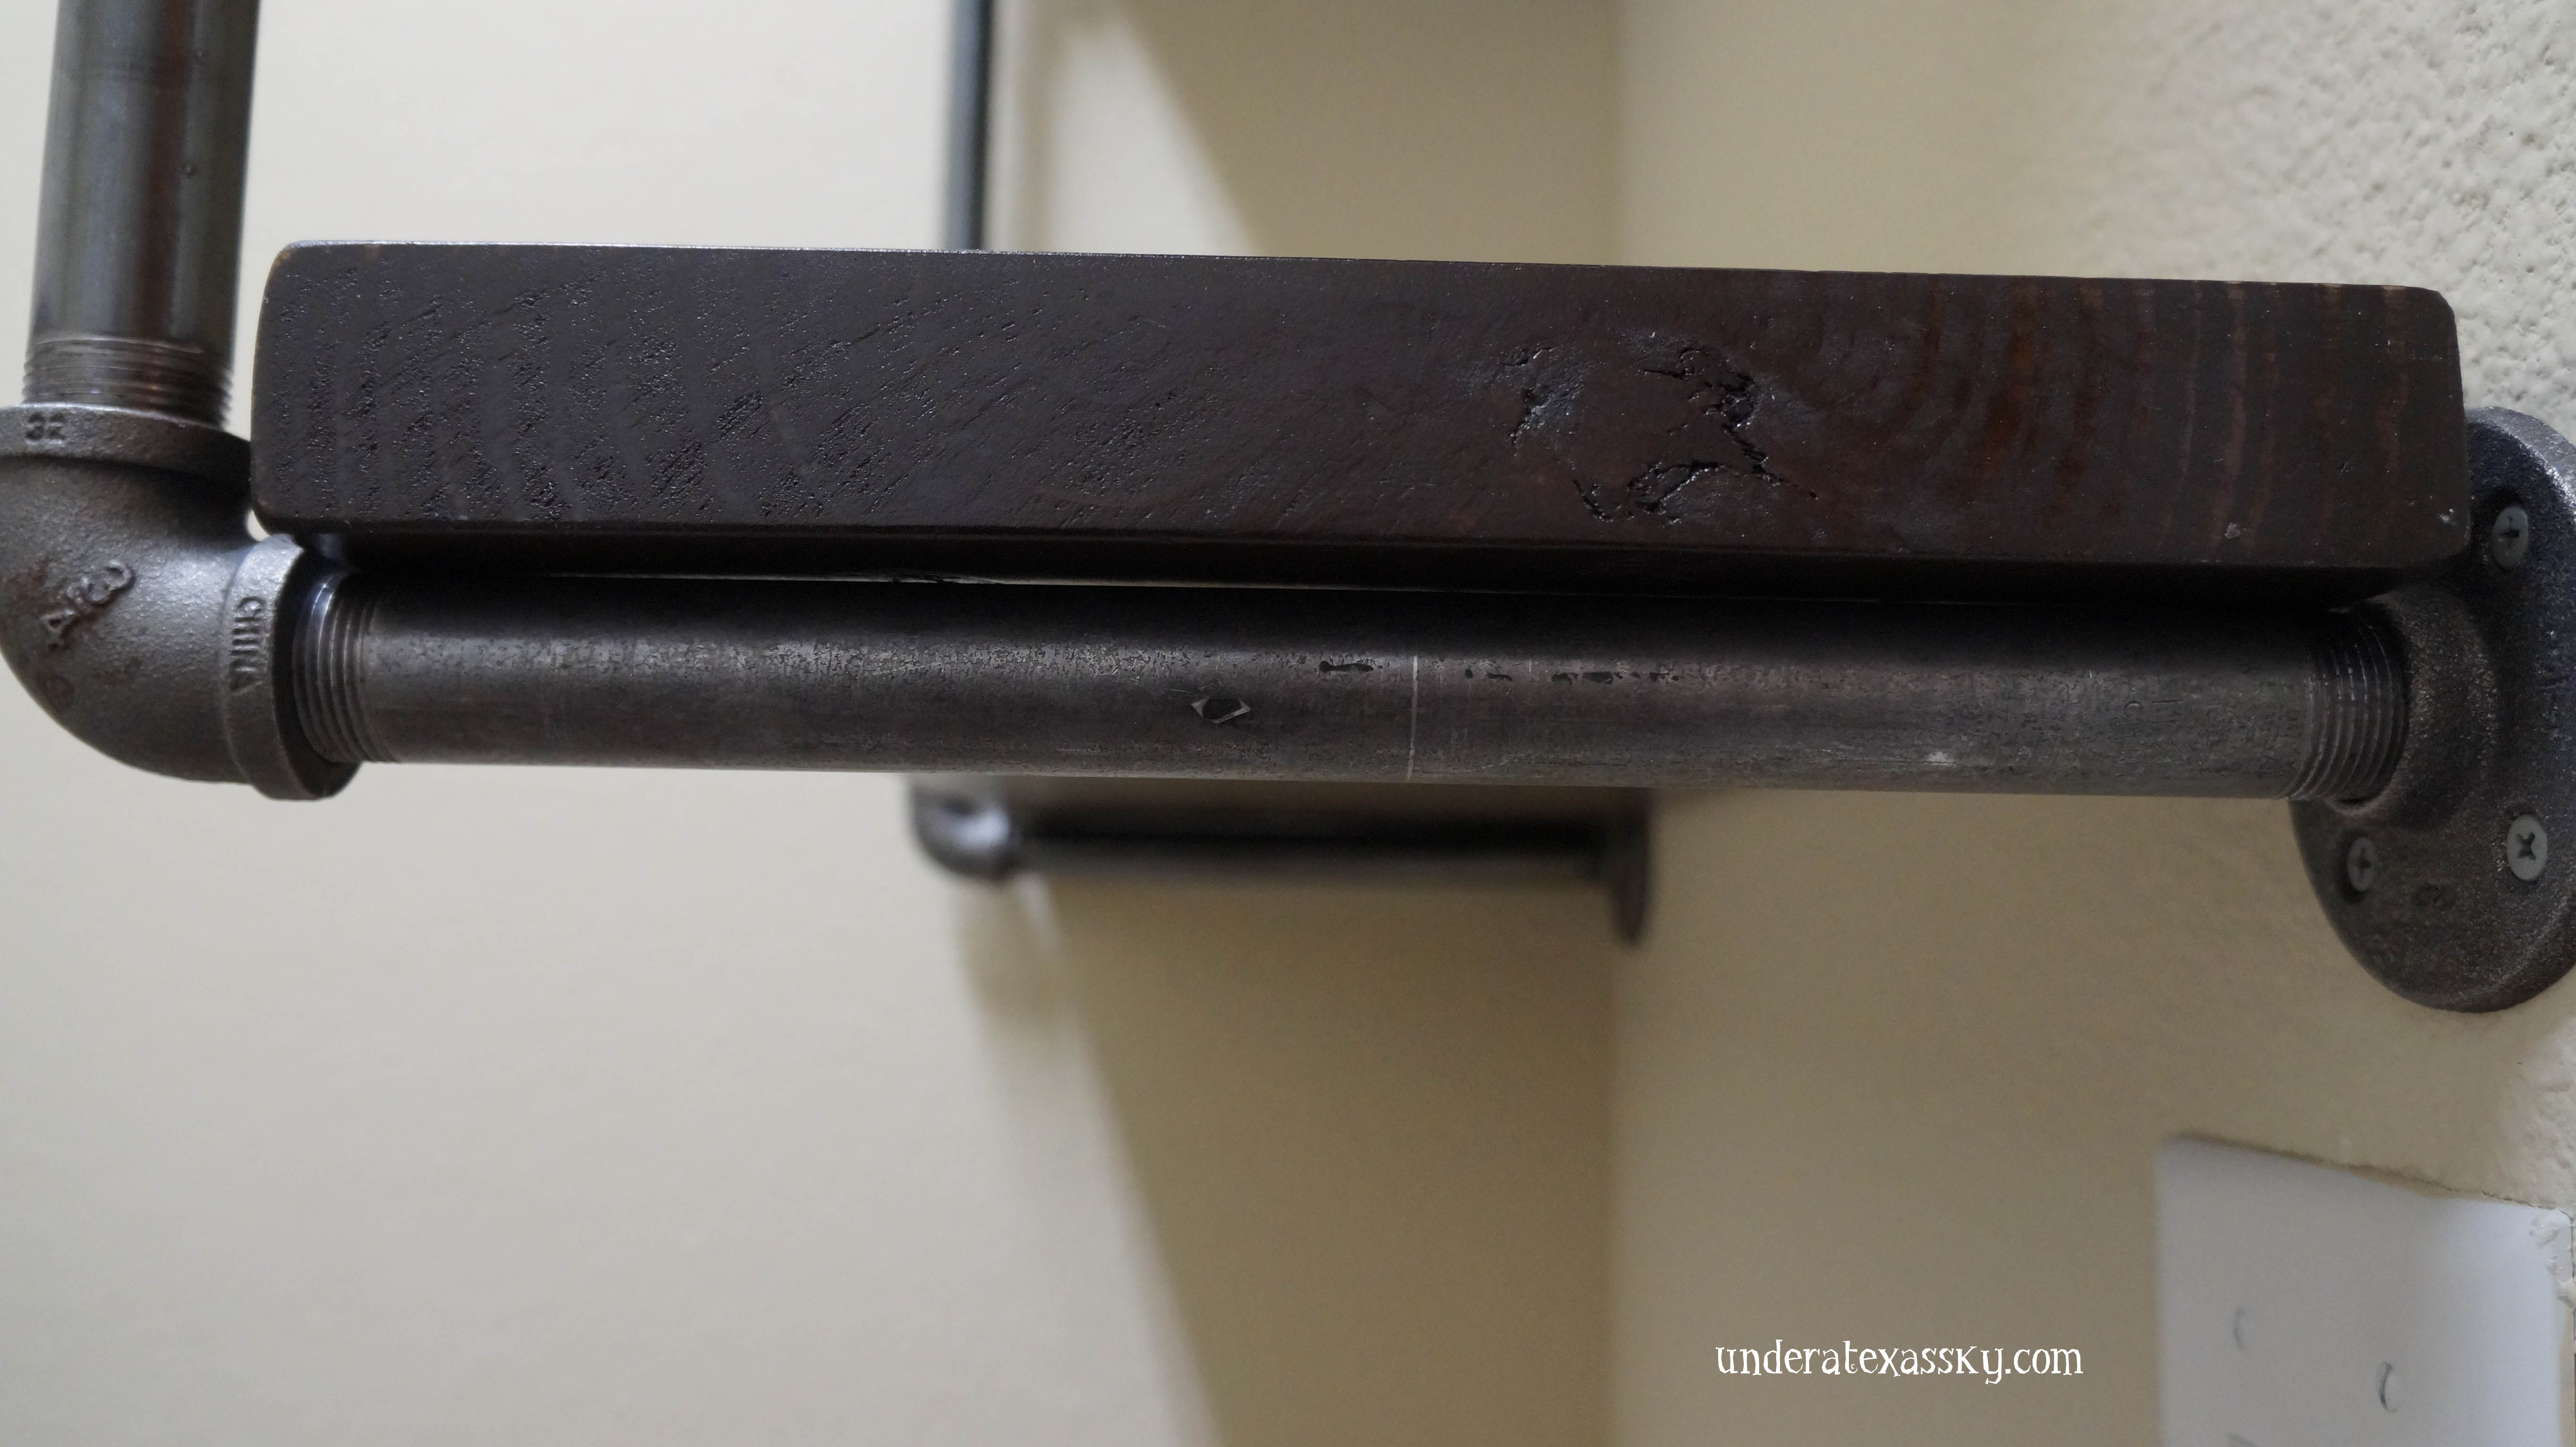
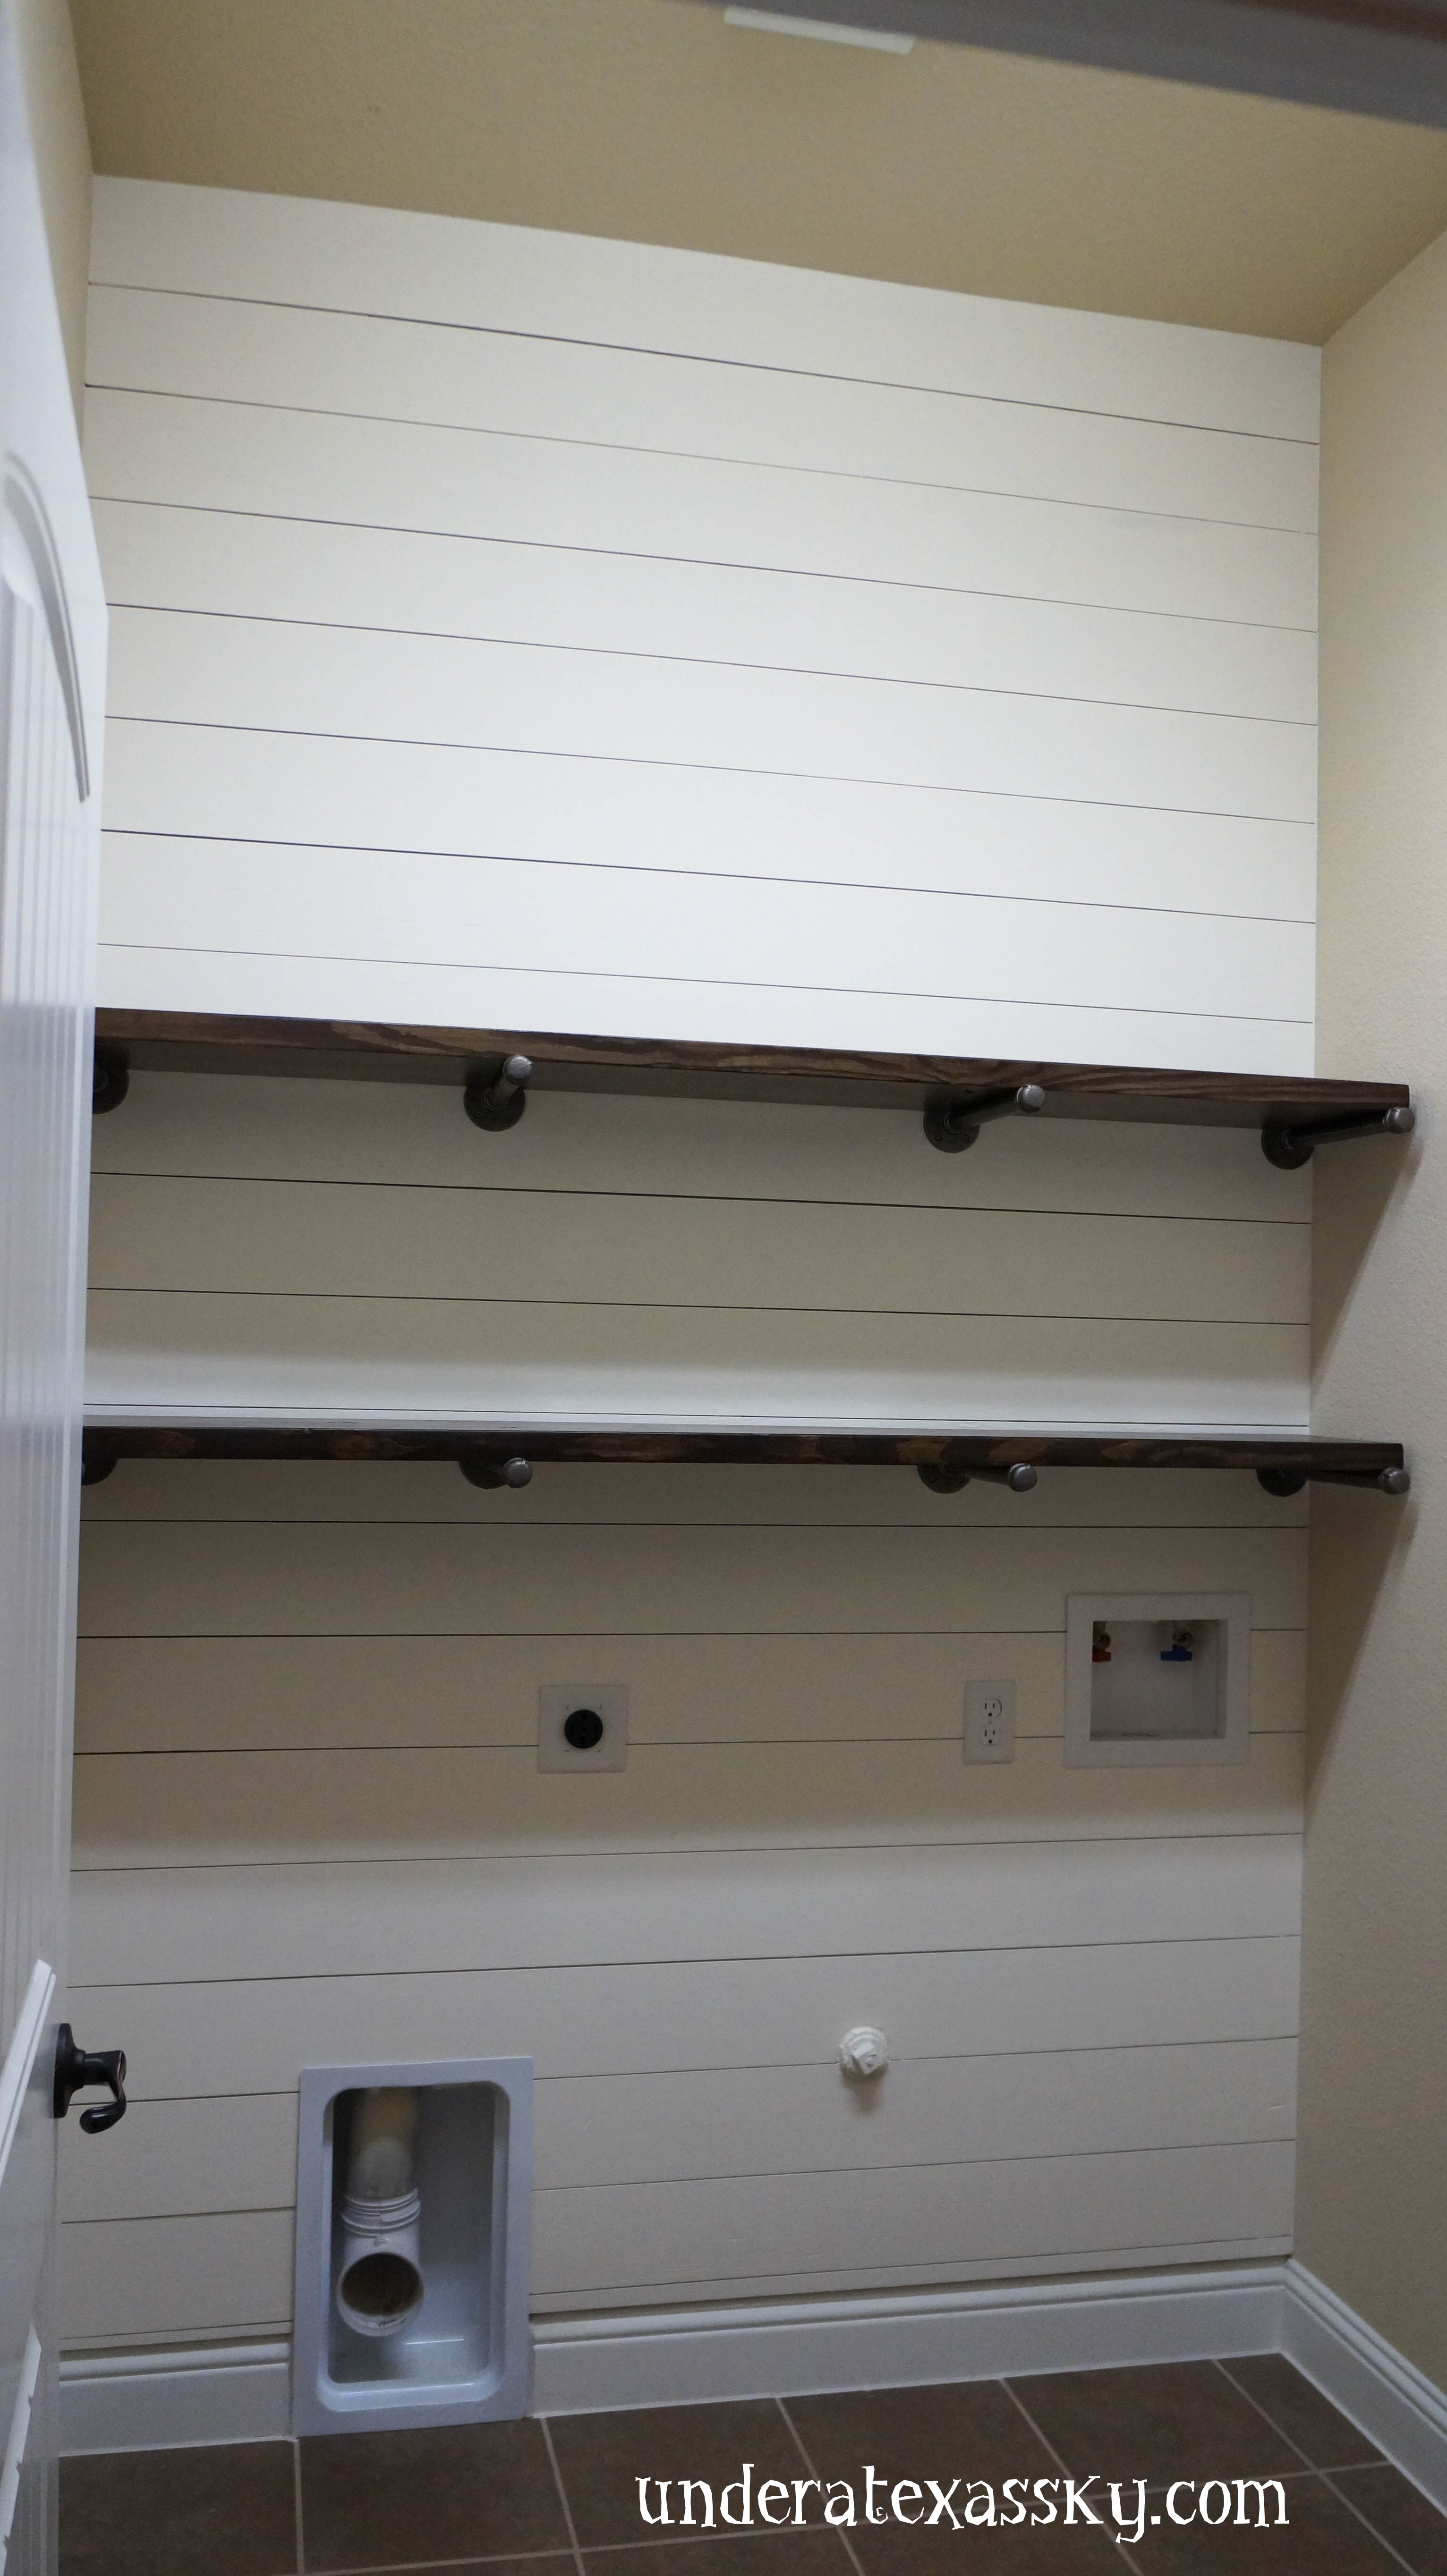
The next big project for the room is adding the shelves. Remember my sketch? I wanted the shelves that are made using iron pipe. So we got the basic design and cruised on to Lowe’s to purchase lots of pipes, flanges, elbows, t’s… If you’re going to this- you might want to wear gloves- those pipes are FILTHY. We bought 3/4″ pipe in 12″ lengths for shelf supports. We needed flanges for each of these. Then for the two shelf set up we also used 18″ pipes for space between the bottom and top shelf. See the pictures for all of the pipes we used. My favorite thing is the hanging bar we attached to the bottom shelf of the two shelf combo on the wall opposite the washer and dryer.


So now came the fun part… DECORATING. I got The Mean Man to use his particular set of skills to hang a cute vinyl sign I purchased a year ago when we moved into the house. I’m so glad I didn’t use it before now!


I bought beverage dispensers for the detergent and fabric softener. I picked up a little cut glass condiment dish at a local antique store to hold the measuring cups. I added a laundry hamper between the washer and dryer (no more piles of laundry in the corner of the floor). I can actually reach the shelves to put things that have to be reached. I used my Silhouette to make a vinyl “Blessed” message that I put on a galvanized pail i already owned. I found all the decor in closets around the house (as my friend Jaye Anna says, isn’t it fun to go shopping in your own house?)! I stacked up toilet paper rolls in an wire bowl I used to use in the den in my old house. I repurposed a wreath I used last year and, of course, a Texas star is never far away here under a Texas sky. A WalMart rug and some baskets that I already owned rounded out the space. I love birds and so they are everywhere and I picked up the “M&K” at Kroger. I’m so pleased with the outcome. Now, if you did nothing else but work on this room, you might be able to get it all done in a weekend. We are very social folks in our neighborhood, so it’s easy to get distracted. It took two weekends to get this all done. I hope you love it as much as I do!


Pages: 1 2
March 20, 2020 @ 2:23 pm
I love what you did!! Your laundry room is very similar to mine. How big is yours? Because I have been trying to figure out what I can do with such a small space.
April 11, 2020 @ 6:46 pm
Melissa- I’m so sorry it’s taken so long to get back with you! You know- I can’t remember exactly how large the laundry room was in that house. We actually sold it two years ago and bought a 1901 Victorian farmhouse in a tiny Texas town! You should see the tiny, tiny, laundry room we have here! It’s under the staircase landing! You’ll get a concussion if you’re not careful when emptying the dryer… I think our laundry room was likely 8×7 ish. I know it wasn’t as big as my closet that was 10×10. I LOVE what we did in that room. It was such a pleasant space. Wall shelves helped so much. I’m so glad you stopped by. Please message me if you have any other questions. I’ll try to be more helpful. Blessings- Kelly
September 2, 2018 @ 2:34 pm
Where did you get the adorable dispensers? Thank you!
September 4, 2018 @ 9:38 am
Summer- I picked those up from Walmart. Amazon has a pretty big selection also. There’s a link at the bottom of the post that shows one type. Clicking on it will take you to others. Thanks so much for stopping by. Blessings- Kelly
May 21, 2018 @ 6:53 pm
Just wondering if you screwed the flanges into the studs or if you used wall anchors and what size screws did you use?
Looks great!
May 21, 2018 @ 9:46 pm
T- We made sure at least one of the flanges was in a stud. The boards were attached to studs and so they also gave that extra hold when we screwed in the flanges. I’m not 100% sure of the size screws we used. I think it was either a number 8 or 10 wood screw. Hope this helps! Thanks for stopping by. Blessings- Kelly
April 20, 2018 @ 2:46 pm
Just loving it all, your dispensers are just too cute…not sure if I missed something though, how did you attach/stick the wood onto the wall?
April 24, 2018 @ 3:38 pm
Iris- I’m sorry it’s taken so long to get back! We simply nailed the boards to the wall studs using a nail gun. We used 1 1/4 length nails. I hope this helps! I’m so glad you stopped by. Blessings- Kelly
February 1, 2018 @ 10:34 pm
Great job on the shiplap! Did you have any problem going over the rim of the dryer vent thing? What is that? We definitely need one of those so we can get our dryer closer to the wall.
February 2, 2018 @ 11:08 am
Marti- The Mean Man took the plastic surround thing off then cut the boards to go around the opening. He reinstalled the plastic housing over the boards. And I know! Isn’t that the coolest connection ever? I’d never seen one like that before. That was how the builder framed it in. All of those dryer vent connections should be recessed like that! Thanks for stopping by!
November 22, 2017 @ 9:22 am
Hello! Can you tell me what brand of stain and color you used for the shelves?
Thanks!
November 24, 2017 @ 3:44 pm
Candi- We used dark walnut from Minwax for the stain on our shelves. Thanks for stopping by!
November 28, 2016 @ 9:32 am
I love a good laundry room transformation! this is great, those decanters for detergent have to be my favourite little touch.
November 28, 2016 @ 7:29 pm
Lauren- Thank you so much! My laundry room makes me almost want to do laundry (almost). Thanks so much for stopping by! Blessings – Kelly
October 13, 2016 @ 3:48 pm
I seriously love your site.. Pleasant colors & theme. Did you build this site yourself? Please reply back as I’m planning to create my own website and want to learn where you got this from or what the theme is named. Many thanks!
October 13, 2016 @ 6:50 pm
Janelle- Thank you so much! I purchased this theme from Themify.me. The theme is called Elemin and is a WordPress theme. I honestly had NO idea what I was doing, but once I figured it out, I can breeze through it now. I chose all of the colors and fonts as I built the site. I often wonder how others feel about the look of what I did so I’m so happy to have the feedback. It’s not for the faint of heart- but the Themify website tech help people generally respond to questions and problems fairly quickly. It’s not a drag and drop site- it’s a little more difficult that that but I’m happy with it. I hope this helps!
July 11, 2016 @ 12:21 pm
Howdy fellow Texan i’m in Cypress! I love your stuff! i’ve been wanting to do this to my rental property which my daughter lives in and also to my house as well! Yours turned out so awesome! Great to meet you!
July 11, 2016 @ 1:08 pm
Tina- It’s always lovely to hear from a fellow Texan!! Thanks so much for the nice compliment. I was so please with how the “shiplap” look turned out, especially considering how easy it was! It just adds such a nice style element. I hope that when you get down to business, that the project turns out to be as easy and fun for y’all as it was for us. Great to meet you too! I hope you check back often and subscribe for weekly updates if you’d like. Blessings! -Kelly
May 25, 2016 @ 1:59 pm
Yes to the shiplap! It looks so good!
May 25, 2016 @ 4:03 pm
Thanks so much! I am just in love with the look! So simple- but it makes such an impact. I appreciate you taking time to comment! Blessings to you.
May 20, 2016 @ 1:37 pm
Looks great! I love the white wooden slats on the wall and the shelves. 😀
May 20, 2016 @ 4:42 pm
Thank you so much! I’m amazed at what an impact that wood made in the room! And I am loving having some shelves that I can actually use! It’s not just a prettier space- it’s so much more functional. Thanks for stopping by and for taking time to leave a nice comment. Blessings to you.
May 20, 2016 @ 8:56 am
Your laundry room looks great! I love your detergent dispensers, too. Thanks for sharing at Merry Monday this week!
May 20, 2016 @ 10:14 am
Marie- Thank you so much! I actually just did my first load of laundry last night. I totally smiled to myself as I hauled the laundry basket into the room. And the dispensers worked great; no drips! Thank you so much for giving me the opportunity to share. It’s a blessing. I hope you have a wonderful weekend. 🙂
May 19, 2016 @ 5:41 pm
I love your laundry room transformation!
Thanks for sharing your post with us as #CCBG Creatively Crafty Link Party http://tryit-likeit.com/entries/link-party
May 19, 2016 @ 7:00 pm
Thank you so much! And thank you for giving the opportunity for me to share. I’m fairly new at this and am having a really great time connecting with so many amazingly creative people. It’s such a blessing. Thanks again! 🙂
May 30, 2020 @ 6:51 am
Love this so much. I would like to know what you used for shelf holders. Thank you
May 30, 2020 @ 11:37 am
Lori- Thank you so much! I have a post where I show how we did the shelves. It was actually super simple! Check it out here. Blessings! -Kelly
May 19, 2016 @ 9:45 am
That turned out great! I love Shiplap too. I envy people with inside laundry rooms that can be made to look cute. Mine is in the garage so I live vicariously through you 😊
May 19, 2016 @ 12:46 pm
Thanks so much! And I remember having my laundry in the garage early in my marriage. It was kind of nice because our girls were babies so there were loads upon loads of laundry to do- it was nice to hide it out there. But hey- lots of those ideas will translate into any other room in the house. Thanks so much for stopping by! Blessings to you.
May 19, 2016 @ 8:29 am
Kelly, we must be on the same page. Of course I love all things rustic, and shiplap is next on my list of things to do. I have several rooms I want to incorporate it into–including my laundry room! Your finished project looks very similar to what we plan to do also, with maybe an added shelf. What a beautiful job my friend!
May 19, 2016 @ 8:43 am
Suzie- Thanks so much my friend! I’m telling you, the shiplap is a relatively easy element that can really change the look of a room! I know you’ll do a great job on whatever room you tackle as you do on all of your projects. Blessings to you my dear as you gear up for summertime!
May 19, 2016 @ 10:43 am
Not sure if I missed it in the post, what thickness of plywood did you use? I think we plan to actually use the underlayment panels that are about 1/4 inch, and about 10 bucks a sheet. And did they charge you to rip the plywood?
May 19, 2016 @ 12:40 pm
We used Lowes 15/32 CAT PS1-09 Pine Sanded Plywood (actual: 0.435 in). It was $23.65 a sheet. They cut it down for free- my favorite price!
May 19, 2016 @ 8:03 am
It looks like a NEW room! We have a laundry closet that also serves as our pantry and it’s so yucky looking. This will be one of our future projects. I also love how you added the shiplap, which makes a world of difference 🙂
May 19, 2016 @ 8:40 am
Carol- Thanks so much! I’m so pleased with how it turned out. I think a room like the laundry room is a great place to try something out… that way if it doesn’t turn out quite as awesome as you’d expected… no one will really ever see it but you! 🙂 Happily- I’m glad to leave the laundry room door open so everyone who passes by that hallway can see it. And yes- the shiplap was an easy but dramatic design element. I can see why it’s so popular. Thanks again for stopping by and taking time to comment. Blessings to you!
May 18, 2016 @ 8:46 pm
I LOVE it! Looks soooo nice! Soon you will be finding all kinds of places to add planking. I use 1/4″ plywood to plank, too. I started with 2 walls in one of my bathrooms last year and since then, I planked all the other walls in that bathroom, behind my fireplace, my kitchen island and most recently in my entry closet. Its a sickness!
May 18, 2016 @ 9:46 pm
Tara- Thank you for taking a minute to share the encouragement! And YES, I find myself waking up thinking of other stuff in the house that could use a little jazzing up! Isn’t it crazy how it drives you?! I hope you hang in there with me to see what else I come up with. I got a fever, and the only prescription is more shiplap! 😉 Blessings to you!
May 18, 2016 @ 8:33 pm
This laundry room looks fantastic! I love the shiplap wall the gorgeous shelves. Thank you so much for visiting Inspiration Thursday and sharing your makeover!
May 18, 2016 @ 9:41 pm
Thanks so much! I’m so glad to have an avenue in which to share. You’re a blessing to me!
May 18, 2016 @ 8:28 pm
I absolutely LOVE your laundry room!!! We are renting right now, but I have this site bookmarked, so when we go to get our house bought I am using lots of your ideas…thank you for sharing!
May 18, 2016 @ 9:40 pm
Pat- Thank you so much for taking a minute to leave such a nice comment! I’m glad you’re finding some ideas you’ll be able to use when you move into your own home. It’s so fun to just make your home you own. Hopefully you’ll find some decor things you can use in the home you rent as well. I still have lots to share from all we’ve done decor-wise with in the new house. Blessings to you!
May 18, 2016 @ 8:09 pm
It turned out great! We all love shiplap, don’t we!
Shelley
May 18, 2016 @ 8:12 pm
Thanks so much! I guess we should thank Chip and Jojo! It really makes a nice rustic statement- and it’s fairly easy- and I’m all about easy! Blessings to you!
May 18, 2016 @ 2:00 pm
Everything looks great! 🙂
Thanks for joining Cooking and Crafting with J & J!
May 18, 2016 @ 2:20 pm
My pleasure! Thank you for the opportunity. Blessings!
May 17, 2016 @ 7:58 pm
Love your laundry room! What fun! I’m sending this to my daughter who is remodeling her laundry room.
May 17, 2016 @ 8:14 pm
Thank you so much! I’m so glad you’re going to share it with your daughter! Hopefully she’ll find some little ideas that she may want to use. Thanks for stopping by. Blessings to you!