You can make this wood planter box!

You can really jazz up your landscaping and outdoor living spaces with pretty pots and planter boxes of flowers. While searching for some inexpensive planters I found a pretty little planter box. Checking the price, I almost choked! $69??? How could something with so little detail and materials cost so much? I’m totally still pondering this. Enter The Mean Man. I showed him the planter box, he took some pics and came up with a plan to make one.
The Plan
The Mean Man is a bit of a detail freak. No half measures here. He drew up his plan- literally, picked up a few supplies at Lowe’s, and got down to business.

Materials:
We used all scrap wood left over from other projects.
2×2 pine deck balusters (these are the corner pieces- any 2×2 will work)- cut to 18″ long
1×2 pine board (these are what the slats fasten to)- cut to 16″ long- you’ll need 8 of these
11/32 plywood- for slats (4×8- leftover from our faux shiplap laundry room wall)- cut to 2″x 15″
wood buttons
wood glue
staples for staple gun
screws
spray paint- white gloss enamel
spray sealer
The Process
Cut all of the wood to size. The corner baluster pieces are 18″ tall (you can make them how ever tall you’d like). For a decorative touch, route a notch 2″ from the top, then rout an angle cut around the for sides at the top.


Cut 1×2 to 16″ lengths. You’ll staple the slats to these pieces. Cut 8 so there are two for each side; top and bottom.

Rip your plywood to 2″ x 15″. In our case, seven for each side- 28 total.

Once all of the materials are cut, you’re ready to assemble. Don’t be alarmed. The pic below is enough cut wood for two planter boxes.

Assembly
It’s best to dry fit everything together to be sure it comes together correctly.

Assemble the box one side at a time. Use a builder’s square to be sure everything fits together properly and, well, square. The 1x2s go down first. Next add your slats with some kind of spacer in between. Adjust gaps to be as even as possible. Try to be consistent.


The sides will be completed without the balusters on the corners. After all of the slats are stapled to your 1x2s at the top and bottom, it’s time to connect to the balusters. Screw the balusters to the 1x2s top and bottom. Be sure to drill a pilot hole first so you don’t split the wood. Countersink the screws.

After all of the sides are connected, you’ll need to create a floor to the box so it can hold a container for your plant. Screw a cleat onto opposite sides so you’ll have something to staple your floor boards to. The small board shown below the cleat is just a spacer. Attach the cleat about an inch or two from the bottom.

Cut some boards to span the bottom of the planter, leaving gaps or having drill holes so your container can drain after watering.

The box will hold a nice sized container.

Insert wooden buttons into your countersunk holes to give the box a finished look. The ones I saw for $69 has exposed screw heads!

That’s it! Now the box is ready for stain or paint.


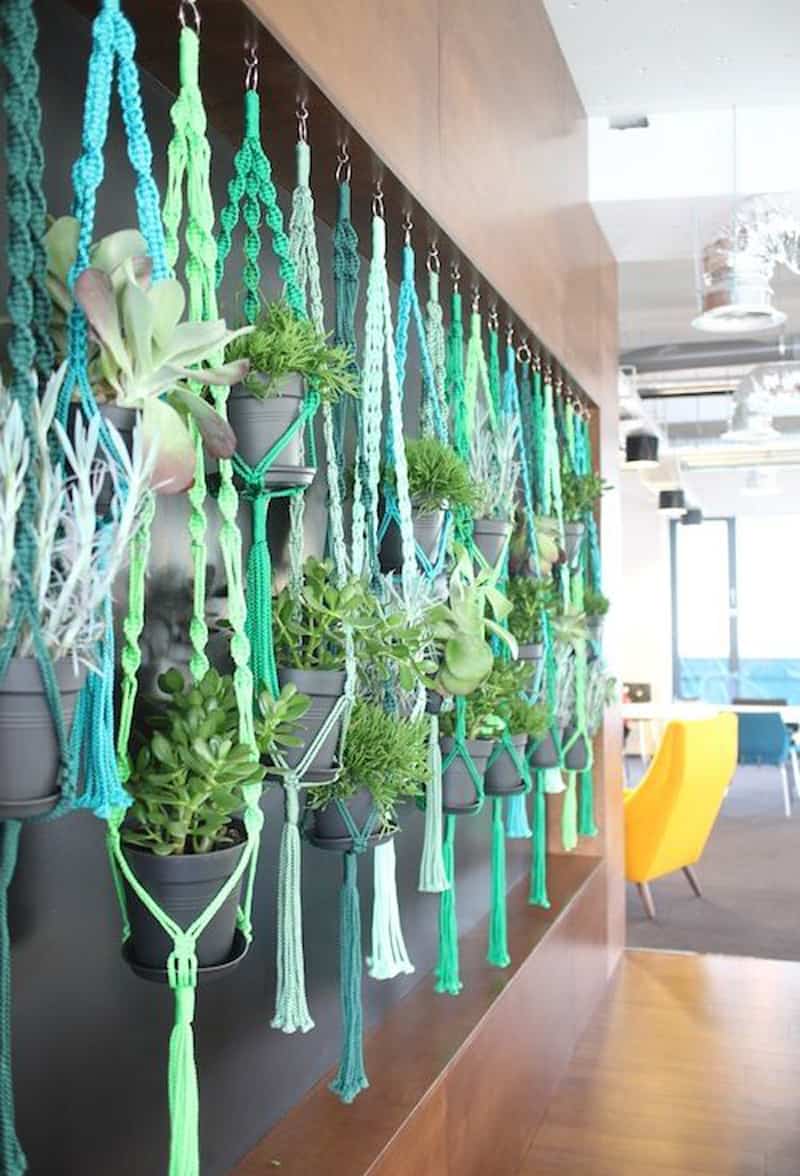
And here’s a blast from the past; who knew macrame plant hangers have made a comeback? You can find 20 great patterns for modern macrame plant hangers from DesignRulz. Check them out!